Deploying Static Website to Cloudflare Pages
Last Updated :
21 Jun, 2021
Cloudflare Pages is a JAMStack hosting service provided by Cloudflare, a company that specializes in Web infrastructure and Security. Cloudflare Pages also referred to as “Pages” is newcomer in JAMStack hosting, but their Infrastructure makes almost as equivalent to their competitors. In this tutorial, we will teach you how to host you JAMstack website on cloudflare pages. They also have a free tier with 500 builds and unlimited bandwidth(when used according to their AUP), with custom domain names with free SSL, analytics, and access policies.
Prerequisites:
- Cloudflare account, if you don’t have one create here
- GitHub account, if you don’t have one create here
- A GitHub repository with an index.html file
Preparing GitHub Repository:
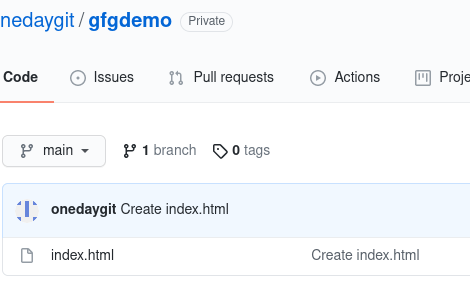
Cloudflare pages similar to Netlify pulls content from the Github repository then build the site and publishes it to their CDN. You can your static site with plain HTML (or) any static Site generator like Hugo, Next.js, Jekyll. Your repository must have at least 1 file and a compulsory index.html file should be present. Below is my simple GitHub repository with index.html file
HTML
<!DOCTYPE html>
<html lang="en">
<head>
<meta charset="UTF-8">
<meta http-equiv="X-UA-Compatible" content="IE=edge">
<meta name="viewport" content="width=device-width, initial-scale=1.0">
<title>Cloudflare Pages Demo</title>
</head>
<body>
<h1>This is demo site for geeksforgeeks article on cloudflare pages</h1>
</body>
</html>
|
And our GitHub Repository to
Sample Github Repo
Deploying to Cloudflare Pages:
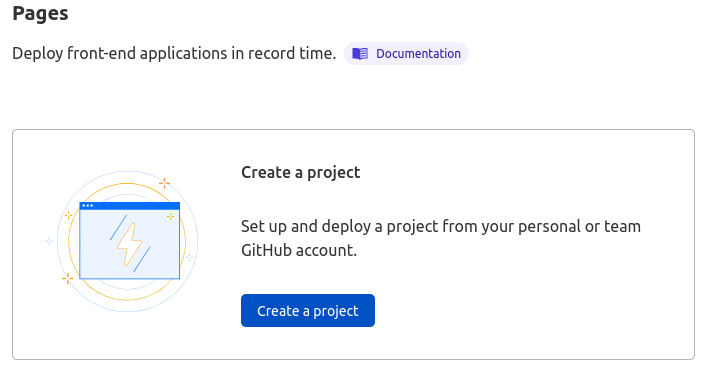
Step 1: Login into your Cloudflare account and click on the Pages icon on the right side menu, this will take you Cloudflare Pages dashboard. Then click on create the project.

Click on this icon
Click on create project
Step 2: This will take to you a webpage that asks you to connect to your GitHub account.
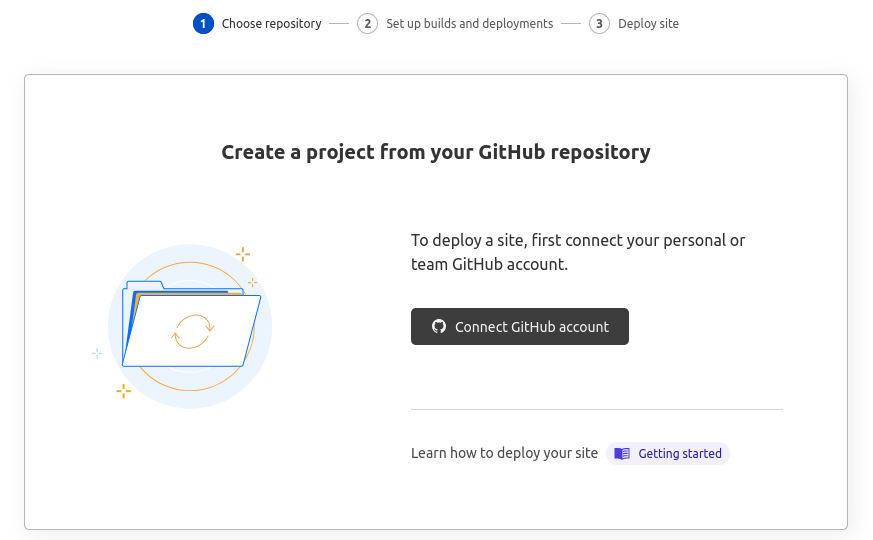
Connect to Github account
Now authorize the repositories you want Cloudflare pages to get installed, you can select all repositories (or) selected repositories

Authorize Cloudflare pages
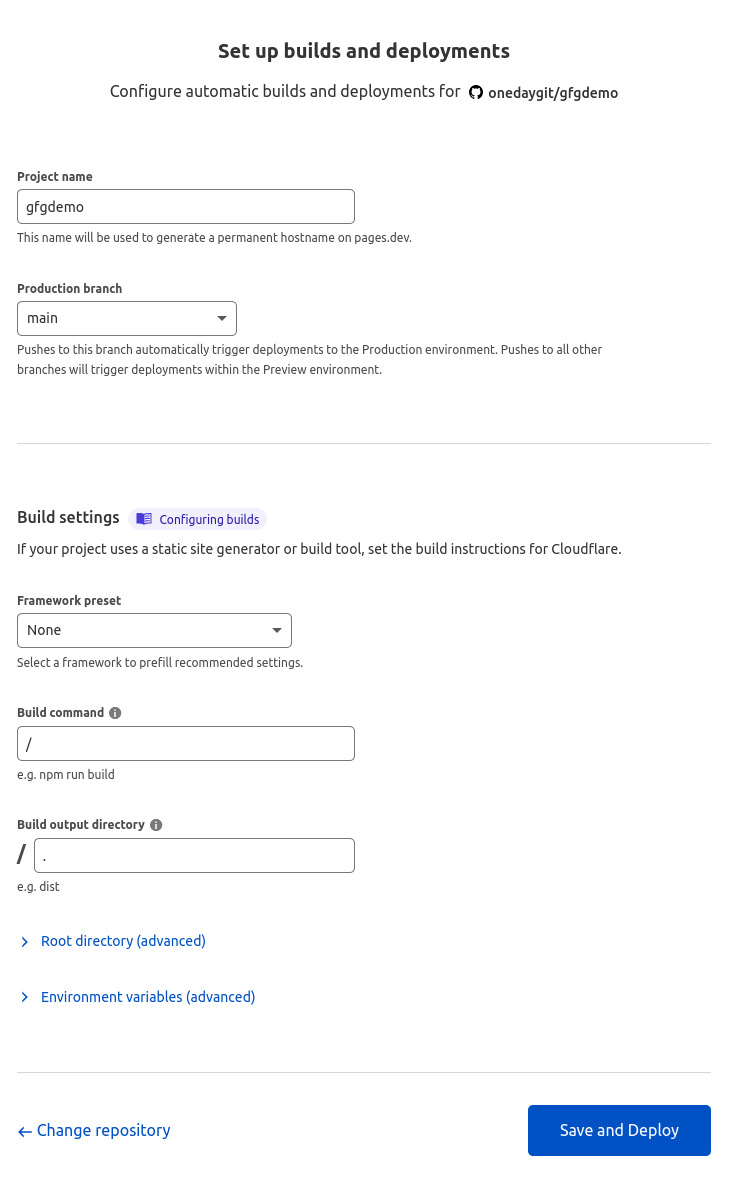
Step 3: Select the repository you want to deploy and configure the deployment settings
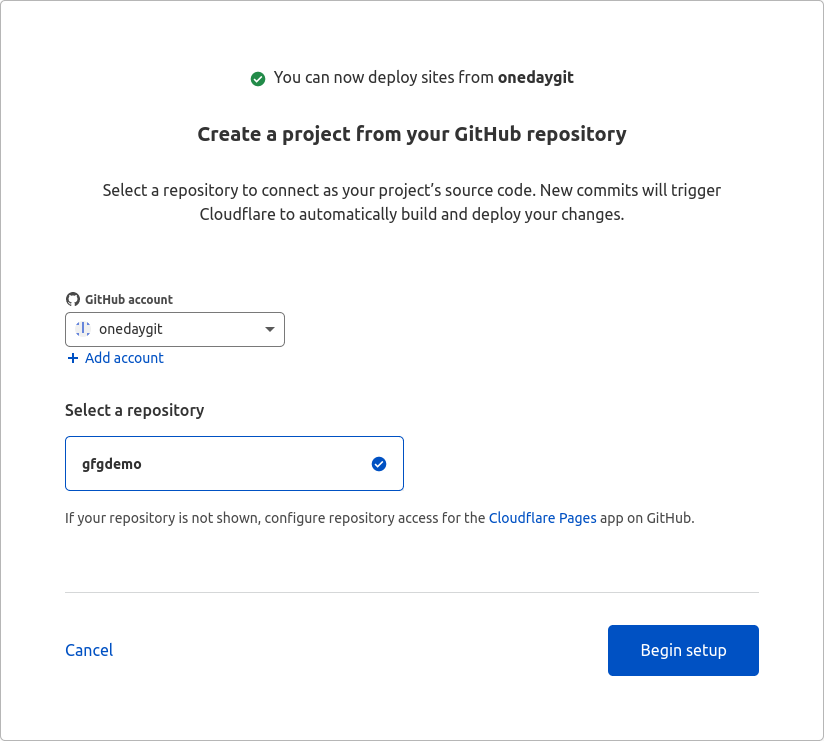
select your repository
Now select the deployment configurations
- Name of the project: give a name to your project
- Production branch: branch of the repository you want to deploy
- Framework: Select the framework you have used in your project select None for static HTML, React, Hugo, and more
- Build command: Command to build the website, If you choose none in the framework leave it blank, or else it will be automatically applied according to your framework. If you have used a custom framework give your custom build command.
- Build Output folder: Directory of output from the build command, If you choose none in framework leave it blank, or else it will be automatically applied according to your framework. If you have used a custom framework give your custom build output directory.
After you have selected your configuration, click on save and deploy.
build configuration
Now Cloudflare will build and deploy your site, if you have done everything correctly you will see something like below:
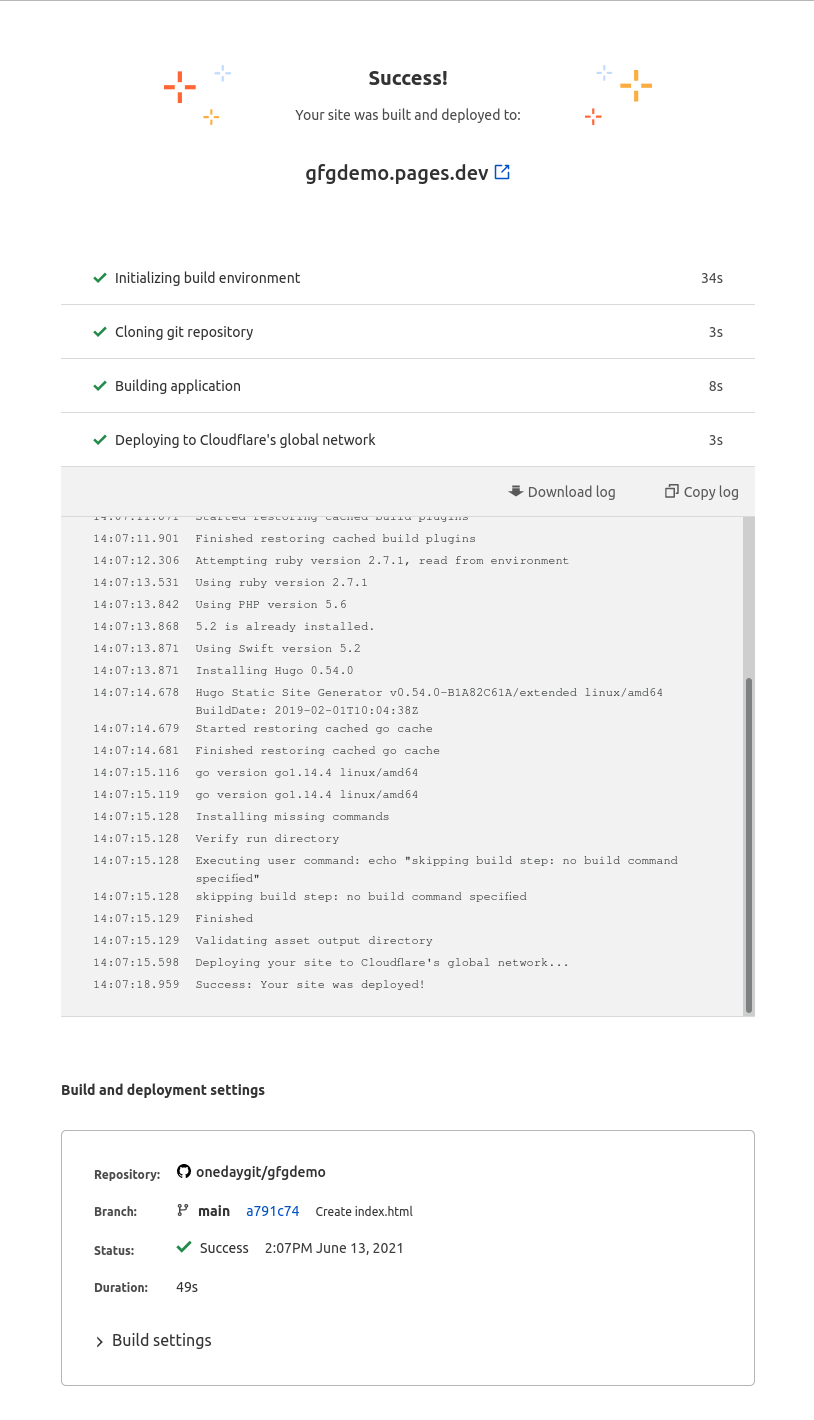
Success
You can connect to a custom domain from the project dashboard, and You can also enable analytics and access policies from project settings.
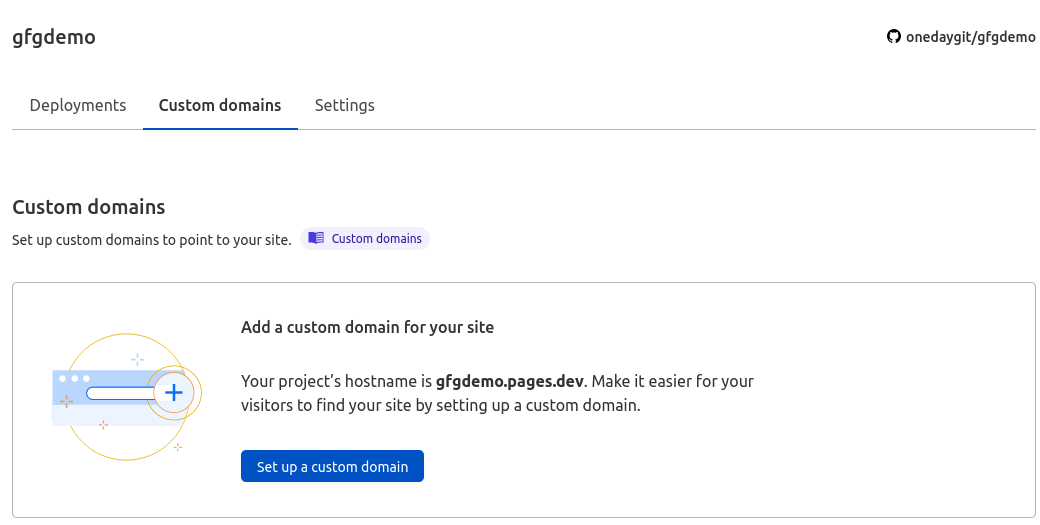
Add custom domain if you have one
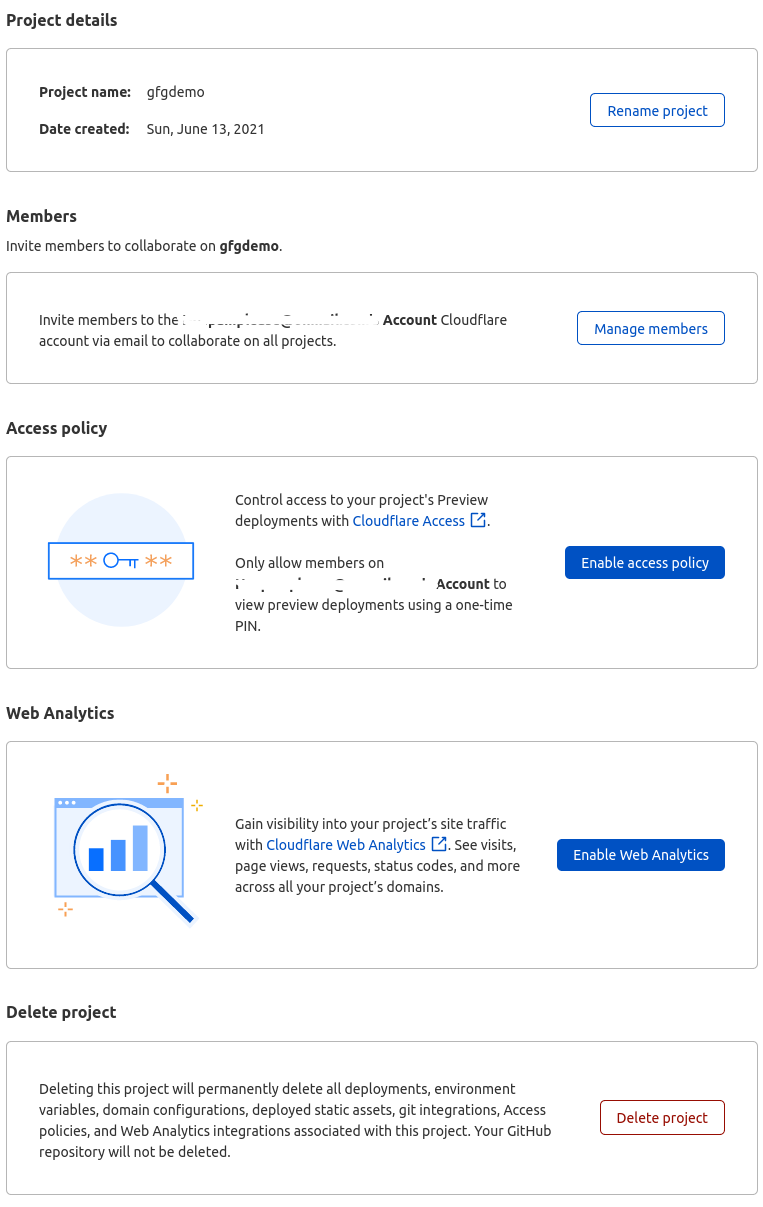
Add analytics and access policies
Like Article
Suggest improvement
Share your thoughts in the comments
Please Login to comment...