Different Ways to Fix “Error type 3 Error: Activity class {} does not exist” in Android Studio
Last Updated :
26 Feb, 2021
Whenever we try to launch an activity we encounter the error “Error type 3: Activity class {} does not exist” in the Android Studio. The MainActivity Page throws the error as:
Error while executing: am start -n “LauncherActivity” -a android.intent.action.MAIN -c android.intent.category.LAUNCHER
Starting: intent { act=android.intent.action.MAIN cat=[android.intent.category.LAUNCHER] cmp=”LauncherActivity”}
Error type 3
Error: Activity class {LauncherActivity} does not exist.
Error while Launching activity
Due to this error, you must be unable to launch your launcher activity for your project if you uninstalled it on the device. So in this article, we are going to discuss that why does this error occurs and six methods that will help you to solve this error.
Why There is a Need to fix “Error type 3 Error: Activity class {} does not exist” in Android Studio?
When you have connected your device/emulator and you run the app from Android Studio. After testing your application, you uninstalled it from the device while it is still connected to the system and you just tried to rerun the application from Android Studio. The MainActivity page in the project reports an error because android studio thinks that your project is still running on the phone, but you uninstall it, but it doesn’t know it, thinking that your project’s MainActivity is still in progress, So it cannot be installed. So we need to fix this issue as this error keeps interrupting while launching the application via Android Studio.
Now the point that comes here is how we can Fix “Error type 3 Error: Activity class {} does not exist” in Android Studio. So in this article, we are going to discuss five different methods to Fix “Error type 3 Error: Activity class {} does not exist” in Android Studio.
Method 1
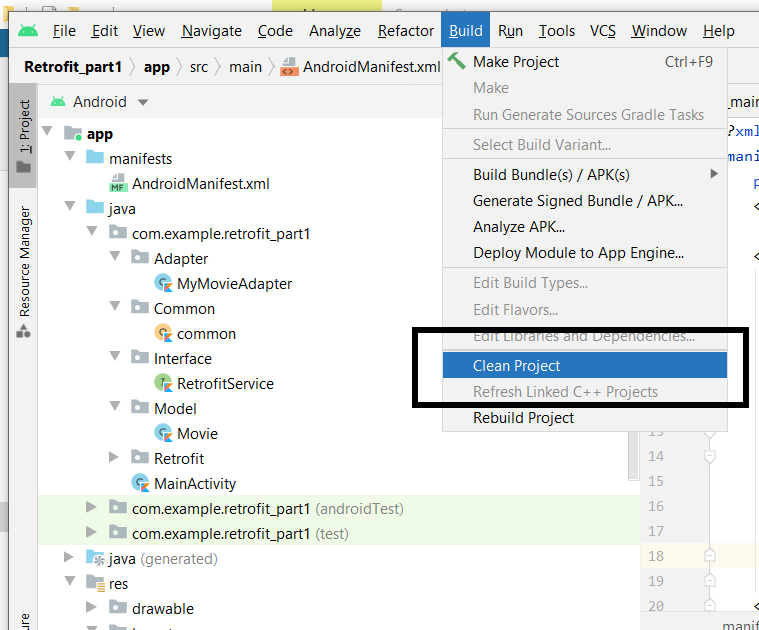
Step 1: Try to clean your project and delete the build directory
To clean your project navigate to Build > Clean Project
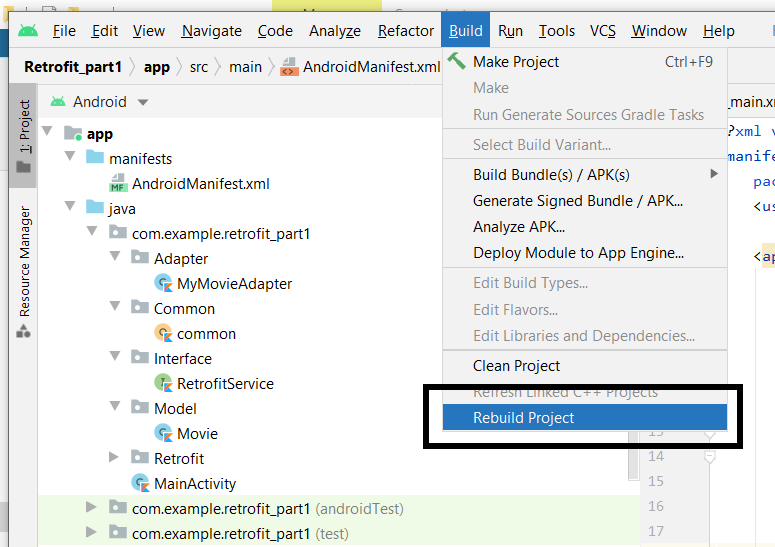
Step 2: Restart Android Studio and Rebuild your Project
To rebuild your project just go to Build > Rebuild Project
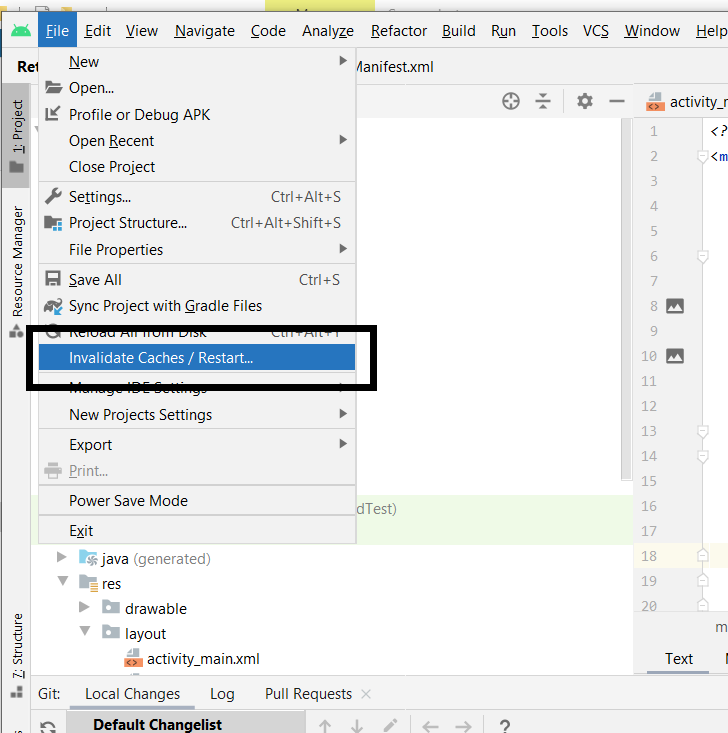
Step 3: Now just click on the “Invalidate Caches/Restart” option from the File in the left top corner. Finally uninstall the app on your device and try again to launch it.
Method 2
Try to delete Gradle Cache. If you don’t know where is the Gradle cache is located, you may look for:
- On Windows: %USERPROFILE%\.gradle\caches
- On Mac / UNIX: ~/.gradle/caches/
Method 3
To completely remove and reinstall the app from your device, you just need to type these code:
adb uninstall <package_name> in terminal.
Write your own package name in place of package_name
Method 4
If multiple users are set up on your device or in a case while testing the app on a device and you are trying to delete the app from your device. Then in this case the app doesn’t uninstall properly. Then follow this:
- Simply go to your Device (Mobile) Settings > Apps > [Your_App] > More > Uninstall App for All Users
- Now try to install and launch your app again.
Method 5
You can use the ./gradlew uninstallAll command instead of uninstalling the (just dragging to uninstall) app from your device .
Like Article
Suggest improvement
Share your thoughts in the comments
Please Login to comment...