Google Cloud Platform – Creating Google Cloud Console Account & Projects
Last Updated :
01 Feb, 2021
Google Cloud Platform (GCP) is a suite of cloud computing services offered by Google to the developers to implement the infrastructure used in Google products in their custom applications. GCP provides several cloud services for storage and computing and provides infrastructure as a service (IaaS), platform as a service (PaaS), and serverless computing environments.

To use any Google Services or implement any Google API in any custom application, one needs to have an account associated with GCP. GCP requires a developer to pay for the services being used or implemented in the application and furnish with billing information. Bills are sent every month, and the associated bank account or credit/debit card is auto-debited.
In general, due to less volume of requests made to the APIs or Services implemented (if the number of requests does not exceed the quota), no amount is debited. However, a bill is generated and sent to the developer.
We want you to set-up a GCP account to add Services and APIs to your applications through this article. This article shall be used as a future reference to set-up a GCP account.
Create an Account:
To create a Google Cloud Console account on GCP follow the below steps:
Step 1: Go to console.cloud.google.com and log in with your Google Account.
Step 2: If it is the first time, then the “Welcome” note appears, agree with all the terms and conditions, and finish.
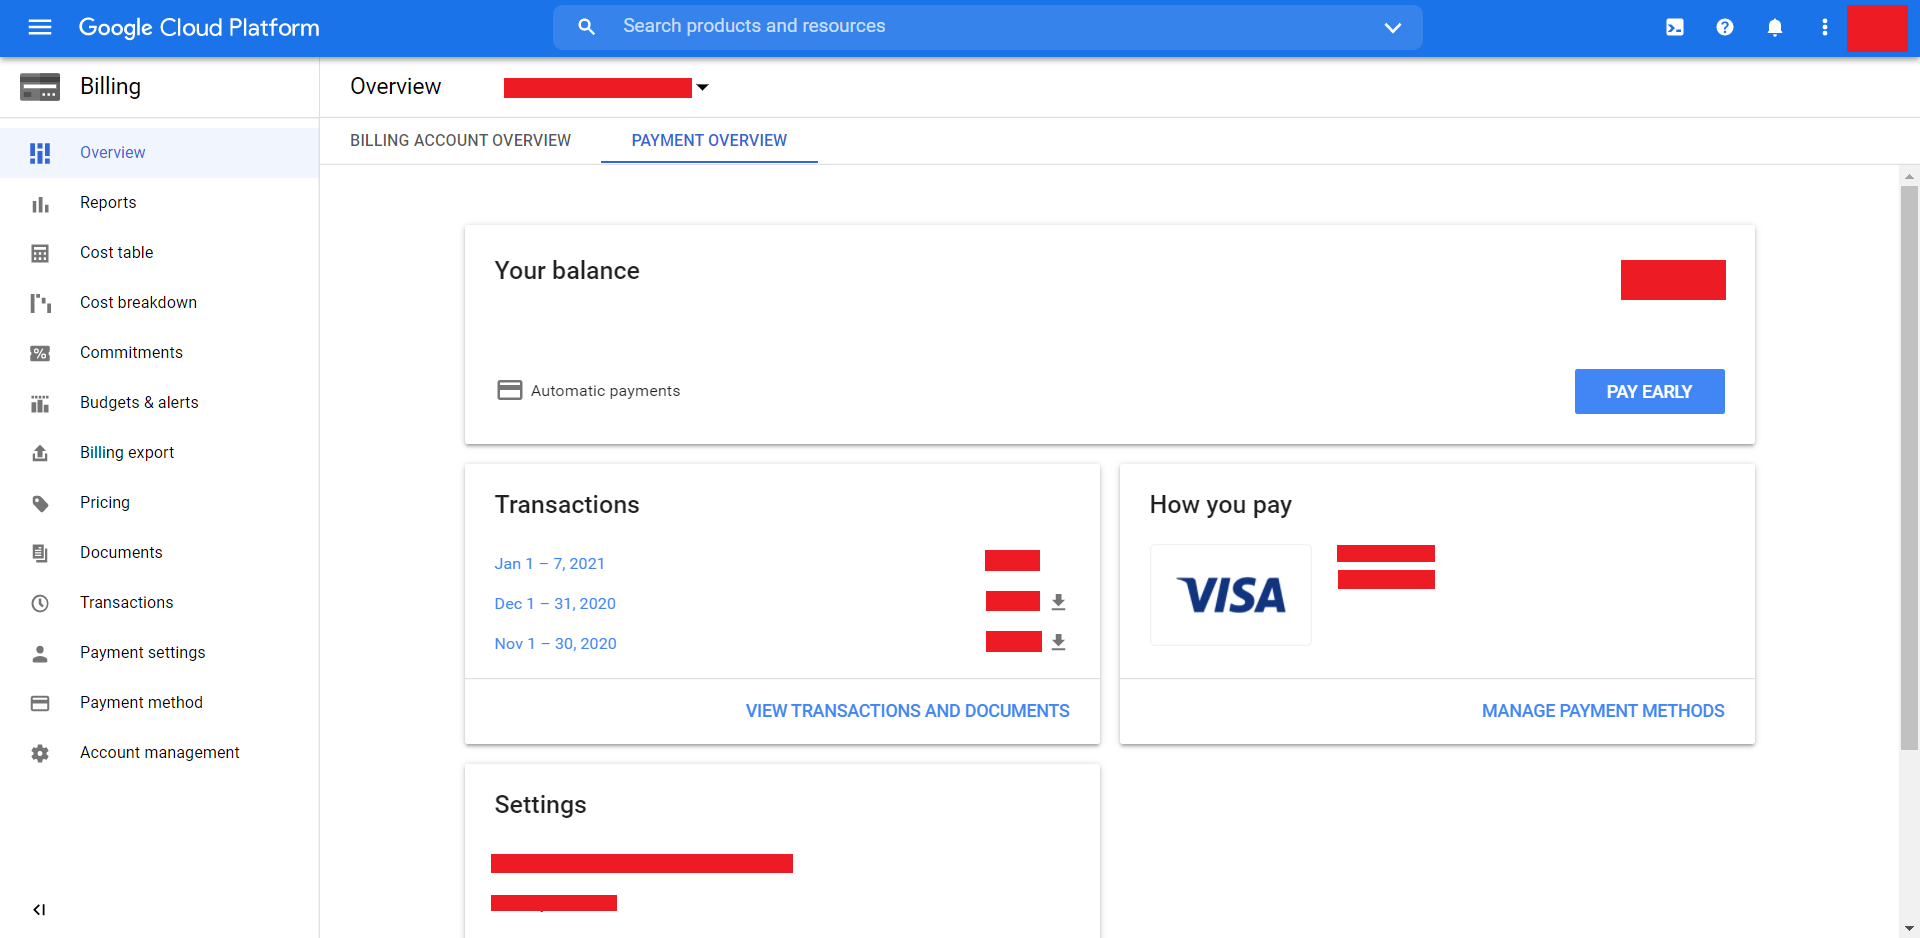
Step 3: Billing is required to use the APIs and services. To update it, click on the Billing option on the menu and complete the process (Credit/Debit Card details are captured and verified).
Step 4: After completing, the Billing page looks like this. (Sensitive information is censored)
Create a Project:
To create a project on the Google Cloud Platform, follow the below steps:
Step 1: The screen that you see is the Dashboard of your console.
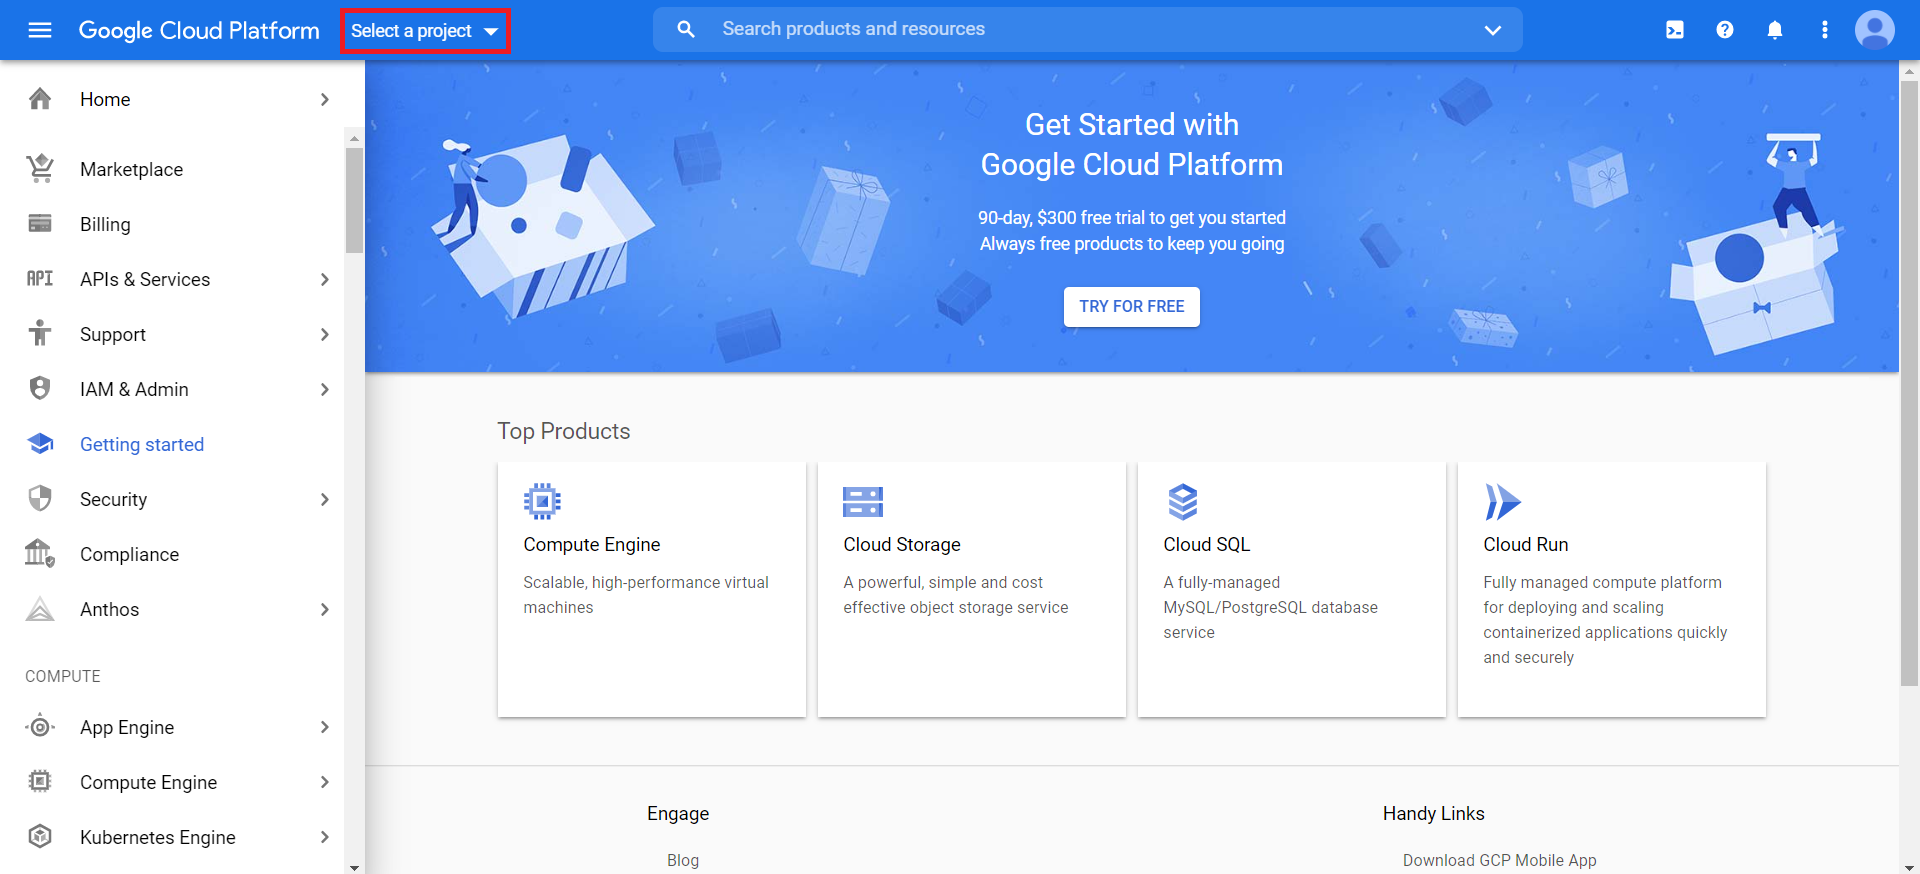
Step 2: To create a new project, or open an existing one, click on the “Select a project” option.
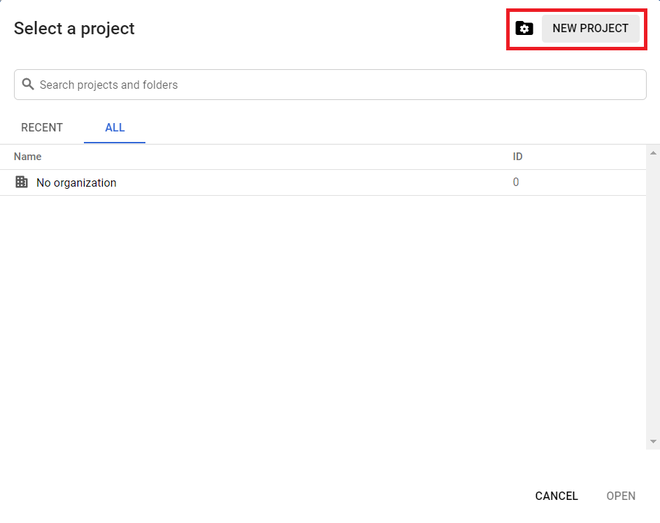
Step 3: A list of previously created projects appears under RECENT or ALL. Click on NEW PROJECT to create a new one.
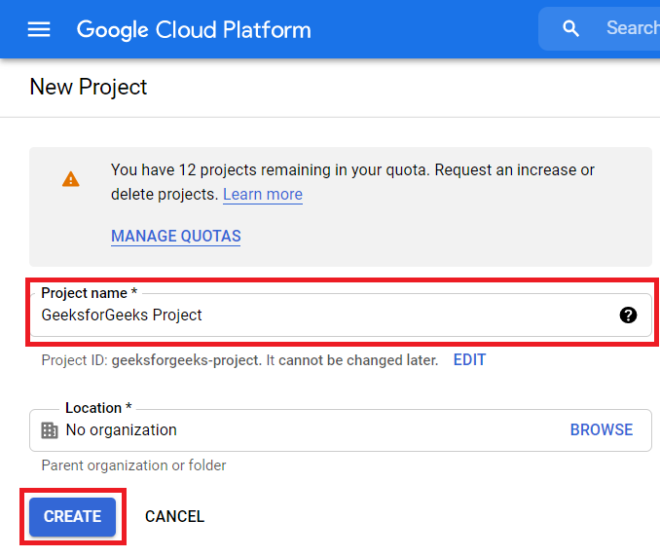
Step 4: Type in a Project name and click CREATE.
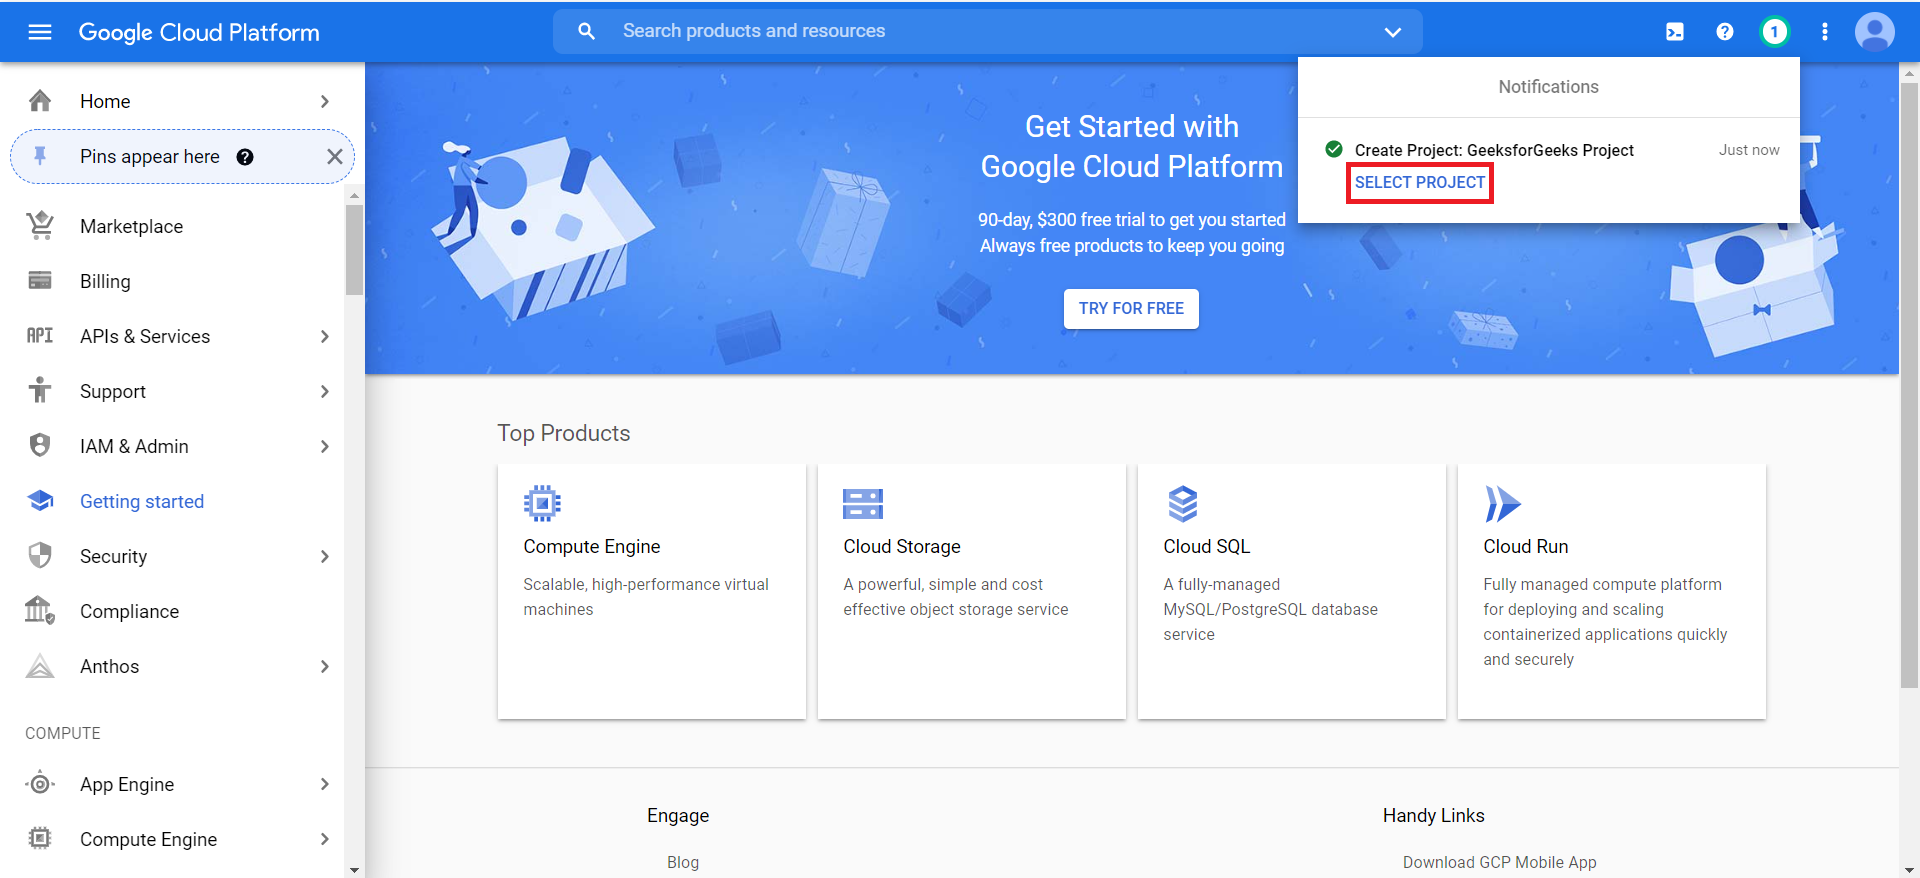
Step 5: The page is directed to the Dashboard and notifies about project creation. Once created, click on the SELECT PROJECT option in the Notifications.
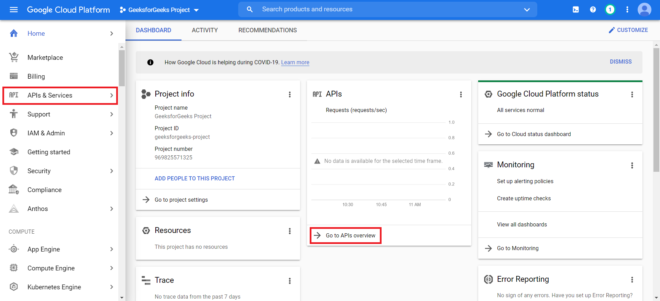
Step 6: The page is redirected to the project page displaying information about the project. To add APIs or Services, click either APIs & Services options from the menu or click on Go to APIs overview on the DASHBOARD.
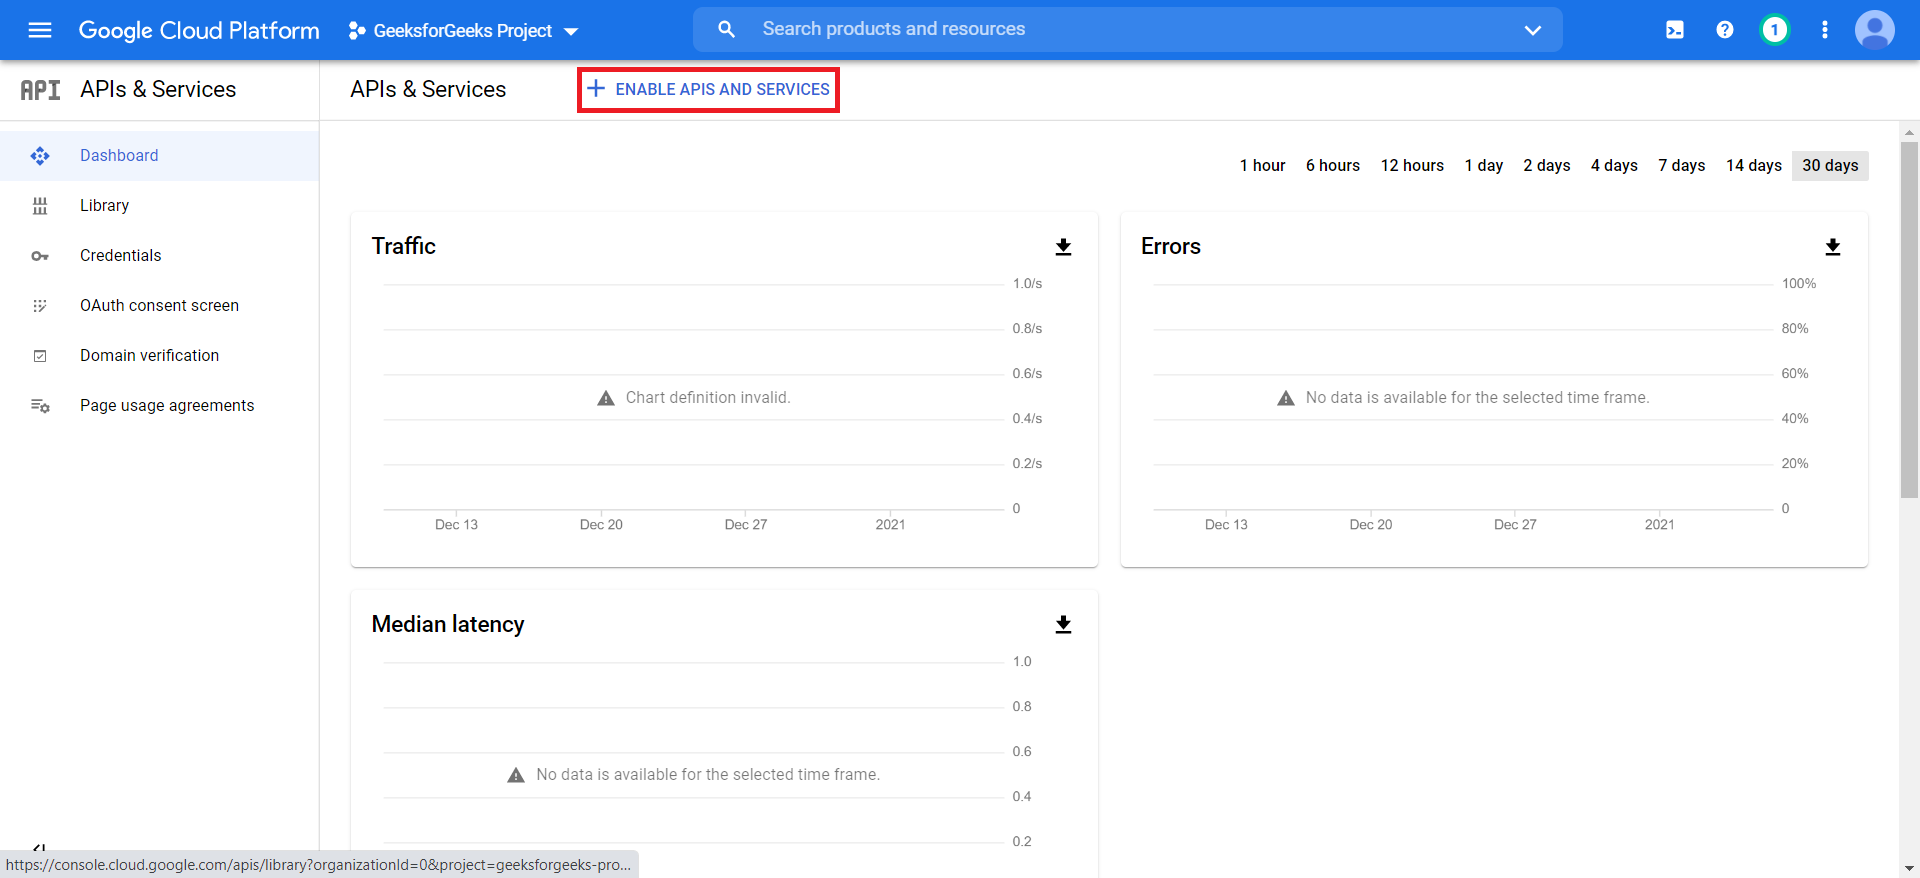
Step 7: Click on ENABLE APIS AND SERVICES OPTION below the search bar.
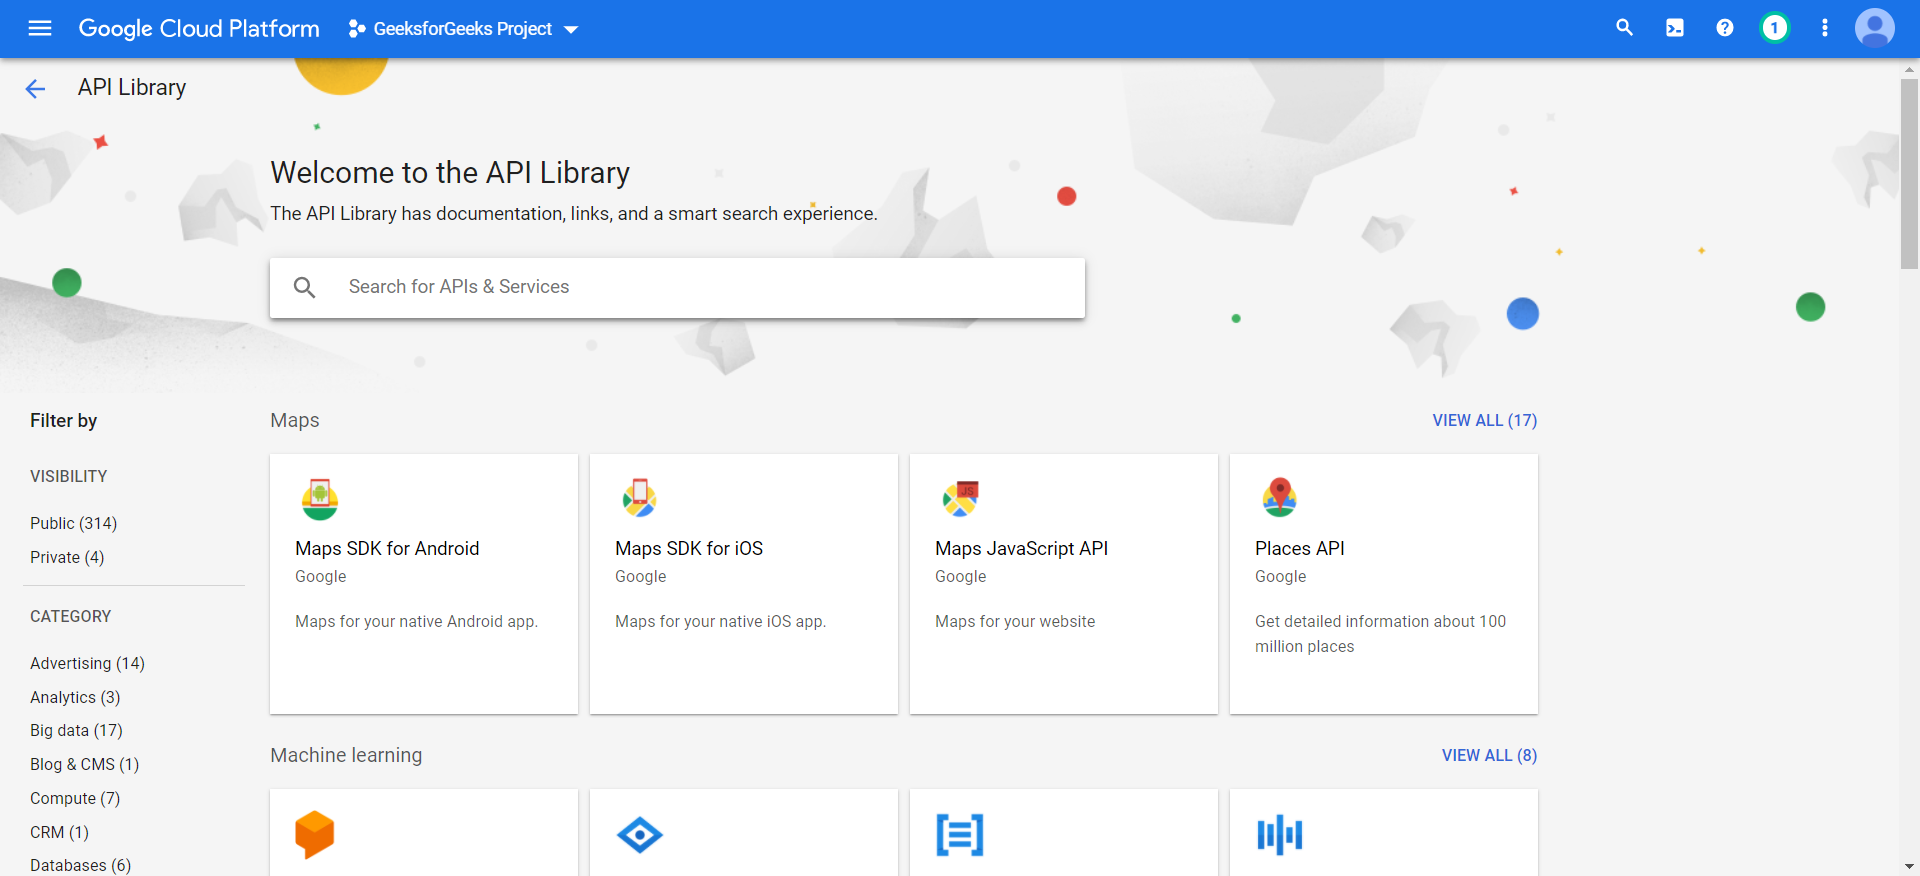
Step 8: Select the required API from the API Library displayed for implementing it into the application and follow the instructions for implementing specific API and Services for any device.
At this stage, you have a Google cloud console account and a new API or server enabled project on GCP to start up.
Like Article
Suggest improvement
Share your thoughts in the comments
Please Login to comment...