Hello World Bot Using Automation Anywhere
Last Updated :
08 Feb, 2021
Automation Anywhere is an automation technology that reduces human efforts by enabling us to create software bots to do the task in an error-free way. It greatly contributes to the productivity of tasks using the bots. The best part of Automation Technology is that it doesn’t require any kind of prior knowledge of programming as it completely works on GUI.
In this article, we will see the basic introduction to Automation Anywhere and how to create a basic Hello World bot using RPA.
There are 3 types of Bots in Automation Anywhere as shown below:
1. Task Bots
These type of bots are mostly used by IT professional to automate their work, used for tasks which would take repetitive tasks like these would reduce the error and helps us to complete the task in very little time
2. Meta Bots
These are the type of bots that are used to reduce the editing of our existing bot whenever a bot application update happens. These can be treated as building bots of automation as they automatically update to the specific bot.
3. IQ Bots
These type of bots are used to perform automation of advanced technologies, using advanced cognitive technology, they organize unstructured data while improving its skills and performance.
Implementation:
To implement a simple Hello World bot follow the below steps:
Step 1: Log in to automation anywhere community edition using the below link
https://community.cloud.automationanywhere.digital/#/login
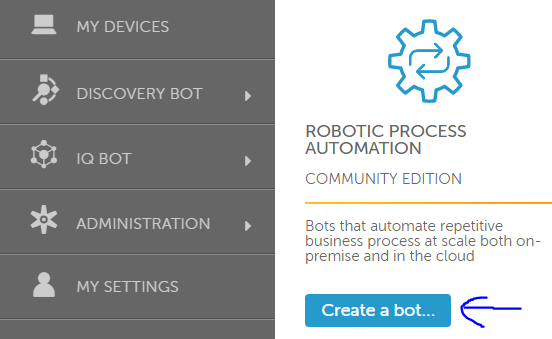
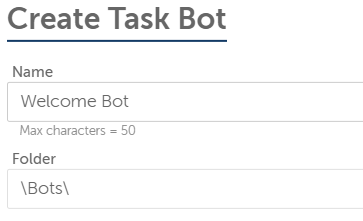
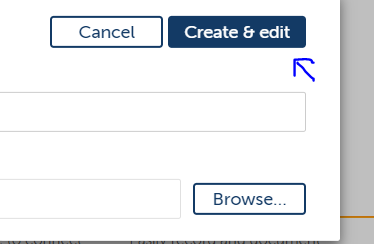
Step 2: From the home page click on Create a bot. And in the pop-up name the bot as Welcome Bot and click on Create and Edit.
Step 3: Now name the bot as “Welcome Bot” and click on Create and edit. Note that our bot is being saved in the \Bots\ directory, it can be changed accordingly and the description field can be left blank as it is an optional field
After few seconds you can find the pop-up on the screen as “Welcome bot Successfully created”. After performing the above steps the screen should look like this
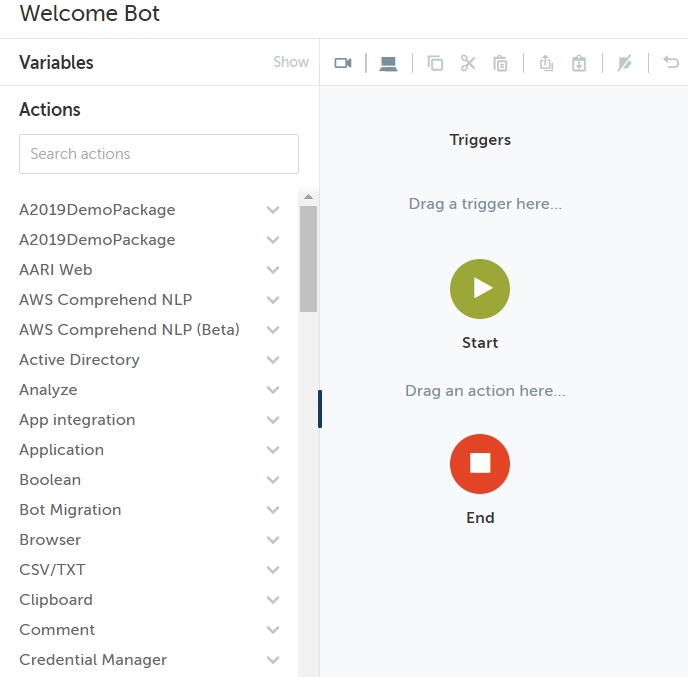
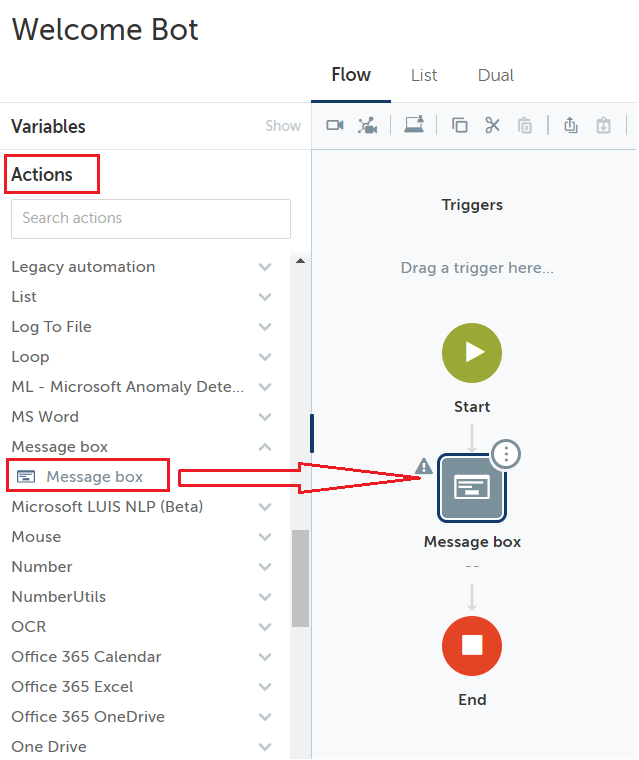
Step 4: Now you could see the labels as Variables, Actions, Triggers as a drop-down menu. Click on Actions. Identify the above picture to identify the ‘Actions’ label. Notice that all the actions available under this label are alphabetically ordered. Explore them and click on the Message box and drag it as shown in the below image
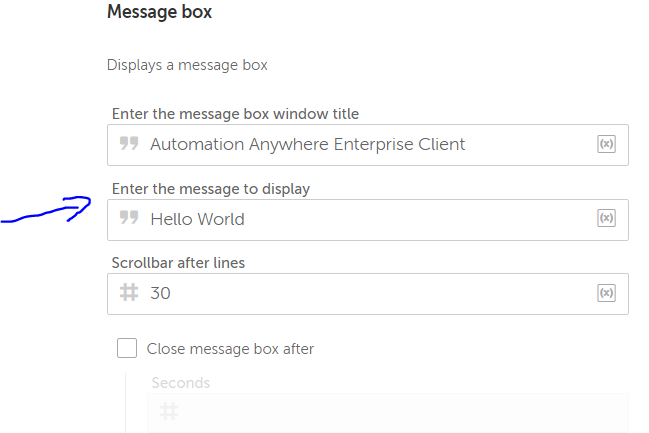
Step 5: Now click on the message box and on the right side window enter the message to display as ‘Hello World’.
Step 6: Now click on Save to save our bot.

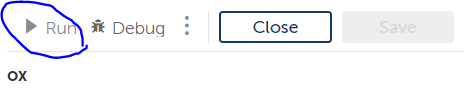
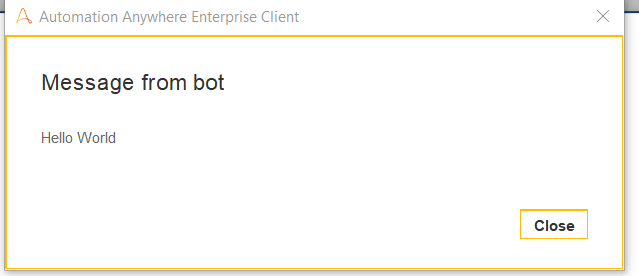
Step 7: Now click on Run in the top right corner to run the bot.
We have successfully created our bot.
Like Article
Suggest improvement
Share your thoughts in the comments
Please Login to comment...