How to create a bootstrap tooltip using jQuery ?
Last Updated :
04 Apr, 2023
Tooltip is like a balloon or also a small screen tip that displays text descriptions to any object in a webpage. A tooltip is displayed when the user hovers over an object using the cursor. It is a very useful part of a website and now can be found in almost all websites including some web applications like Adobe Photoshop, Adobe Illustrator, and many more. A tooltip is very helpful for new users, where the user can learn about the object by reading the tooltip text.
Now, having understood the basic concept of the tooltip, let’s learn how to create a tooltip using the Bootstrap framework and jQuery.
What is jQuery ?
jQuery is a JavaScript library that makes the manipulation of the HTML DOM (Document Object Model) properties very easily. So let’s start.
Step 1: First import all the Bootstrap CDN for Bootstrap CSS from the Bootstrap official website.
Bootstrap CSS:
<link href=”https://cdn.jsdelivr.net/npm/bootstrap@5.1.1/dist/css/bootstrap.min.css” rel=”stylesheet” integrity=”sha384-F3w7mX95PdgyTmZZMECAngseQB83DfGTowi0iMjiWaeVhAn4FJkqJByhZMI3AhiU” crossorigin=”anonymous”>
Bootstrap JS:
<script src=”https://cdn.jsdelivr.net/npm/bootstrap@5.1.1/dist/js/bootstrap.bundle.min.js” integrity=”sha384-/bQdsTh/da6pkI1MST/rWKFNjaCP5gBSY4sEBT38Q/9RBh9AH40zEOg7Hlq2THRZ” crossorigin=”anonymous”></script>
Step 2: Import the jQuery link to the HTML file from the official jQuery CDN website.
<script type=”text/javascript” src=”http://ajax.googleapis.com/ajax/libs/jquery/3.5.1/jquery.min.js”> </script>
Step 3: To create a tooltip, we have to add the ‘data-bs-toggle’ attribute to any element and to add the text that needs to be displayed when the tooltip hovers, we have to add the ‘title’ attribute to the HTML element.
<button type=”button” id=”tooltip” class=”btn btn-secondary” data-bs-toggle=”tooltip” data-bs-placement=”bottom” title=”Tooltip on bottom”>
Tooltip on bottom
</button>
(Here we have used buttons to show the tooltips effect, but, you can use tooltips with other bootstrap components too. The process is very same.)
Step 4: After that, add the jQuery piece of code to the HTML file given below inside the script tag:
<script>
    var tool = $("#tooltip");
    var tooltip = new bootstrap.Tooltip(tool, {
        boundary: $("body")
    })
</script>
Here in the above code, we use the Tooltip() function to make the tooltip trigger on mouse hover.
Note: Here we have made the tooltip text placement in the bottom, you can place it on left, right or top using the “data-bs-placement” attribute. Here, we have set it to “bottom”.
Step 5: Thus, we have successfully created the tooltip in Bootstrap using jQuery.
Here is the Full HTML code :
HTML
<!DOCTYPE html>
<html lang="en">
<head>
<meta charset="UTF-8" />
<meta http-equiv="X-UA-Compatible" content="IE=edge" />
<meta name="viewport"
content="width=device-width, initial-scale=1.0" />
<link
href=
rel="stylesheet"
integrity=
"sha384-F3w7mX95PdgyTmZZMECAngseQB83DfGTowi0iMjiWaeVhAn4FJkqJByhZMI3AhiU"
crossorigin="anonymous"
/>
<style>
button {
margin: 4em;
}
</style>
<title>Document</title>
</head>
<body>
<button
type="button"
id="tooltip"
class="tool btn btn-secondary"
data-bs-toggle="tooltip"
data-bs-placement="bottom"
title="Tooltip on bottom"
>
Tooltip on bottom
</button>
<script
src=
integrity=
"sha384-/bQdsTh/da6pkI1MST/rWKFNjaCP5gBSY4sEBT38Q/9RBh9AH40zEOg7Hlq2THRZ"
crossorigin="anonymous"
></script>
<script
type="text/javascript"
src=
></script>
<script>
var tool = $("#tooltip");
var tooltip = new bootstrap.Tooltip(tool, {
boundary: $("body"),
});
</script>
</body>
</html>
|
Output:
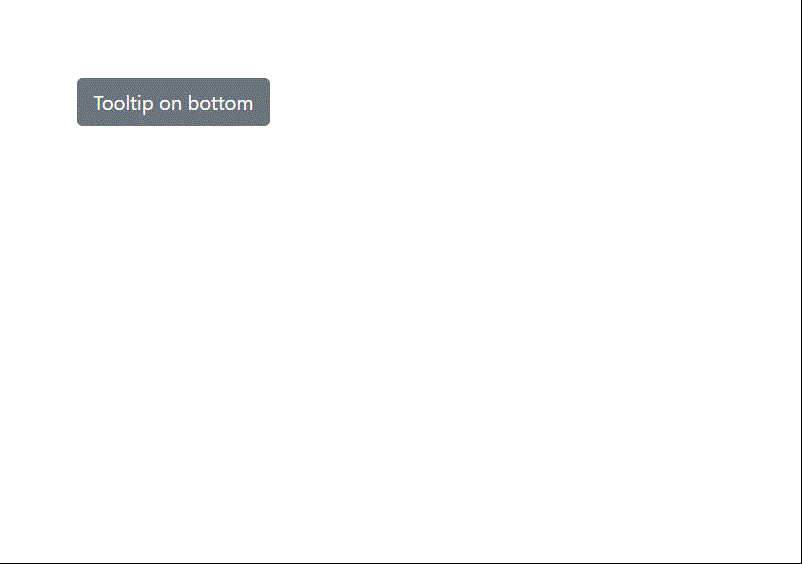
Tooltip using Bootstrap and jQuery
Aligning Tooltip
Now, after that, we can also define the direction of the tooltip message on different directions like bottom, top, left, right, etc.
To align the tooltip to different positions, we need the ‘data-bs-placement’ attribute to the bootstrap object. There are four placement options available with it. They are:
1. Top – to place the tooltip on the top of the object.
Syntax:
<button type=”button” class=”btn btn-secondary” data-bs-toggle=”tooltip” data-bs-placement=”top” title=”…”>
…
</button>
2. Bottom – to place the tooltip on the bottom of the object.
Syntax:
<button type=”button” class=”btn btn-secondary” data-bs-toggle=”tooltip” data-bs-placement=”bottom” title=”…”>
…
</button>
3. Left – to place the tooltip on the left of the object.
Syntax:
<button type=”button” class=”btn btn-secondary” data-bs-toggle=”tooltip” data-bs-placement=”left” title=”…”>
…
</button>
4. Right – to place the tooltip on the right of the object.
Syntax:
<button type=”button” class=”btn btn-secondary” data-bs-toggle=”tooltip” data-bs-placement=”bottom” title=”…”>
…
</button>
Like Article
Suggest improvement
Share your thoughts in the comments
Please Login to comment...