How to Customize Pagination in Next.js ?
Last Updated :
05 Jan, 2023
In this article, we will learn How we can add customized pagination in the NextJS project using Algolia. NextJS is a React-based framework. It has the power to Develop beautiful Web applications for different platforms like Windows, Linux, and mac. The linking of dynamic paths helps in rendering your NextJS components conditionally.
Approach: To add our customized pagination first we are going to create an account in algolia that enables us to search content in milliseconds. After that, we will get the API keys that we will use later in our app. Then we will create a new index to upload our data. On the homepage of our app, we will fetch the data from algolia using the API keys and algoliasearch module. Then we will create our customized pagination.
Create NextJS Application:
Step 1: You can create a new NextJs project using the below command:
npx create-next-app gfg
Step 2: To add Algolia search in our project we are going to install two modules:
npm install algoliasearch react-instantsearch-dom @material-ui/core @material-ui/lab
Project Structure: It will look like the following.

Step 3: Setting up Algolia. Algolia enables developers to build next-generation apps with APIs that deliver relevant content in milliseconds. So to use algolia first create a free account and get the API keys of that account.
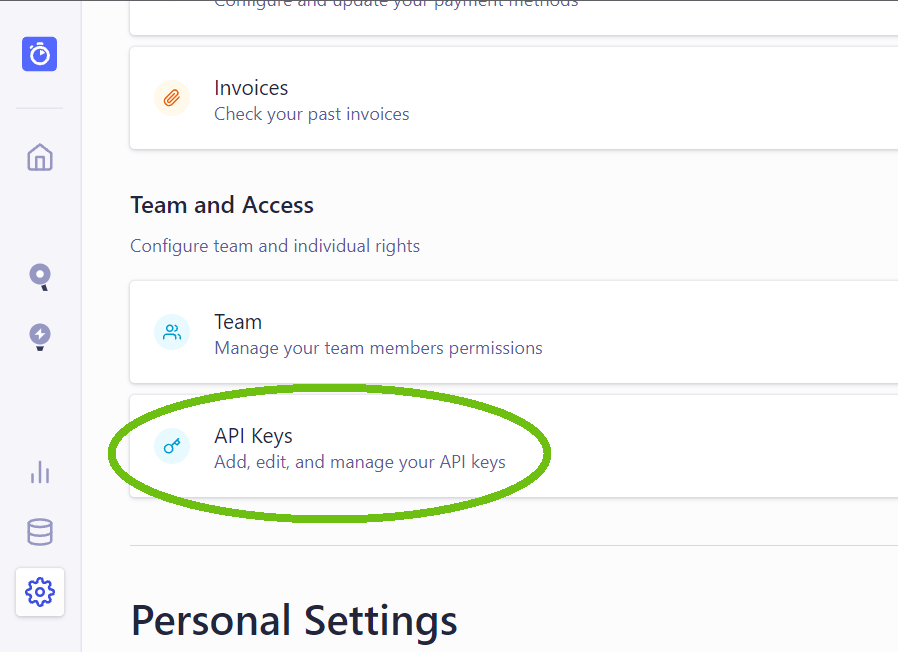
1. To get the API keys Go to settings > API Keys
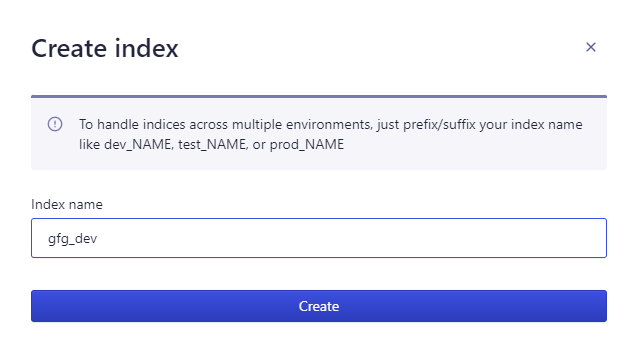
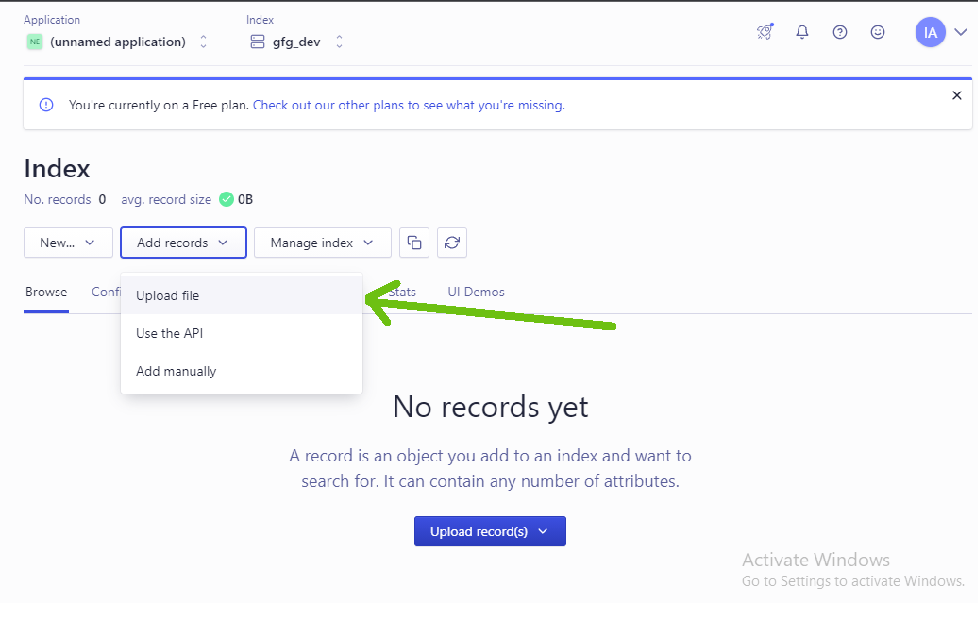
2. After that create an index and upload the data that you want to search. You can upload the data in json, csv format or by using their API.
For this example, I am uploading the below data.
Title, Tag, Day
GFG1, python, Monday
GFG2, java, Tuesday
GFG3, css, Wednesday
GFG4, html, Thursday
GFG5, react, Friday
GFG6, nextjs, Saturday
Step 4: Now we will create custom pagination for our app. For this, we will create a new file inside a new components folder with the below content.
Javascript
import React from 'react';
import { makeStyles } from '@material-ui/core/styles';
import Pagination from '@material-ui/lab/Pagination';
import { connectPagination } from 'react-instantsearch-dom';
const useStyles = makeStyles((theme) => ({
root: {
'& > *': {
marginTop: theme.spacing(2),
},
},
}))
function Pagin({ currentRefinement,
nbPages, refine, createURL }) {
const classes = useStyles();
const handleChange = (event, value) => {
event.preventDefault();
refine(value);
};
return (
<div className={classes.root} >
<Pagination count={nbPages} shape="rounded"
onChange={handleChange} />
</div>
);
}
export default connectPagination(Pagin);
|
Step 5: Now we can use the API to add the customized pagination in NextJs Project. After that to use our customized pagination we are going to add the below code in the index.js file.
Javascript
import algoliasearch from "algoliasearch/lite";
import { InstantSearch, Hits, Configure }
from "react-instantsearch-dom";
import Pagination from "../components/CustomPagination";
const searchClient = algoliasearch(
APPLICATION_API_KEY,
SEARCH_ONLY_API_KEY,
);
export default function CustomizedFilter() {
return (
<>
<InstantSearch
searchClient={searchClient}
indexName="gfg_dev">
<Configure hitsPerPage={3}/>
{}
<Hits />
{}
<Pagination totalPages={5}/>
</InstantSearch>
</>
);
}
|
You can also add styling using CSS in our customized Pagination.
Steps to run the application: Run the app using the below command in the terminal.
npm run dev
Output:

Like Article
Suggest improvement
Share your thoughts in the comments
Please Login to comment...