Netlify is one of the most popular hosting services that specialize in hosting server-less services for web applications and static websites. It is a web development program that quadruples productivity. By unifying the elements of the modern decoupled web, from local development to advanced edge logic, Netlify enables a faster path to much more performant, secure, and scalable websites and apps. Therefore it is not a stretch to say that it is one of the best services out there for hosting frontend React applications that may or may not have a dedicated database or backend.
Pre-requisites for this task:
- Having node.js installed on your computer.
- Have git installed on your computer.
- A Github account.(for method 2)
- A Netlify account.
- An IDE like VS code.
Now we will create a dummy React application using the following steps.
Creating React Application:
Step 1: Create a React application using the following command:
npx create-react-app foldername
Step 2: After creating your project folder i.e. foldername, move to it using the following command:
cd foldername
Project Structure: It will look like the following.
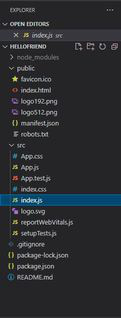
Dummy React app project structure
This is how the structure of the newly created React application will look like. As you can see, React, being user-friendly, creates a dummy template for us to use so that we can make changes and add more javascript components with ease. You can easily create a simple calculator application or rock-paper-scissors and that too, without ever needing to create a node server, this is what it means to be a server-less(static) application or website.
Here, we should only concern ourselves with two of these files that have been created namely App.js and index.js. The App.js file is referred to as our default component, which that it will be executed first amongst all the other components that we may create going forward.
App.js
import logo from './logo.svg';
import './App.css';
function App() {
return (
<div className="App">
<header className="App-header">
<img src={logo} className="App-logo" alt="logo" />
<p>
Edit <code>src/App.js</code> and save to reload.
</p>
<a
className="App-link"
target="_blank"
rel="noopener noreferrer"
>
Learn React
</a>
</header>
</div>
);
}
export default App;
|
The index.js is the file that will first be read by Netlify when deployed. Thus, the App.js component has been passed to index.js and it is rendered inside the ReactDOM.render function.
index.js
import React from 'react';
import ReactDOM from 'react-dom';
import './index.css';
import App from './App';
import reportWebVitals from './reportWebVitals';
ReactDOM.render(
<React.StrictMode>
<App />
</React.StrictMode>,
document.getElementById('root')
);
reportWebVitals();
|
Step to Run Application: Run the application using the following command from the root directory of the project:
npm start
Output: Now open your browser and go to http://localhost:3000/, you will see the following output:
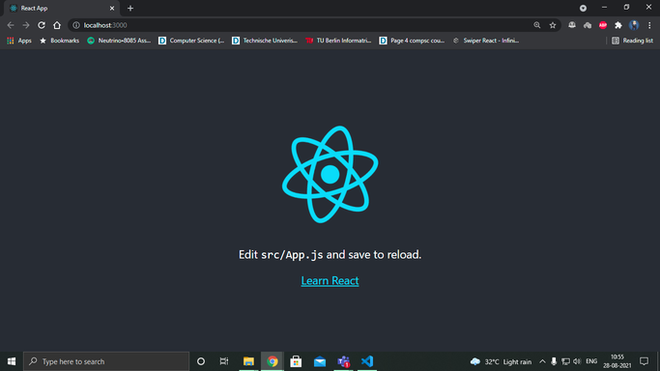
Dummy app running on localhost:3000
Now we will see how to deploy our above create react application on netlify. There are mainly two methods for performing this task:
Method 1: Using the netlify-cli(may not work in some cases). Below is the step by step implementation:
Step 1: Open the terminal and run this command,
npm run build
Note: This command will create a production build for our app which can be then deployed by the Netlify-cli.

Creation of the production build
Step 2: Install the dependency,
npm install --save-dev netlify-cli -g

Installing the netlify-cli dependency
Step 3: First we need to initialize a project in Netlify so run the command:
netlify init

Here, select Create and configure a new site.

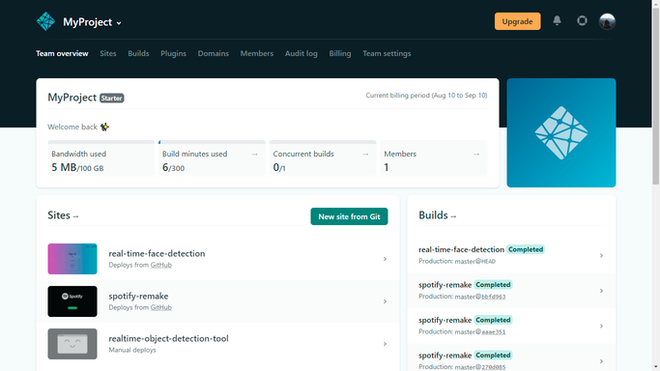
Here, if you don’t have a project, you would need to create one, otherwise use the previously created one. I am using my previously created project “MyProject”.

You will be asked to give a site name. After giving a site name, the site URL will be created but its still not deployed.
Step 4: Now we will deploy the app using the following command.
netlify deploy

Site is deployed after running the command
Now we use the previously created URL, to open our deployed site.

URL for site created using Method 1: https://hellofriend-v2.netlify.app
Method 2: Using github repository to deploy the app(the preferred method). Below is the step by step implementation:
Step 1: Open github on your default browser and sign-in to your account.
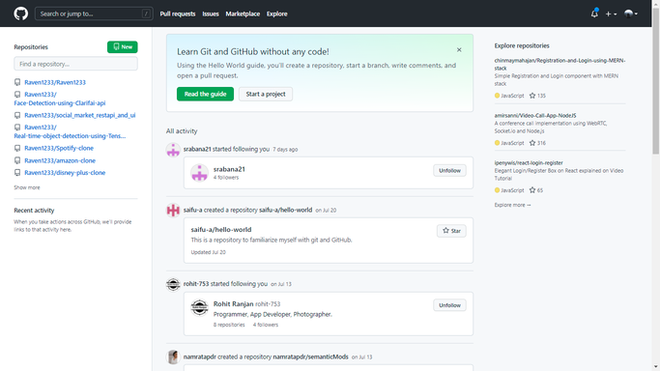
Click on “New” on the top-left
Step 2: Select “New Repository”. In the repository creation panel, give the repository a name and choose visibility to be “private”.
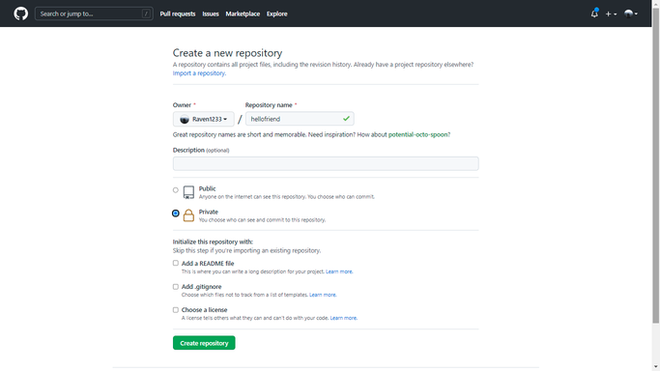
Repository creation panel
Step 3: After creating the repository, navigate to your project directory and open git bash, by right-clicking and selecting the option “Git Bash Here”.
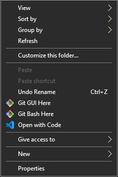
Select Git Bash
Step 4: Inside git bash, type the following commands in the exact order.
git init
git add .
git commit -m "first commit"
git remote add origin <the SSH key for your newly created repo>
git push origin master
Your app will now be uploaded to Github.
Note: The SSH key will be available on the page of the newly created empty repository.
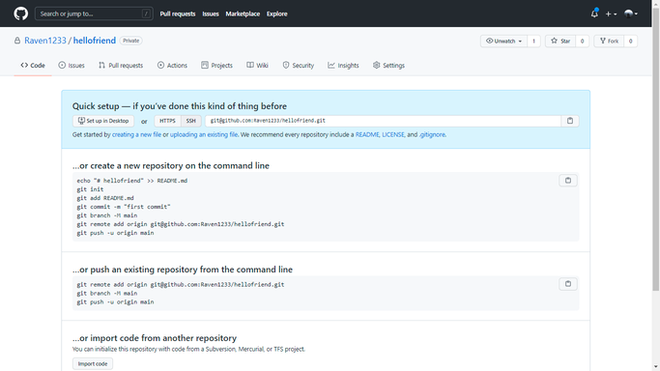
Your SSH key is present under the “Quick setup” panel
Step 5: Now go to Netlify.com on your default browser. Click on “New site from Git”
Select “New site from Git”
Step 6: In the following page, select the option Github.
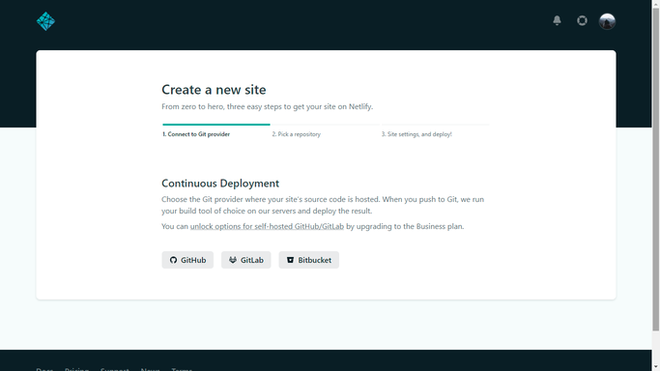
Select GitHub from below
Step 7: Select the repository where you have uploaded the app.
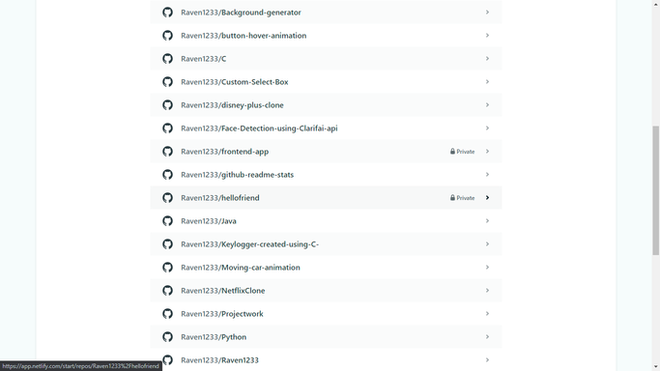
Pick your repository from the list
Note: The repository that we pick is “hellofriend”.
Step 8: After that, simply click on Deploy. Netlify will start to deploy your app and you will have to wait for a few minutes.
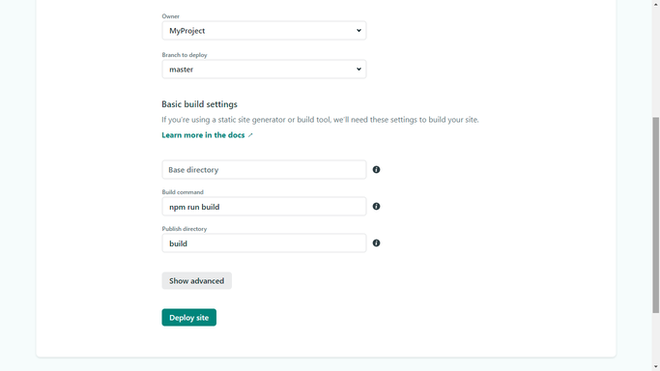
Click on “Deploy site” to start deploying the app.
Step 9: After its done, you can view the app using the URL it creates.
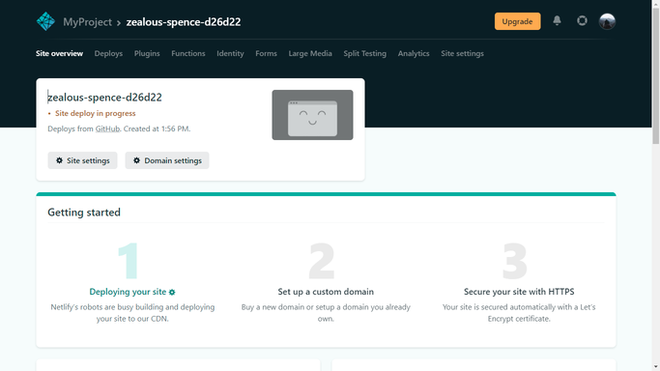
Site deploy in-progress
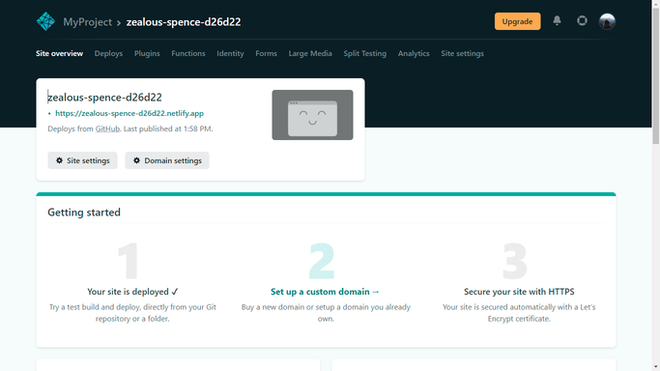
Site has been deployed. Use the link to view the app.

The deployed app
Note: We had changed the name of the domain to “hello-f4iend”. You can do this by yourself in the Netlify site settings.
Check out the deployed site here(using Method 2): https://hello-f4iend.netlify.app/
This is a very useful bit of information that in my opinion, everyone should possess so they are able to deploy their creations with ease.
Like Article
Suggest improvement
Share your thoughts in the comments
Please Login to comment...