How to Enable Vt-x in BIOS Security Settings in Intel Processors For Android Studio?
Last Updated :
24 Feb, 2021
When a newbie tries to set up the Android Studio for the first time, the users will face this error, and this kind of error normal for the geeky guy or tech guru, But for beginner people, this is a tedious task. Let’s break down all the related words and try to put some light on these techie things. Let’s get started now.
What’s Vt-x?
Vt-x is the Intel Virtualization Technology. And this helps to run multiple Operating Systems on a computer simultaneously. In the intel processors, it’s referred to as Vt-x but in the case of AMD processors, we will see AMD-V or Hyper-V (specially ryzen processors ) technologies. So these all things are Virtualization technology and they help to run different os instance in our system at a time. For example to run VirtualBox or VMware we have to enable it. Because in these types of software we install some different os virtually and run them. Here we do not install those operating systems in our hard drive we just install those os instances virtually in VMware or VirtualBox and run these operating systems independently and at the same time.
Why we have to enable vt-x in BIOS Security Settings in Android Studio?
Yeah, we get that what is vt-x and all those technologies but the question is why we need to enable it for Android. If you have that question in your mind, let me clarify that as we have discussed above to run any os virtually we need to enable virtualization technology that may be vt-x or AMD-v, or HyperV. In case if you don’t know AVD(Android Virtual Device) is also a virtual machine that runs Android os. I think now you get clear. Android is nothing but an os and to run that we need a virtual machine and that machine or software is AVD. And to run AVD we need to enable virtualization(Vt-x / AMD-V / HyperV).
What are the problems you will face?
When you download Android Studio and try to create an emulator in AVD manager or download an instance of Android OS like lollipop or Nougat or marshmallow version. You will face errors like these.
Note: This article will help if you have an intel processor. If you have an AMD processor in your system please avoid following these steps. If you have an AMD processor then the errors will different and we will discuss that in the next article.
If you look properly you can see Vt-x disable in the bios. These images are some examples of errors you will face.
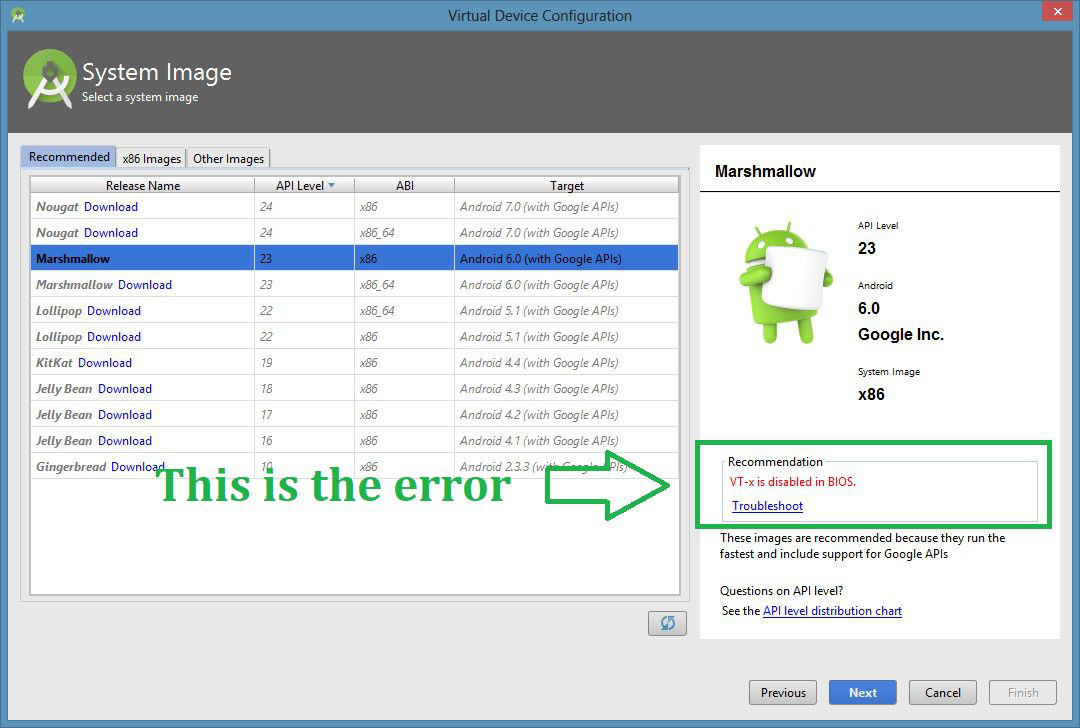
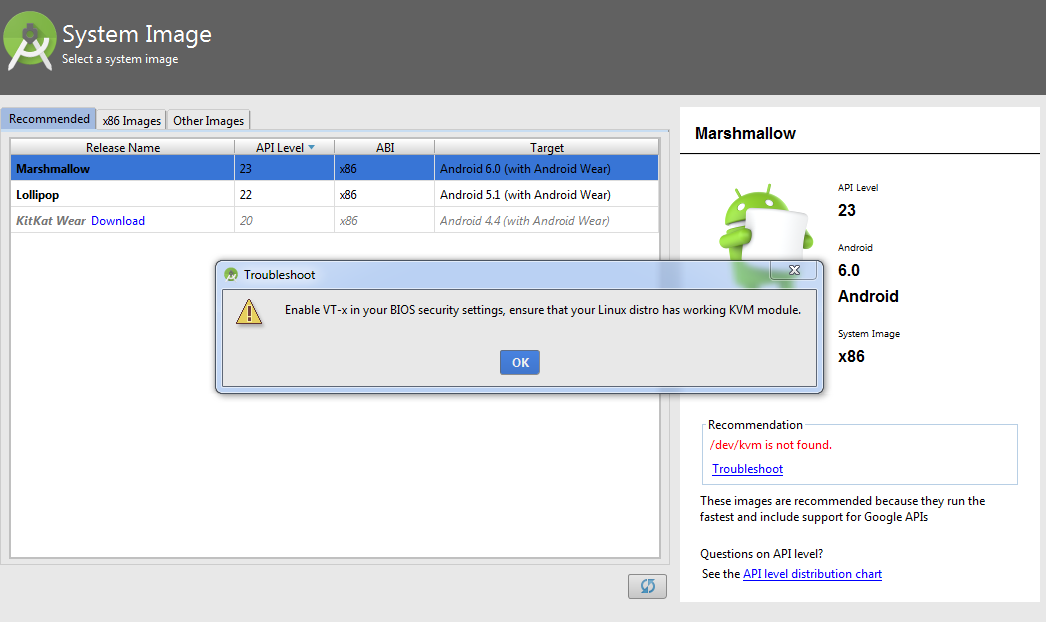
If you get these errors do not panic. You can easily solve it following few steps.
How to fix the issue?
Step 1: Check virtualization is enable or not
Hit the windows button or windows icon search for task manager. Click the Task Manager.
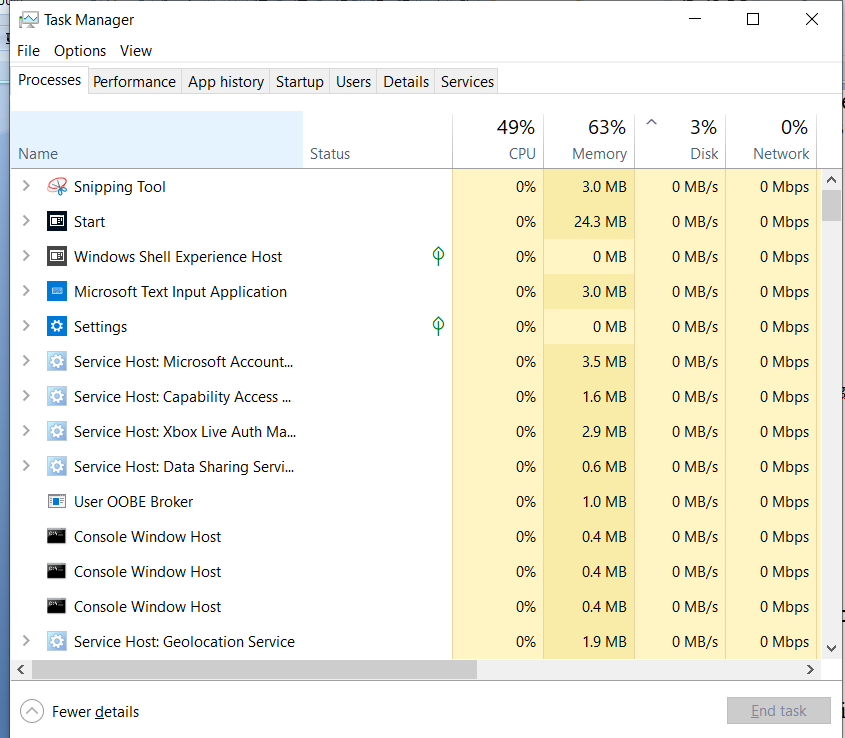
Click on the performance.
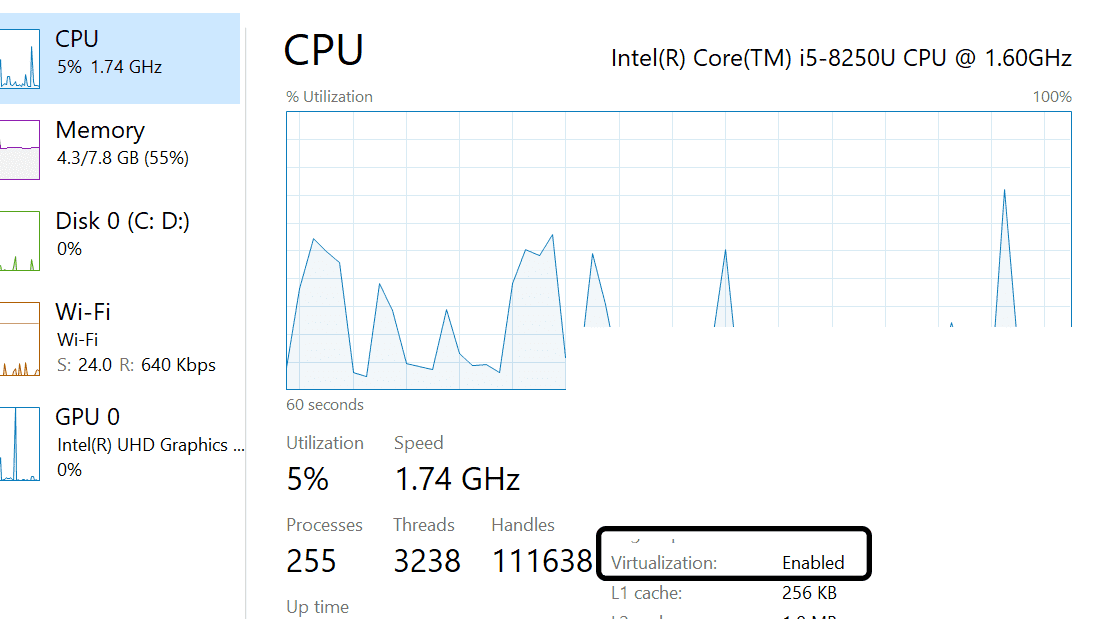
Now you can check that Virtualization is enabled or not, In my case, this is enabled but in your case, it will be disabled. Now to enable that follow the below steps.
Step 2: Restart your pc
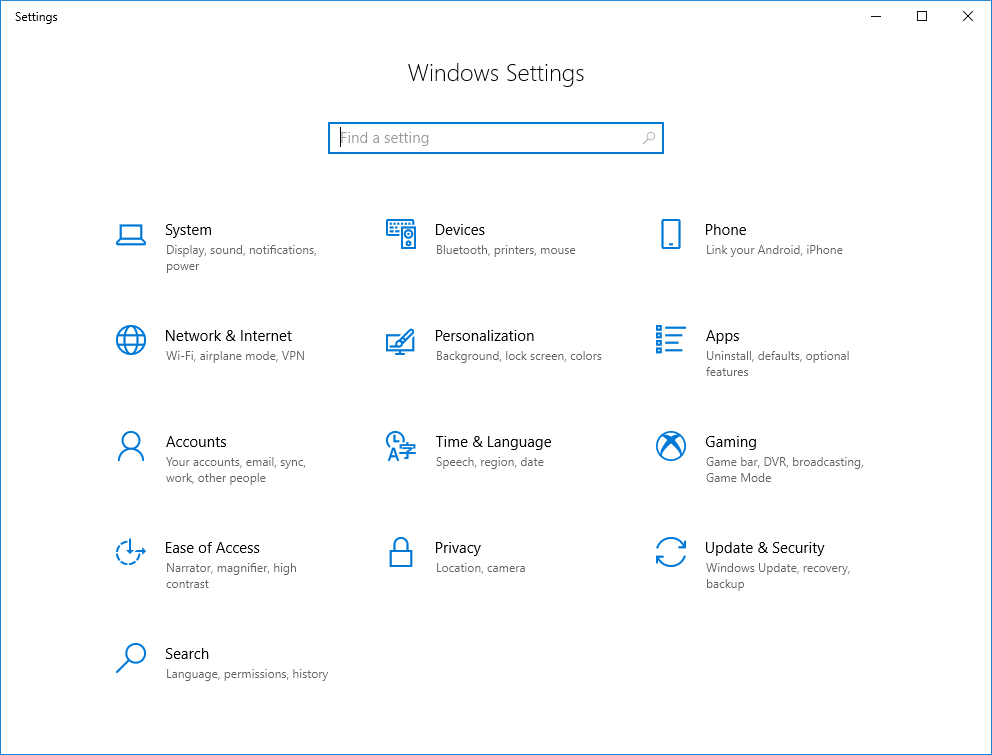
Now press the Windows button on your keyboard or click the windows icon on your screen and click on the setting icon Or you can search the setting in the search bar near the windows icon. Now click on Update & security.
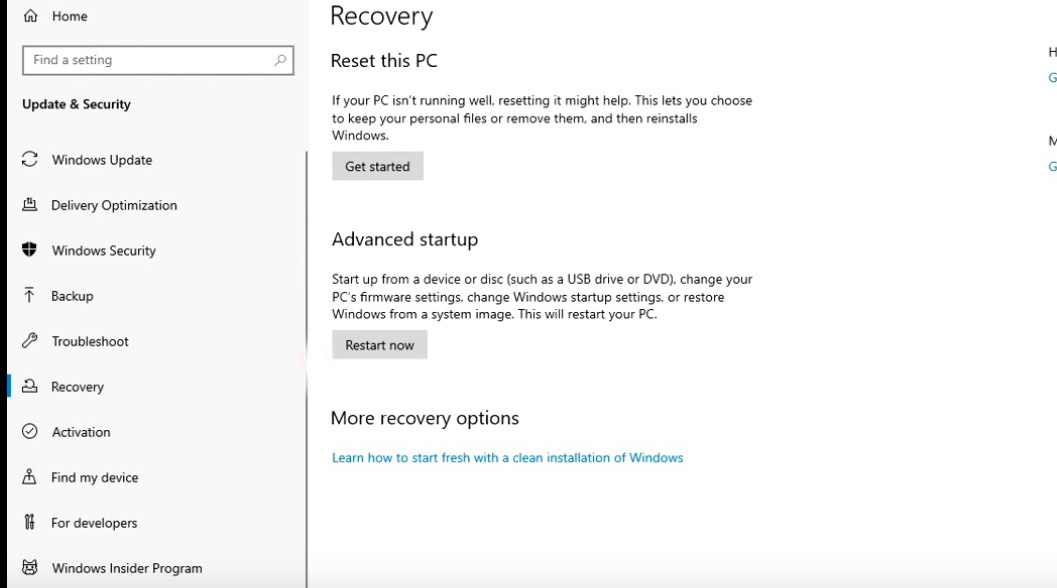
Now click on recovery from the left side panel and click on the restart now button
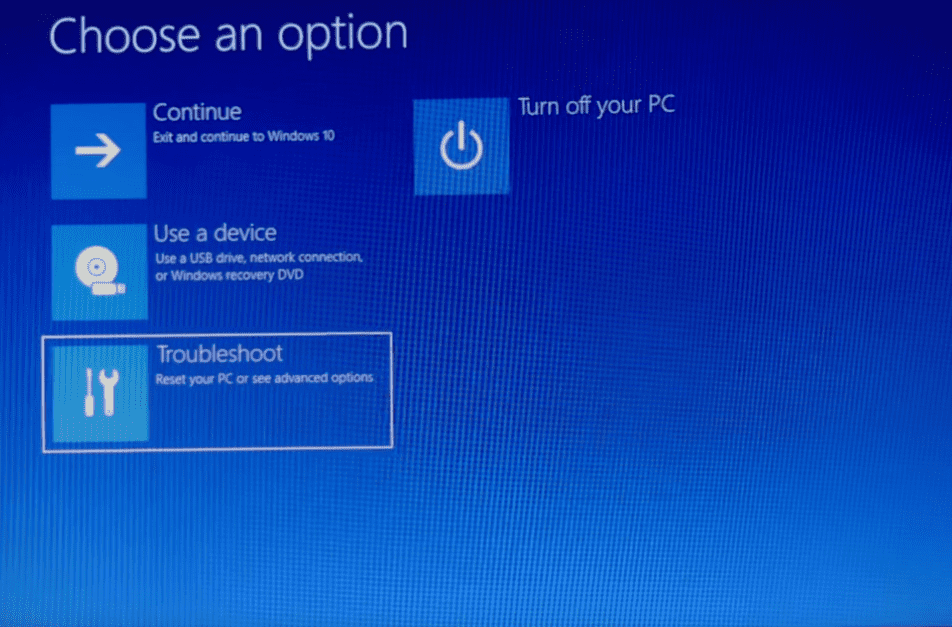
Now click on the troubleshoot.
Now click on the advance option.

Now click on the UEFI Firmware Settings
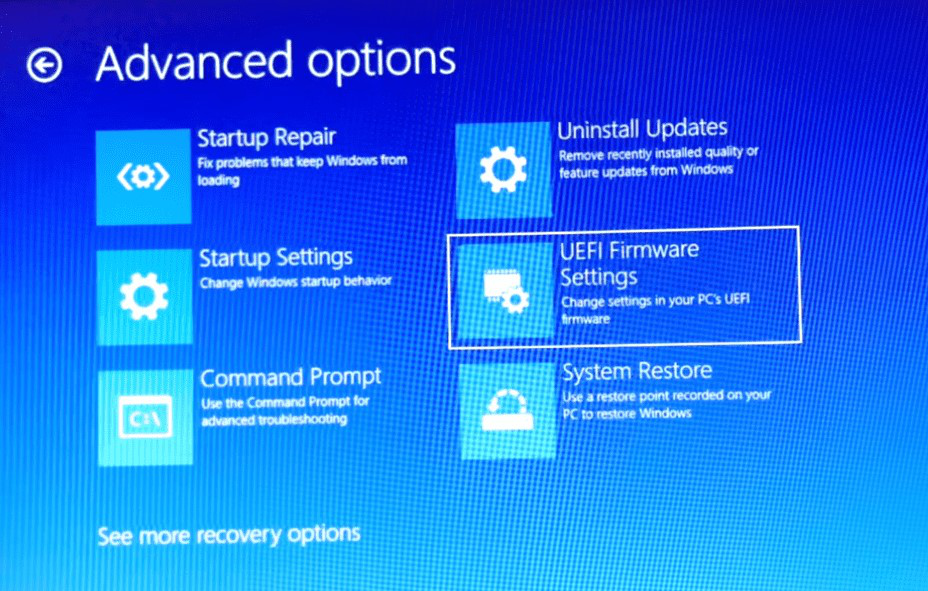
Now click on restart.

Step 3: Update virtualization in BIOS
This is the trickiest part, while restarting you have to enter into the BIOS setting of your PC. Different PC brands have different shortcuts, here I am giving few examples,
- ASUS: F2 for all PCs, F2 or DEL for Motherboards
- Acer: F2 or DEL
- Dell: F2 or F12
- HP: F10
- Lenovo: F2 or Fn + F2
(You will get F1, F2, F3 functional keys above the number keys in your keyboard).
After getting into the BIOS setting u will see a screen like this.

You can see something like this, now press F10 to get into the Bios setting.
Now by pressing the right arrow key you have to select the system configuration tab.
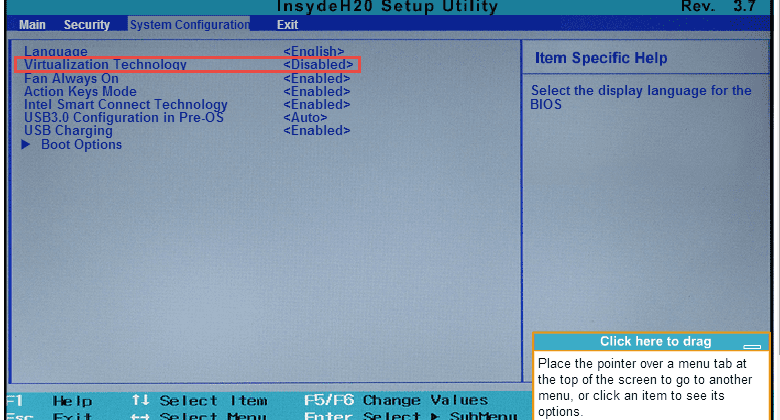
Now just select the Virtualization technology by pressing the down arrow key and hit enter key to enable it.
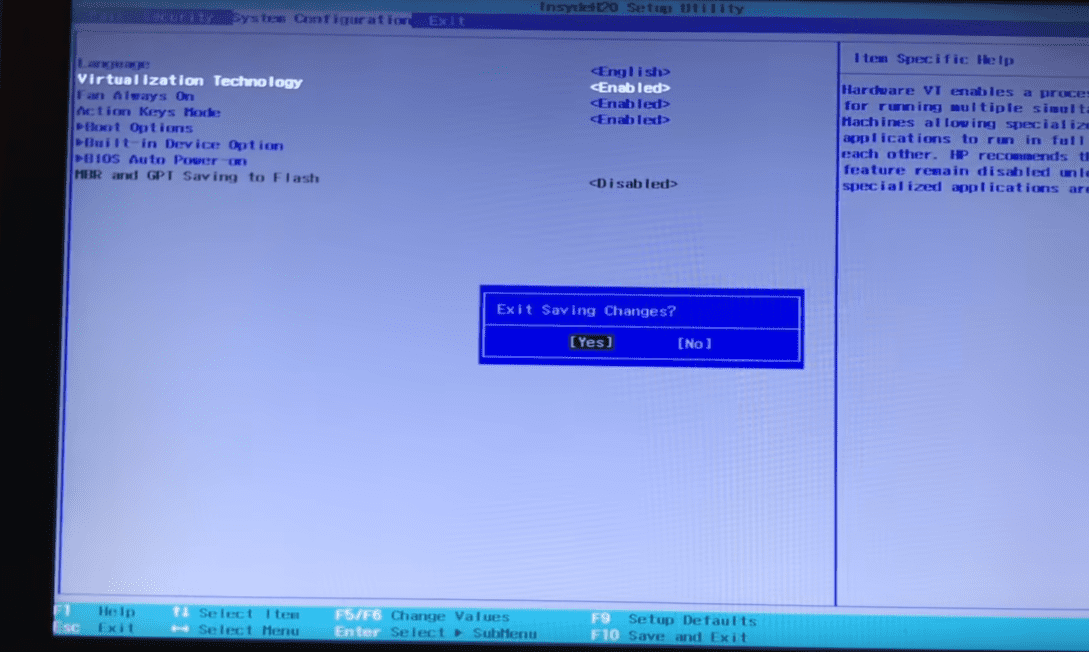
Now press F10 to save & exit and hit enter. Now the system will automatically boot up. You can check in your setting your virtualization is enabled. Now try to download or open the emulator in Android studio and you can see your screen.
Share your thoughts in the comments
Please Login to comment...