How to fix “Android Studio doesn’t see device” in Android Studio?
Last Updated :
28 Dec, 2022
In Android Studio, sometimes the list of devices and emulators doesn’t list your physical device when you try to plug it in. Or you may have faced a situation when you plugged the phone in for the first time, no dialog appeared asking if you trust the computer. But the laptop is already allowed to connect to the mobile device. However, the button Run does not allow to the deployment of the app to the connected device because it thinks that there is no connected device. So you may get confused about what’s wrong with the device. Before doing anything, just check the following configuration. Configuring Your System to Detect Your Android Device
- Install the USB driver for your Android device.
- Enable USB debugging on your Android device.
- If necessary, install the Android development tools (JDK/SDK/NDK).
- Add your Android SDK to the RAD Studio SDK Manager.
- Connect your Android device to your development system using the USB cable provided with your device.
Even if you have done everything that is mentioned above, if you get this error “Android Studio doesn’t see the device”, then you are on the right page. This article is for such programmers. In this article, there are five methods listed below to solve this issue.
How To Solve “Android Studio doesn’t see the device”
Method 1
To change what your application defaults to when you click to run or debug in Android Studio, follow these steps:
Step 1: Go to the Run (on the left corner) then click on Edit Configurations.
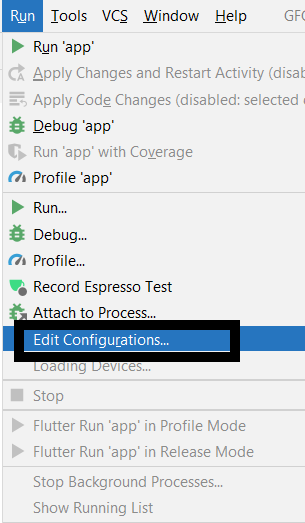
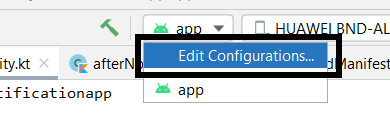
Or you can just click here to find the “edit configurations” tab:
Step 2: Select the project. Find the Target Device section under the General tab on the Android Application page.
That seems to be where you toggle what the project builds too. If you’re importing a project it actually defaults to Emulator, not sure why. You can also select “Open Select Deployment Target Dialog” to list both connected as well as emulated devices.
Method 2
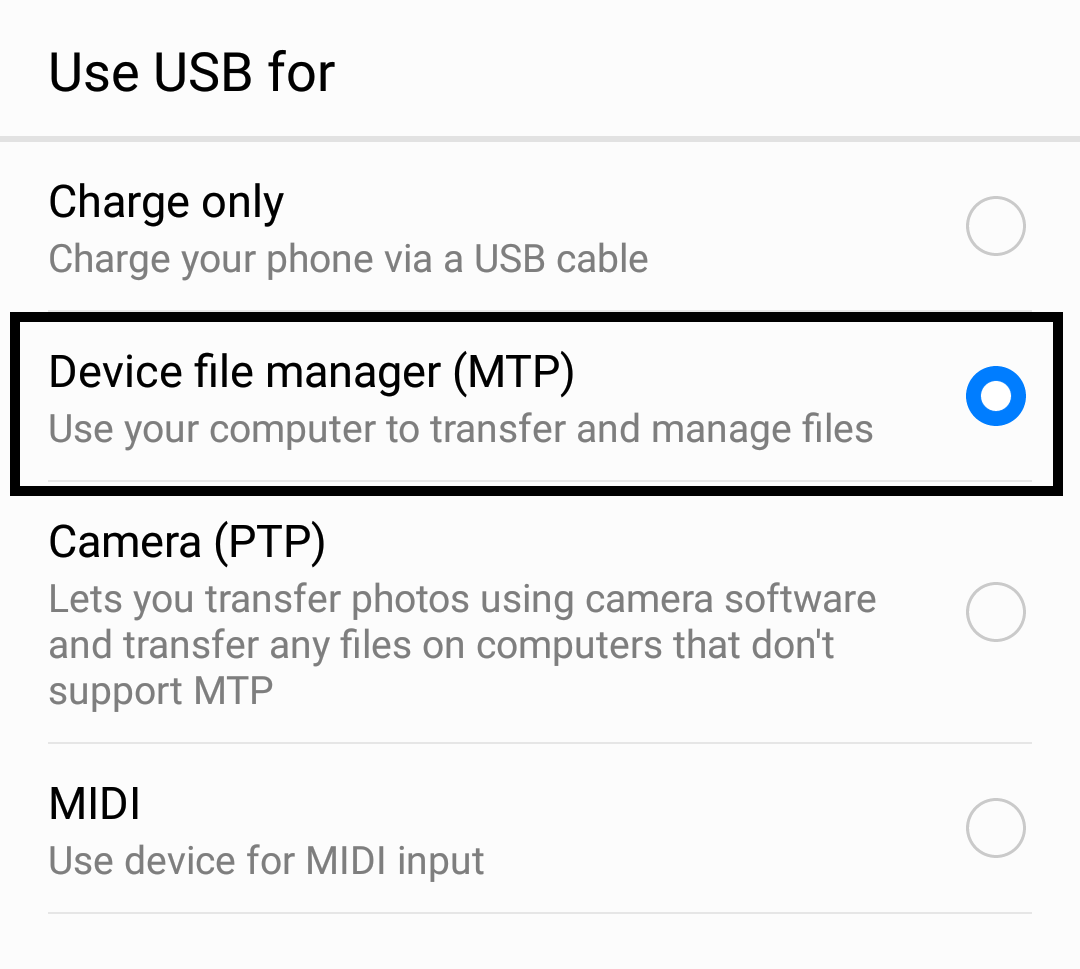
If Android Studio doesn’t even detect your device using ‘ADB devices’. then try to switch to PTP instead of MTP on your device. To do so, just click on “File transfer via USB touch for more options” in the notification area of the device.
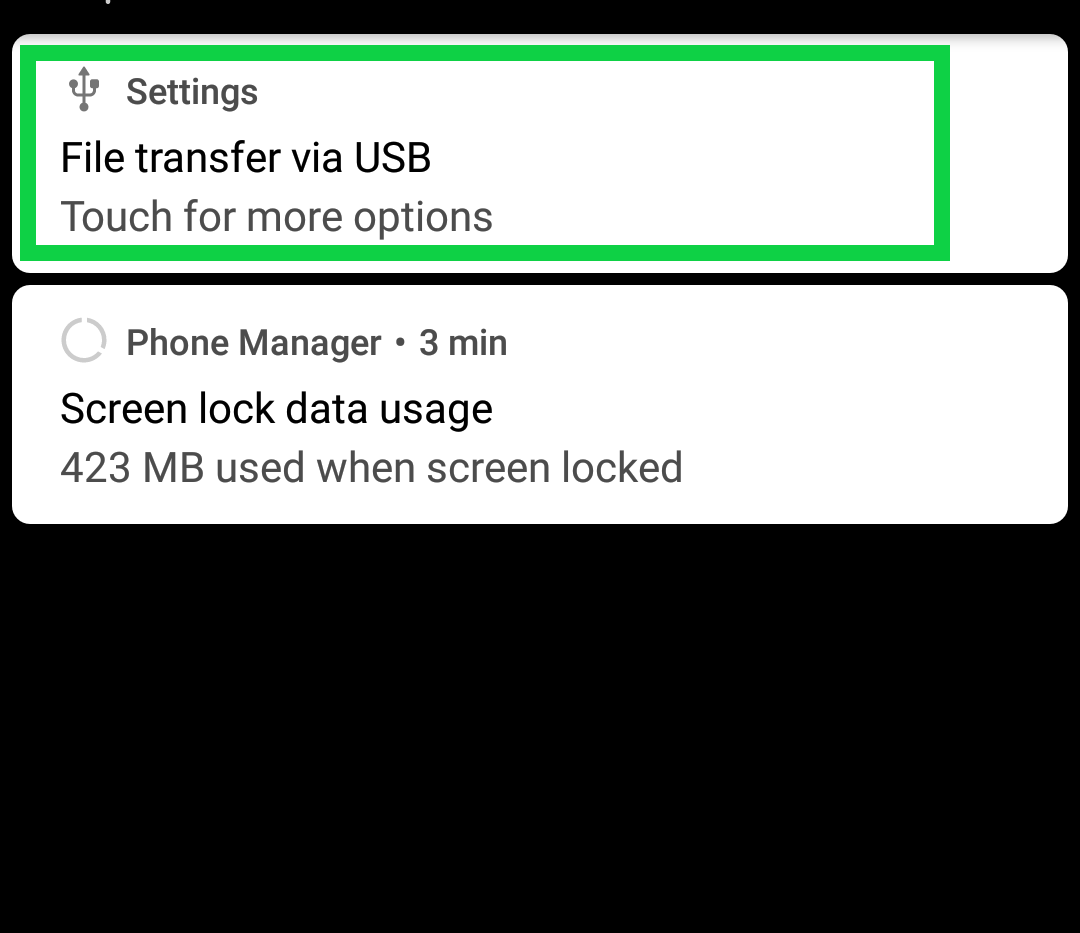
And then choose the PTP option.
Then you will get a popup on your device regarding access. Just try restarting Android Studio to show up there as well though.
Method 3
On your device:
Go to settings/developer settings/allow USB debug mode
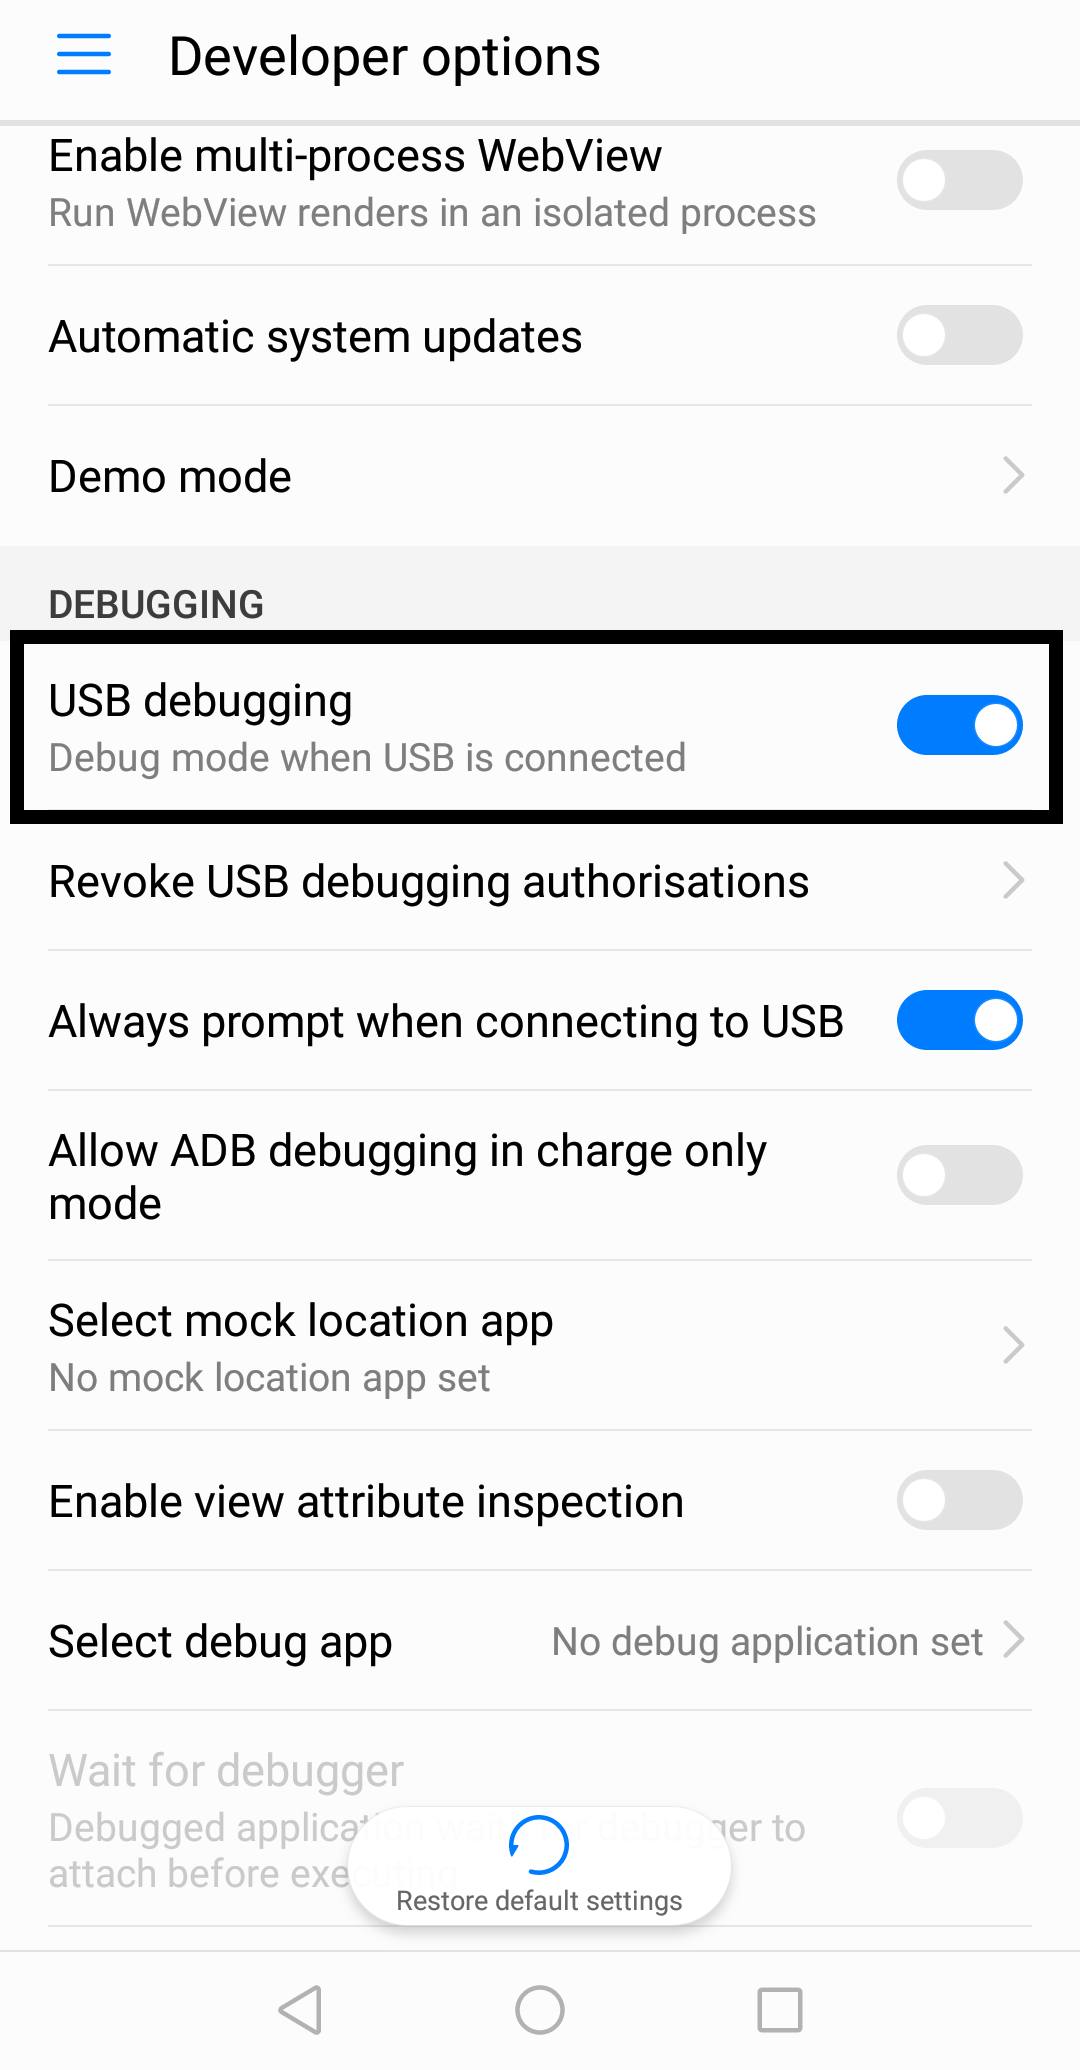
If you might have the device currently connected to your PC, then the ‘allow USB debug mode’ option is disabled. Just disconnect the device and the option should now be available. If you are using Android 4.2 and newer, the Developer options are hidden by default. To make it available, go to Settings > About phone and tap Build number seven times.
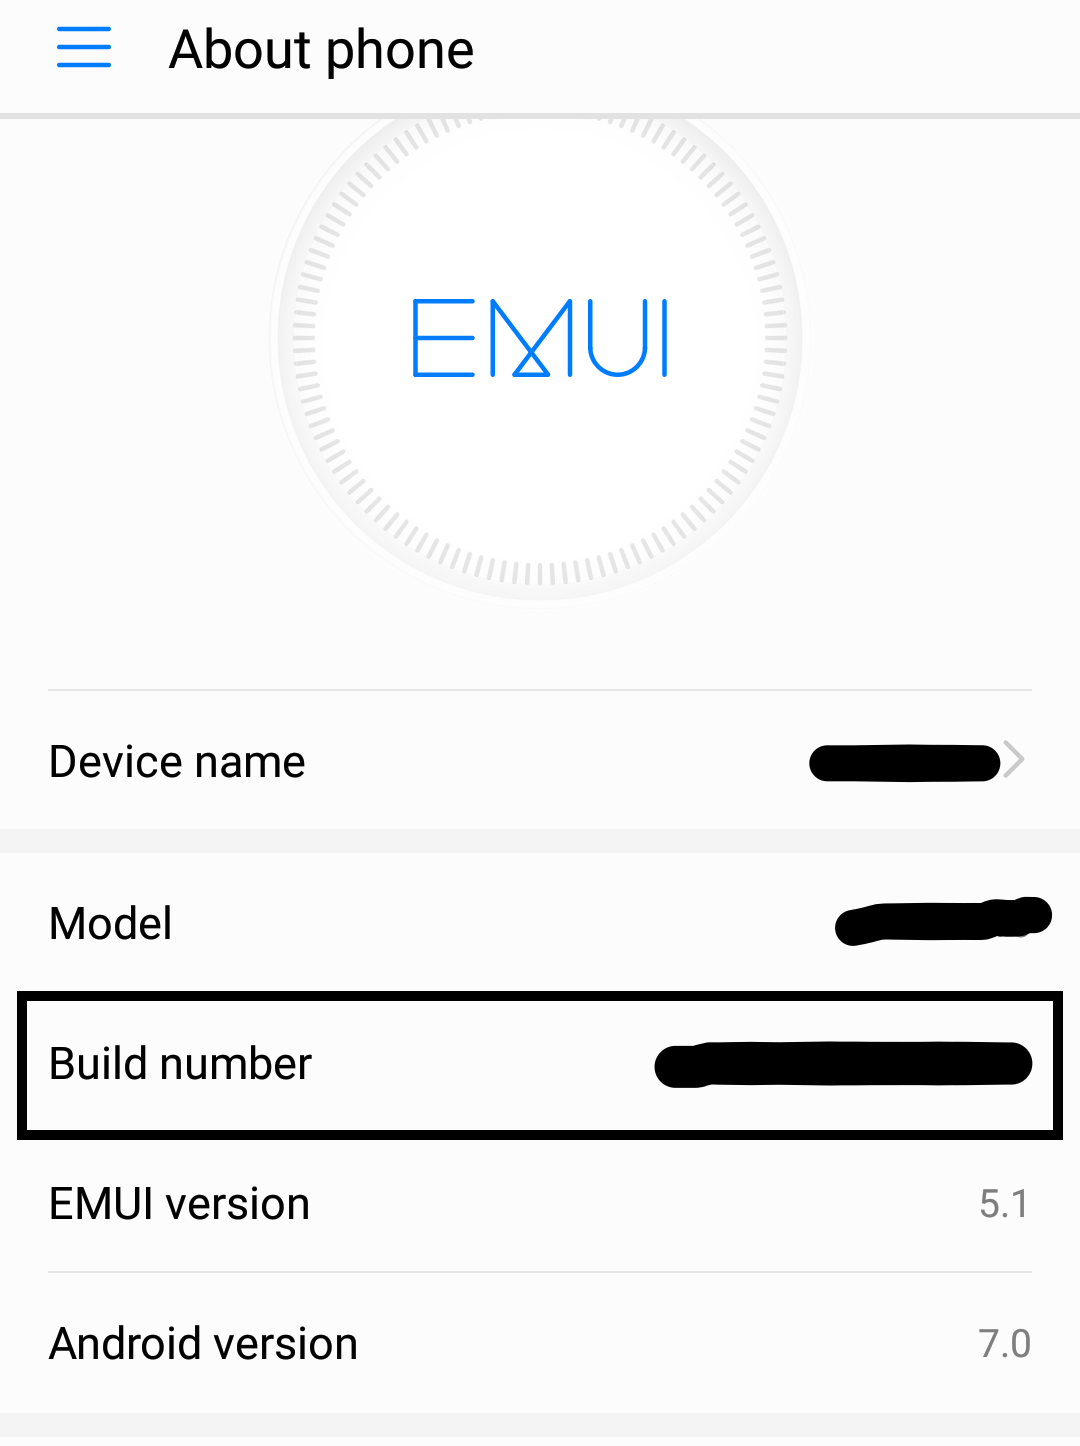
Return to the previous screen to find Developer options.
Method 4
You may need to restart ADB, from the terminal. To do so just type the below commands:
- ADB kill-server
- ADB start-server
or from ddms(If you are using Android Studio version<3.1) in the devices section. Then click a small arrow down. Restart ADB
Method 5
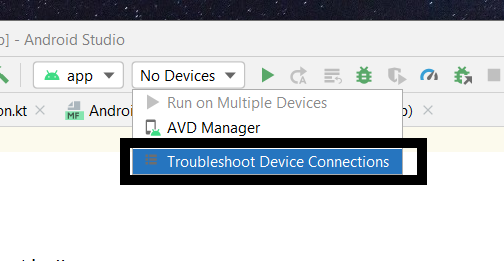
Step 1: Hit the tab where you should see your device name but you are currently seeing “no device” and select “Troubleshoot Device Connections” from the dropdown list.
Step 2: Then you should see this on your screen. Click on the “rescan devices” button.
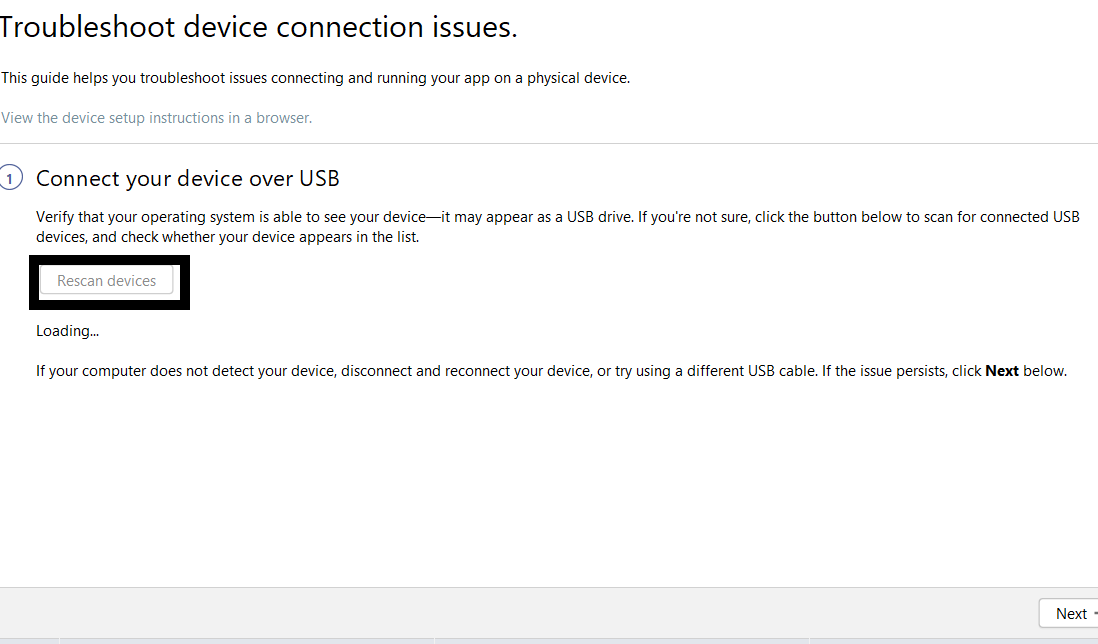
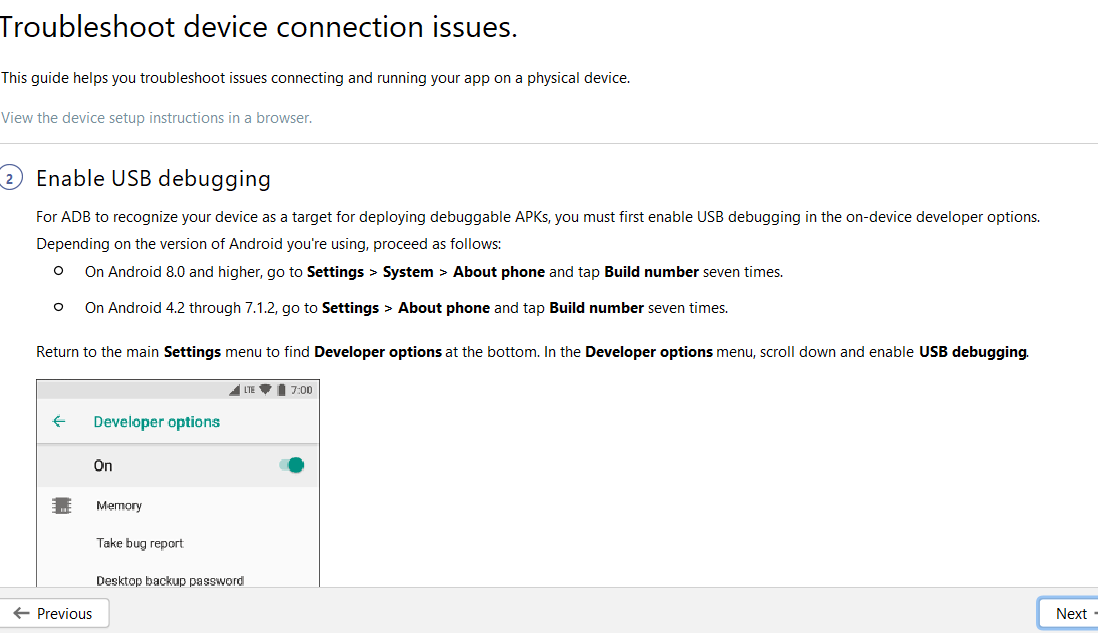
Step 3: If your problem persists even after rescanning, then hit the next button shown in step 2. Then do the settings in your device as suggested.
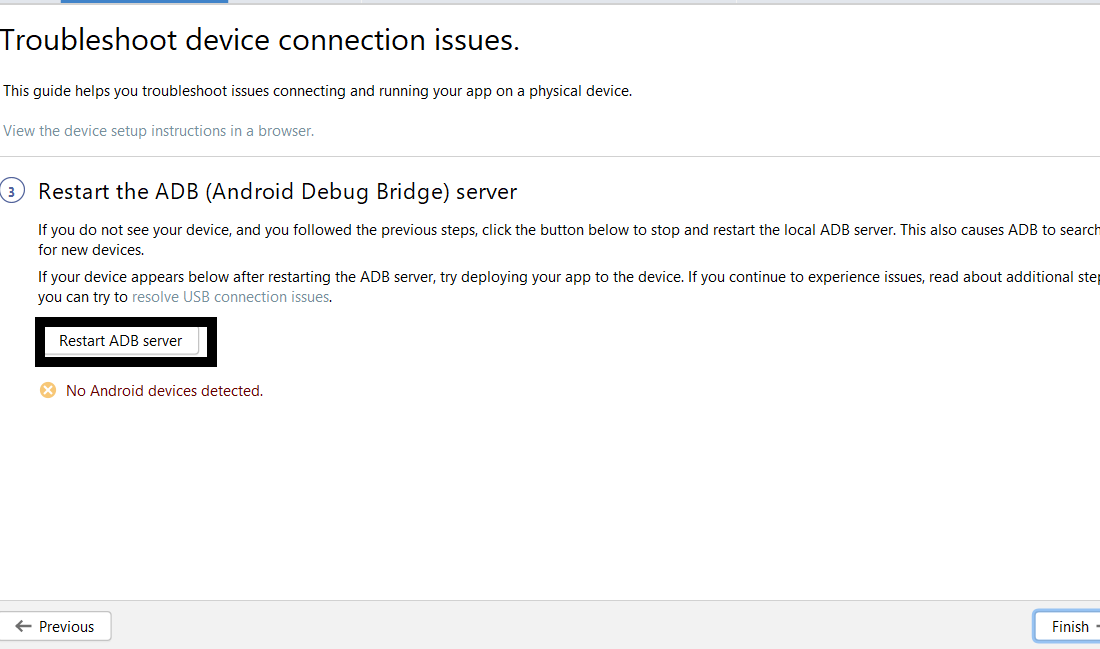
Step 4: If you cannot resolve the problem by following the above steps then click on restart ADB server.
Step 5: After a few seconds, you will get this message: At least one Android device was detected.
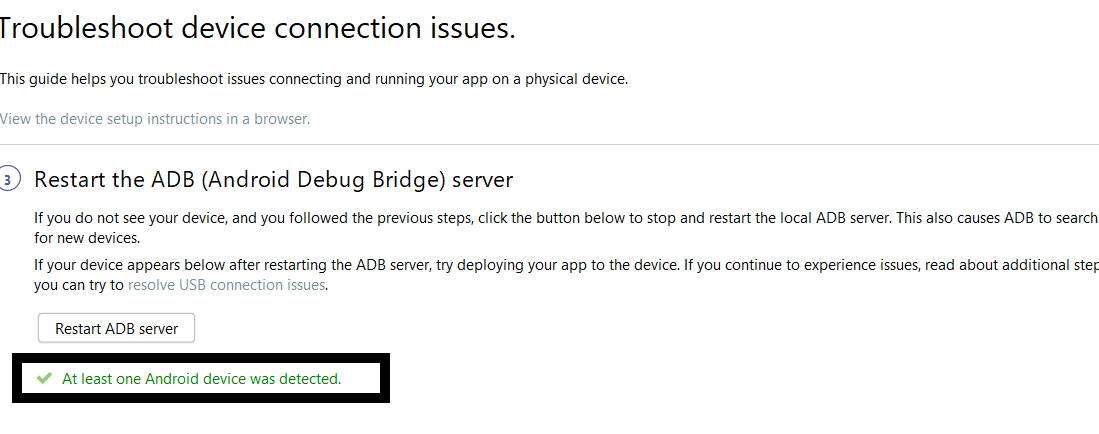
Now if you check, you will see your device’s name beside the run button.
Like Article
Suggest improvement
Share your thoughts in the comments
Please Login to comment...