How to Install and Use NVM on Windows?
Last Updated :
11 Feb, 2022
NVM stands for Node Version Manager which is a tool used for installing Node.js and using the Node.js versions of your choice. It helps to switch between Node.js versions while also allowing to work with multiple NPM versions. It is easy to use and it works on any POSIX-complaint shell like bash, sh, etc. It supports operating systems like, Linux, macOS, Windows. In this article, we will see how to install NVM in windows.
Installing NVM in Windows
In this article, we will learn how to install NVM for Windows. Follow the below steps:
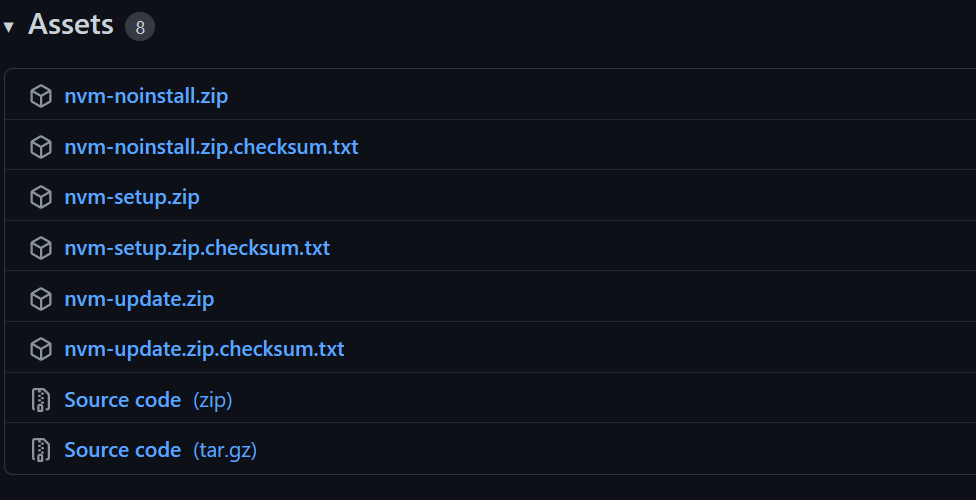
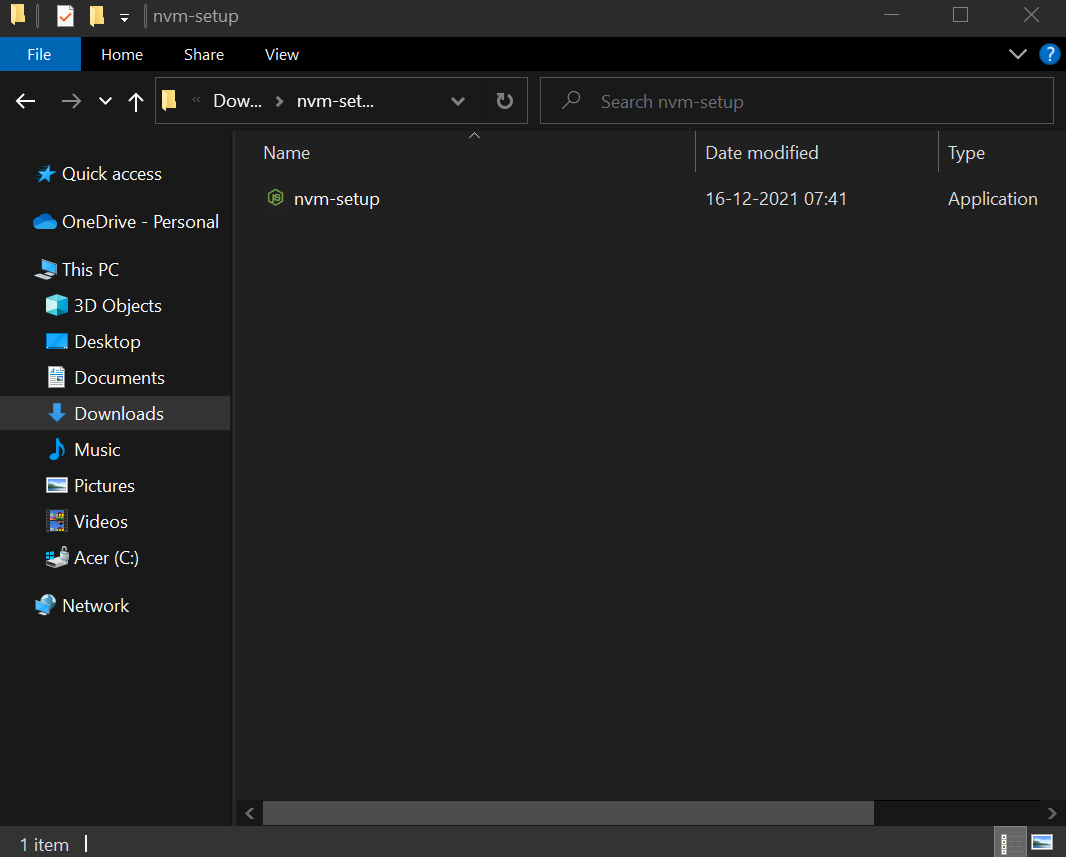
Step 1: Download the nvm-setup.zip from the assets table located over here. Unzip/Extract the contents (The Zip file should be present in the Downloads folder or the destination you choose to download) by extracting it to nvm-setup.
Step 2: In the nvm-setup folder, double-click on the file named nvm-setup.exe as shown below.
Step 3: Choose the I accept the agreement option and click on Next to proceed further with the installation.

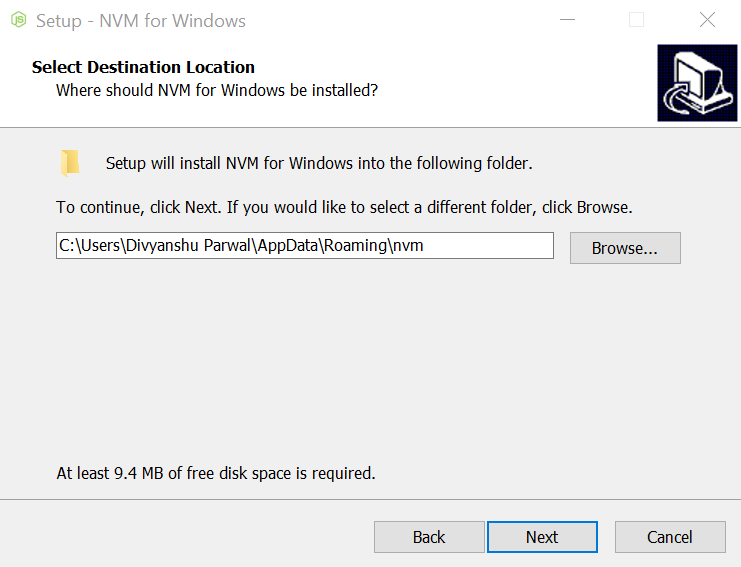
Step 4: Now, select the destination to install and click on Next.
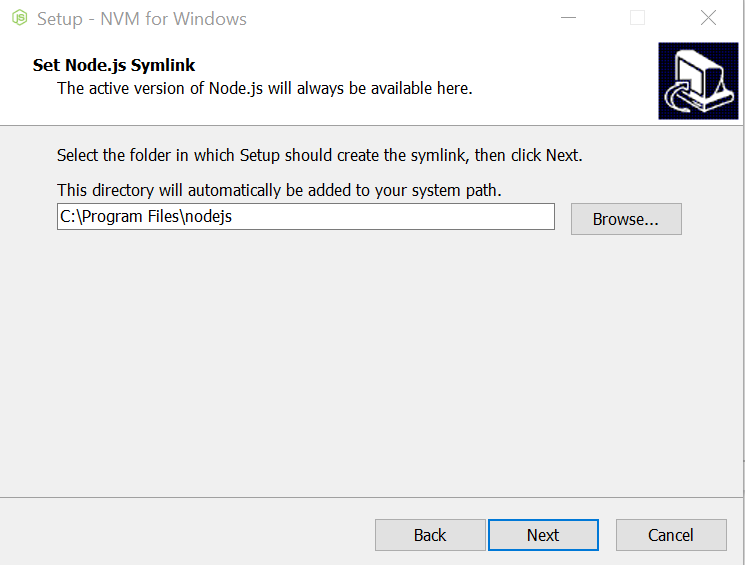
Step 5: Select the folder in which setup should create the Node.js symlink, then click Next.
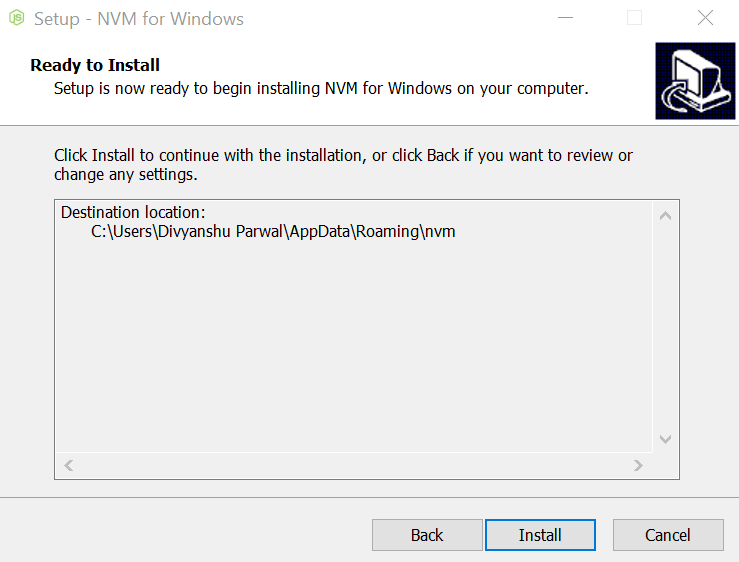
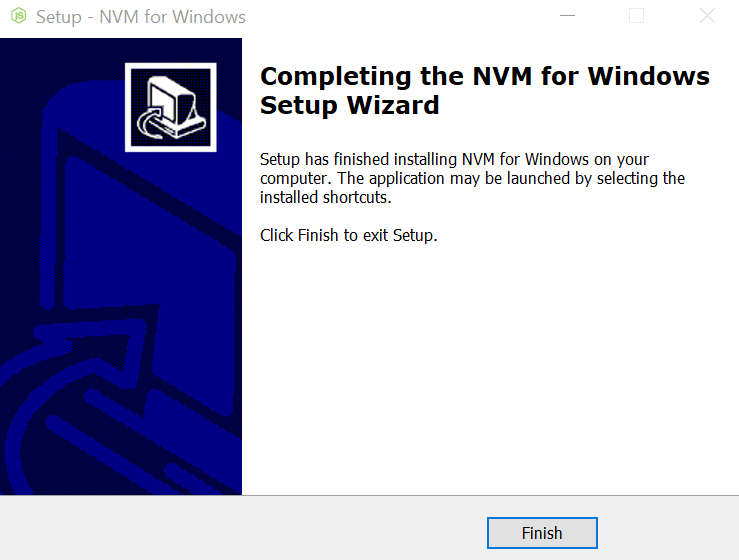
Step 6: Click on the Install button and once it completes, click on the Finish button.
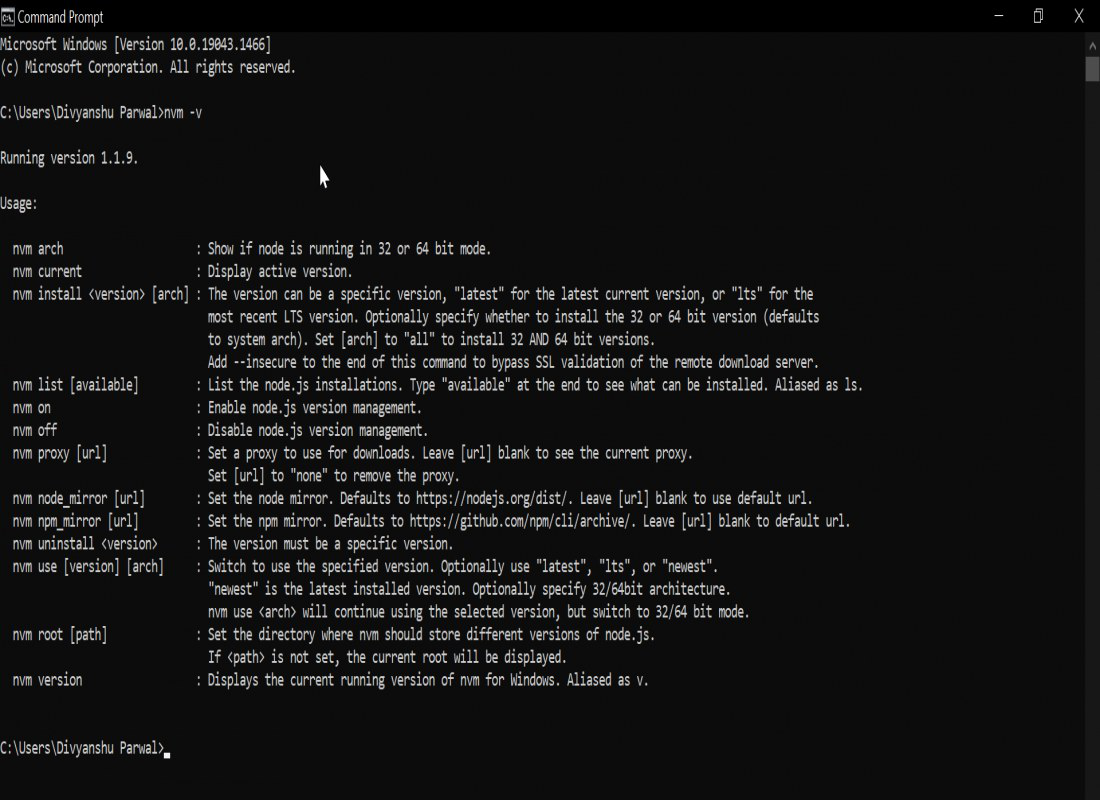
Step 7: Confirm NVM is installed successfully by typing the following command in the terminal
nvm -v
Output:
Like Article
Suggest improvement
Share your thoughts in the comments
Please Login to comment...