How to Install Eclipse IDE For Java?
Last Updated :
10 Oct, 2021
There are many software been there such as IntelliJ IDEA, Eclipse, etc of which most developers are tilted towards using Eclipse is open-source software. It is mainly used for JAVA applications development. We can also use it to develop applications in various programming languages like C, C++, C#, Python, JavaScript, etc.
Steps to install Eclipse IDE:
- Download and install JDK(it is a pre-requisite essential step)
- Go to eclipse website and download choosing the version as operating system and bits requirement.
- Open the downloaded file extension and follow the standard software installation process.
- Choose package as per developer language needs.
- A new window will be relaunch and if not relaunch eclipse.
- Go to the new project and create classes inside which java applications(or programs) are good to go.
Note: Do refer to configuring eclipse as it is very important which will later help a lot as development reaches a subtle level. take this first step carefully as it eradicates cluttereness which later comes into play.
Let us discuss the above steps as discussed above with visual aids in order to make it easier to download so later to configure. So in order to install the IDE following steps should be followed as follows:
Step 1: To run Eclipse on your workspace first you need to download and install JDK (Java Development Kit). Open your default browser and search for ‘JDK download’ and click on the link of oracle.com. Oracle provides you latest version of JDK. You can download from here according to your required configuration.
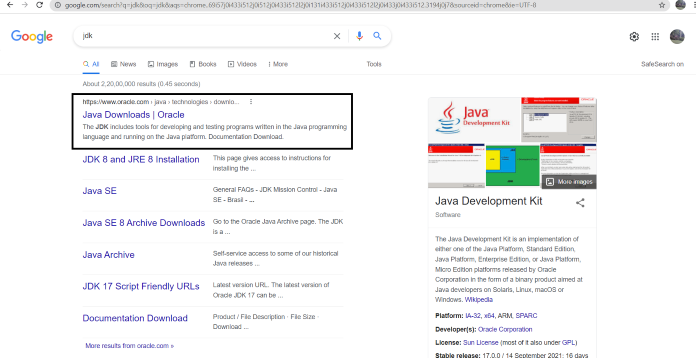
After installing JDK on your workspace, we can install Eclipse IDE.
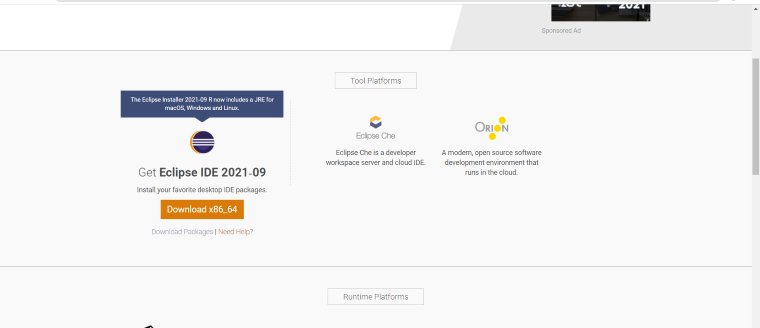
Step 2: Click the link ‘ https://www.eclipse.org/downloads’ and choose a compatible version of IDE depending on your Windows32 or 64 bit versions.
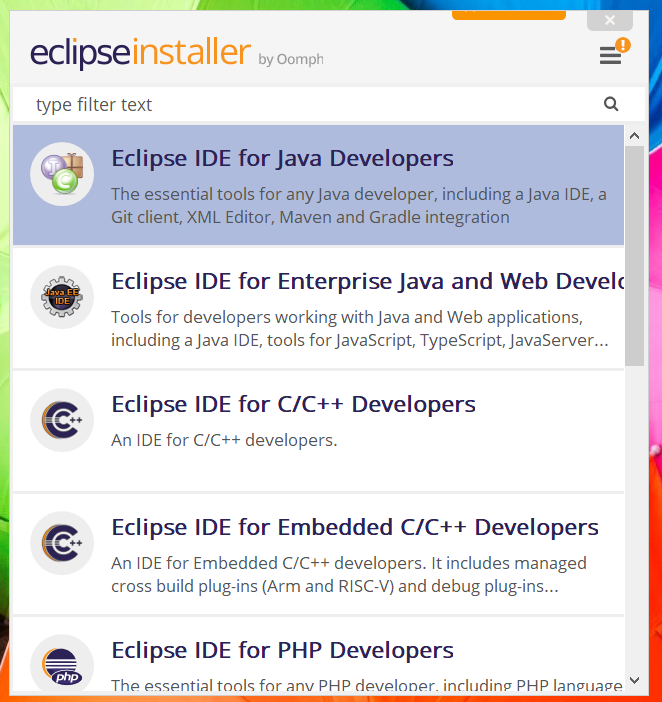
Step 3: After downloading, open the downloaded file and choose RUN from the pop-up window opened on your screen.
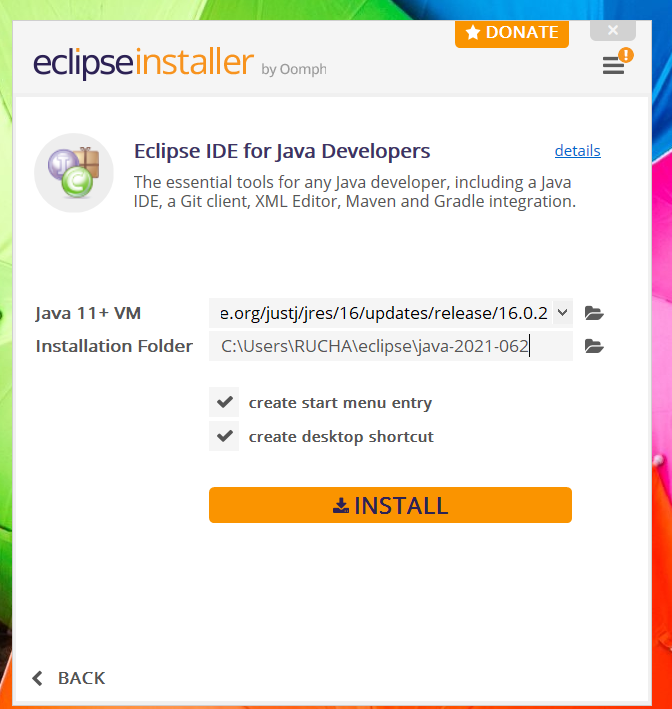
Step 4: Now from here we have to choose package for ‘Java Developers’. And give directory path for the IDE for further process.
By accepting the Agreement you can complete installation. It will take some time to complete the installation. You can also create a shortcut on your home screen.
Step 5: You are now ready to do ‘Java Programming’ in Eclipse. We are good to go.
Like Article
Suggest improvement
Share your thoughts in the comments
Please Login to comment...