How to Install MySQL on AWS EC2?
Last Updated :
16 Dec, 2021
AWS or Amazon web services is a cloud service platform that provides on-demand computational services, databases, storage space, and many more services. EC2 or Elastic Compute Cloud is a scalable computing service launched on the AWS cloud platform. In simpler words, EC2 is nothing but a virtual computer on which we can perform all our tasks and we have the authority to configure, launch or even dissipate this virtual computer.
In this article, we will learn how to install MySQL on AWS EC2.
Prerequisite:
- AWS account.
- EC2 Instance.
- User with privileges to create Instance.
Implementation:
Follow the steps below to install MySQL on AWS EC2:
Step 1: Create an AWS Elastic Cloud Compute Instance..
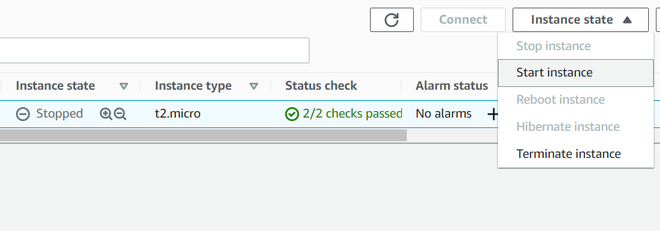
Step 2: Start the EC2 instance that you have created in Step 1.
Step 3: Connect to your EC2 Instance by clicking on Connect Button.
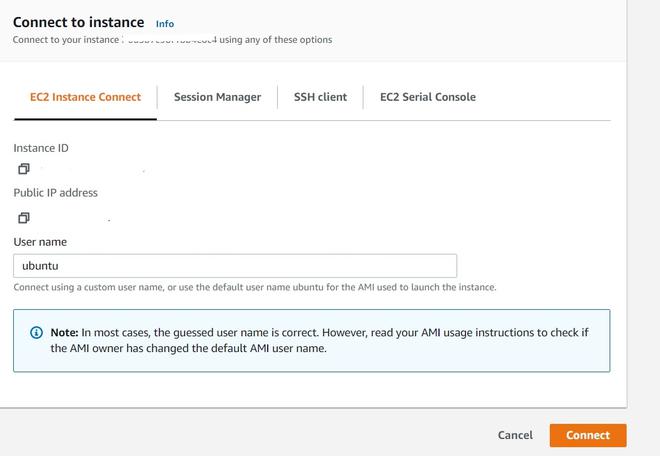
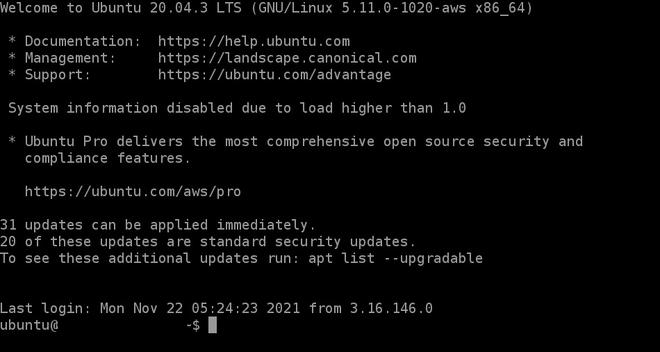
Step 4: A prompt will pop up after connecting.
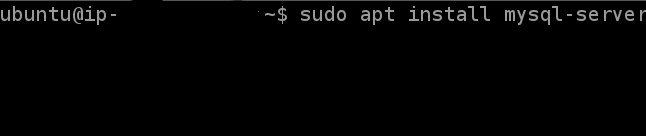
Step 5: If MySQL is not installed on your virtual machine then install the MySQL server using the following command.
sudo apt install mysql-server
Step 6: A prompt will appear asking you for confirmation, press ‘y’ to confirm.
Step 7: We have successfully installed MySQL server on our EC2 instance, to check if the MySQL server is running or not, verify using the following command.
sudo systemctl status mysql
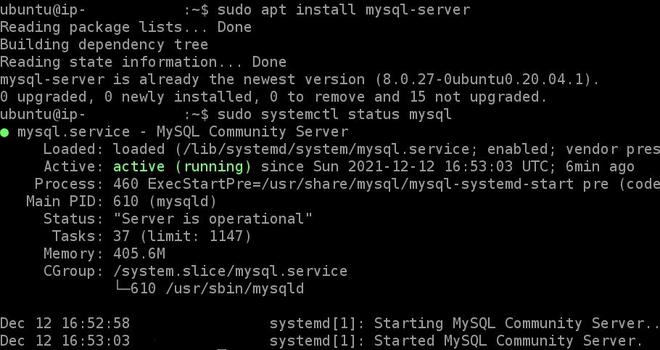
In this way, we can install MySQL on our EC2 instance using EC2 Instance Connect. And if you also use a free tier account, make sure you delete all the resources you have used before logging out.
Like Article
Suggest improvement
Share your thoughts in the comments
Please Login to comment...