How to Install Parrot OS in VMware?
Last Updated :
23 Nov, 2021
Parrot Linux is a free and open-source GNU/Linux distribution based on Debian Testing. This operating system is majorly used for security research and penetration testing. It is the best Linux operating system for security beginners and experts. It has pre-installed a wide variety of tools required for penetration and ethical hacking. Even you can develop your own scripts and programs.
VMware Workstation :
VMware is Hyper-V’s it enables to running of different operating systems without losing host systems. It can be used to build, test, and demo software across an array of different devices, platforms, and clouds. IT professionals, developers, and businesses rely on Workstations to make it easy to run complex local virtual environments to simulate operating systems. It is easy to save your work without losing any data or physical hardware. you can add or remove any operating system at any time.
Prerequisites for Parrot OS :
- Download Parrot OS ISO from here- Parrot Downloads.
- Install VMware Workstation’s latest version from here- VMware Downloads.
- You need at least a 1GHz CPU.
- At least you need 1GB of RAM.
- Min 20-30GB of free space in the hard disk.
Installation:
Follow the steps to install Parrot OS in Vmware Workstation
Note: Some of the photos were not mentioned, to decrease the steps and the process. Just follow up on the steps.
This is helpful for beginners for safe and easy installation.
Step 1: Make sure that you have enabled virtualization.
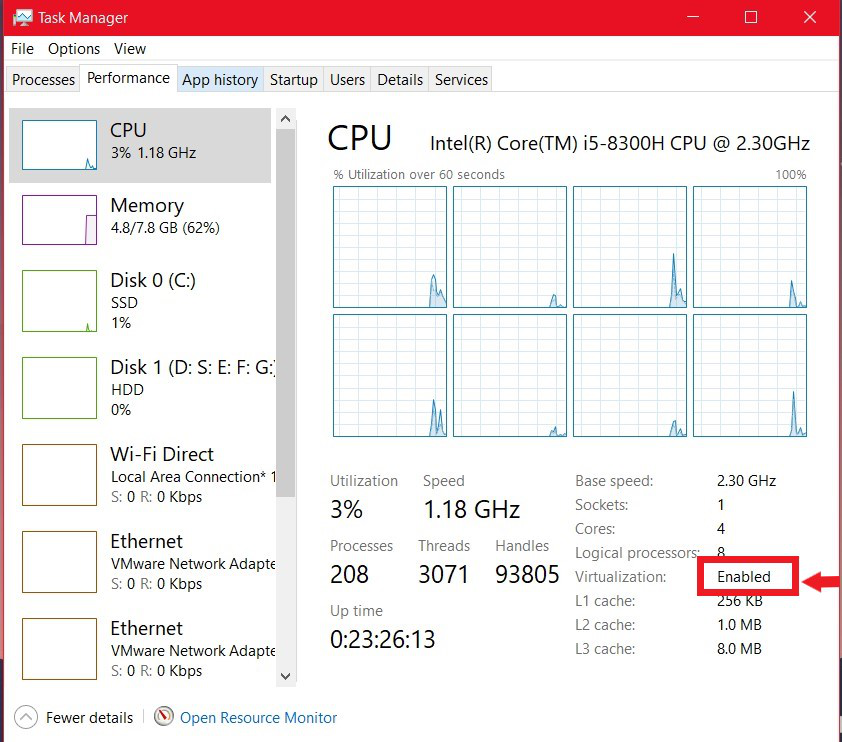
If it is disabled then refer at end of the article
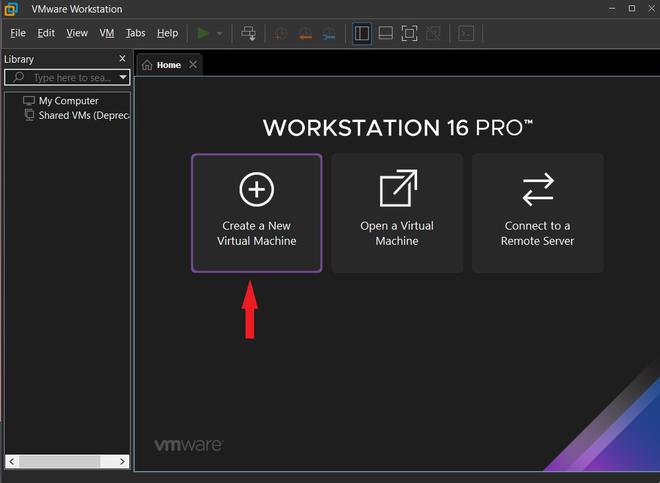
Step 2: Just run the VMware Workstation with Administrator privilege. The interface is shown in the below figure. Click on “Create a New Virtual Machine”.
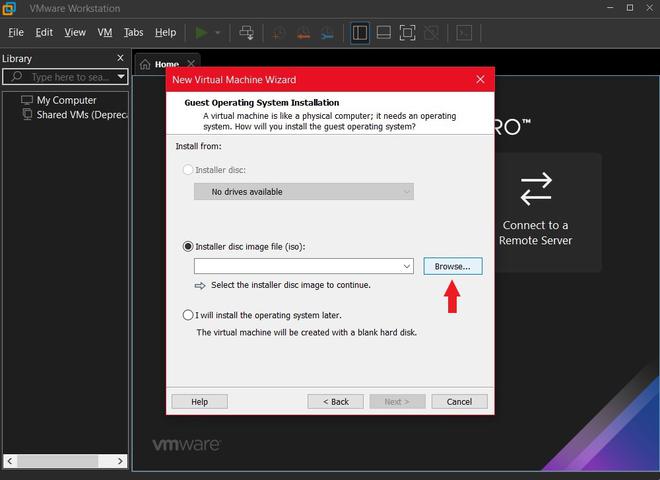
Step 3: Browse the location of the Parrot OS ISO file. Make sure that it was downloaded from the official page and it should download completely without any network error. It may cause the effort of the file. Click Next
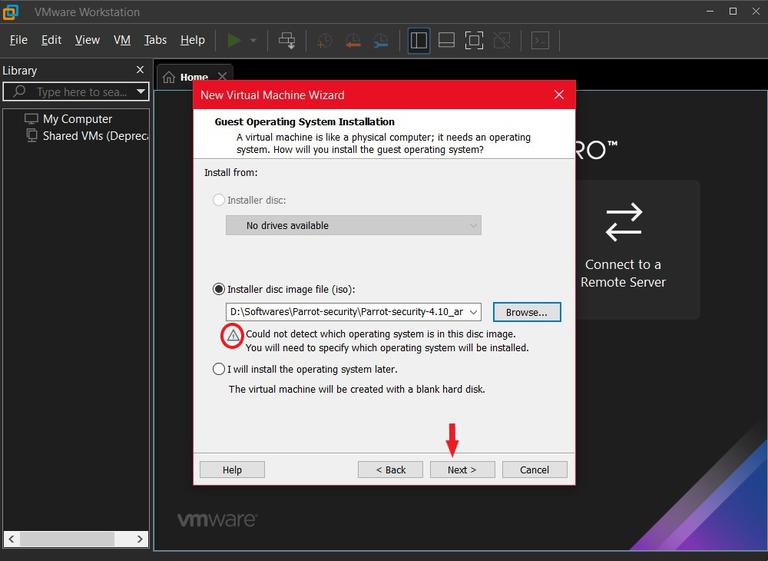
Step 4: Just ignore caution ⚠ shown on the figure. Because VMware has its pre-configured identify the which Operating System / ISO it was. Click Next
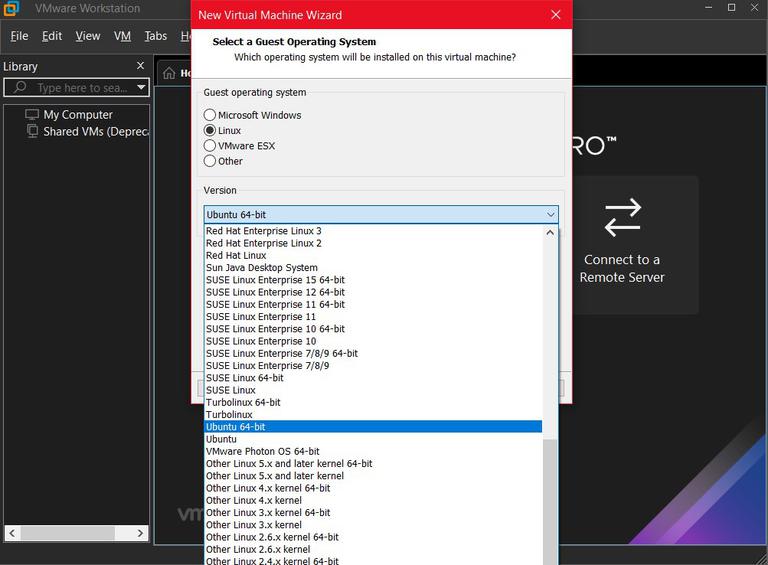
Step 5: Now you need to choose Guest OS as “Linux” and the Version you can choose whether Ubuntu or Ubuntu 64-bit.
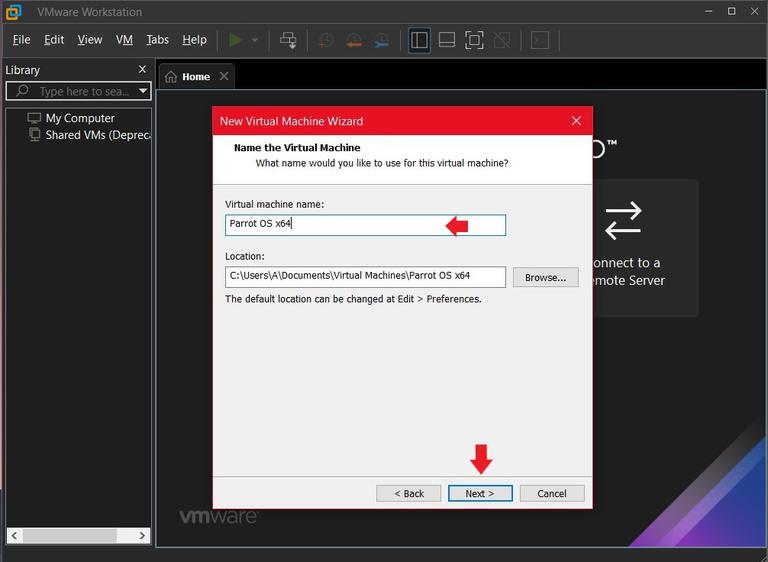
Step 6: Give the name of your Guest OS. Like for my reference to identify which operating system it was. Because I use to install the different OS in VMware. so, with the name, we can identify which OS it was. Location: if you need to install/add in a specific directory, choose to browse the options shown on the fig. Click Next.
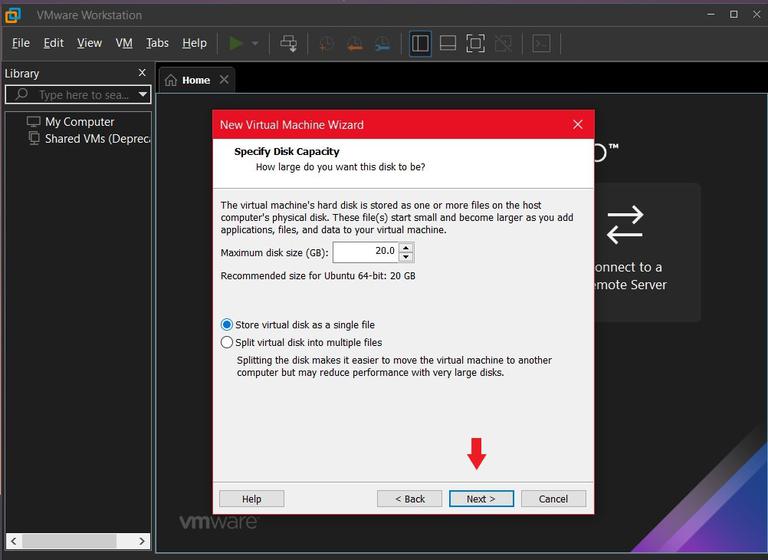
Step 7: Here is main you have to assign a certain amount of Storage I have assigned 20GB. Even you can extend the storage after the creation of VM. Click Next.
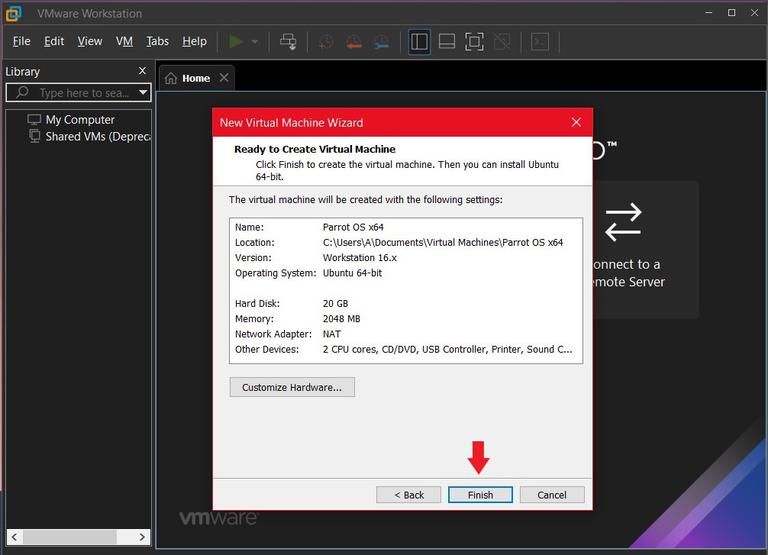
Step 8: You can summarize the hardware properties Name, Location, OS, RAM, Network Adapter, and other devices. Click Finish.
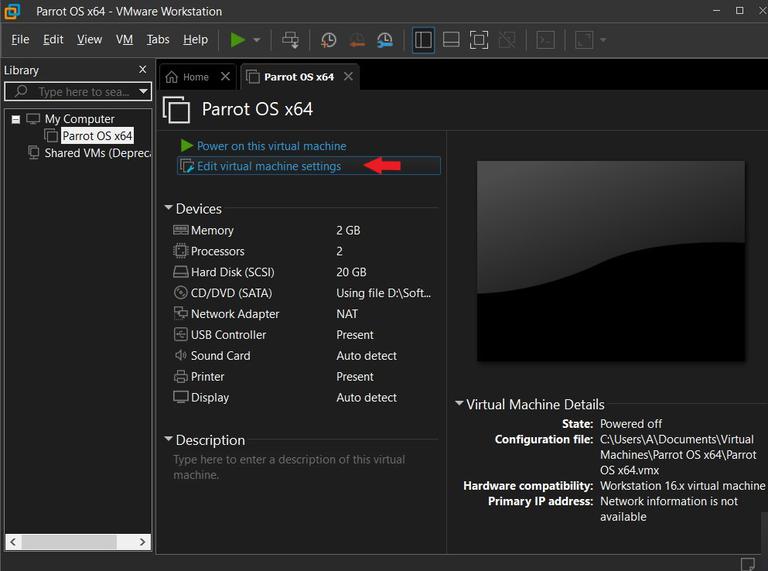
Step 9: Don’t worry about If you need to change a few settings for your needs. Click on the Edit Virtual Machine.
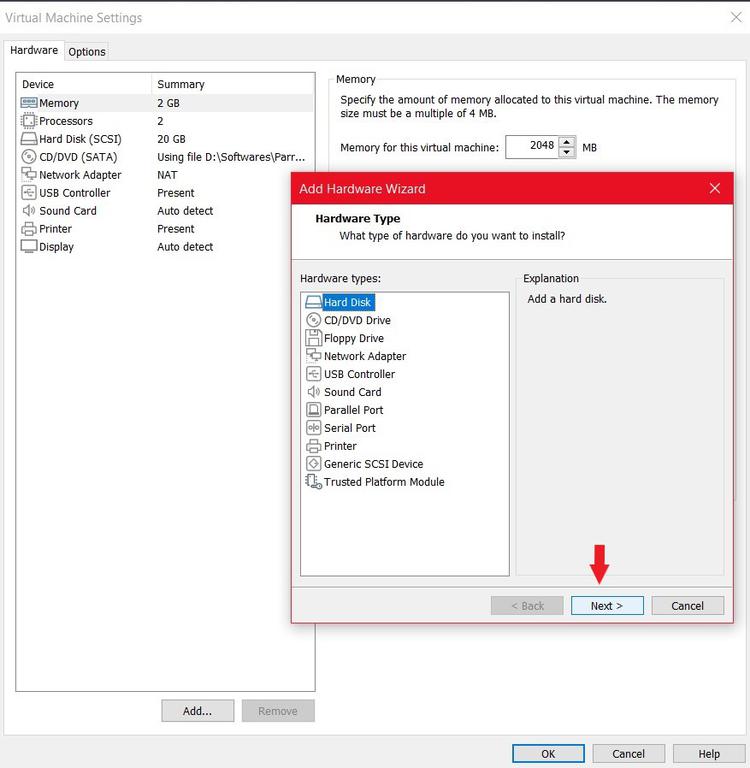
Step 10: When you have done the above step. You can add or extend the memory or storage as your requirements. Here is the place to find every option which affects the Guest OS. A new interface will be a popup click on Add option shows at the bottom. This is to add hardware requirements you can choose Hardware Type. Eg. if you need a printer.
Step 11: This step is optional. As per the user can take a decision on it.

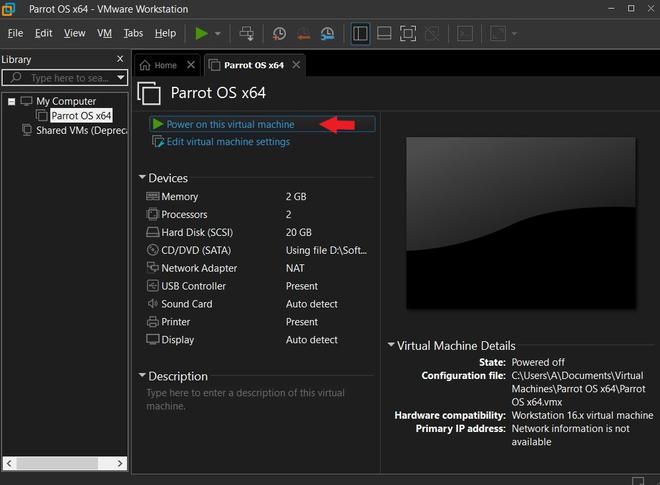
Step 12: Now start the Parrot VM.
Step 13: Choose required optional to install.
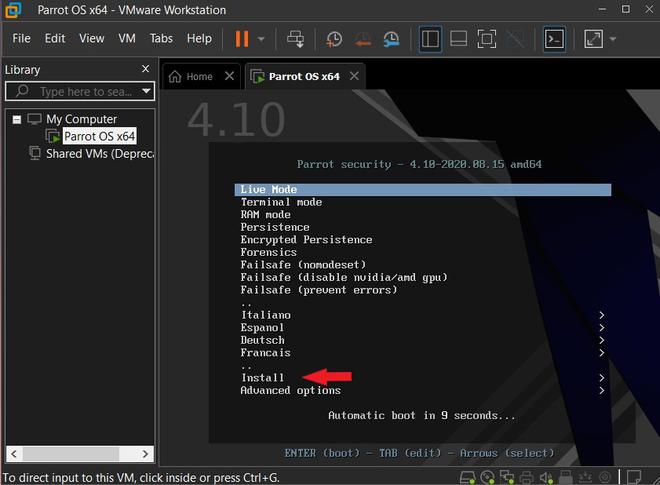
In the next step, you will reach to Installer Choose STANDARD INSTALLER. In the next step, you need to select language, location, Keyboard.
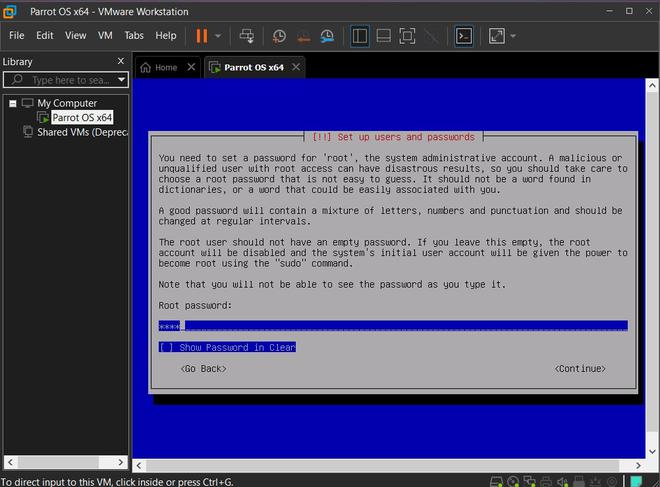
Step 14: You need to create the ROOT username and password.
Note: Make sure that you need to remember all the time.
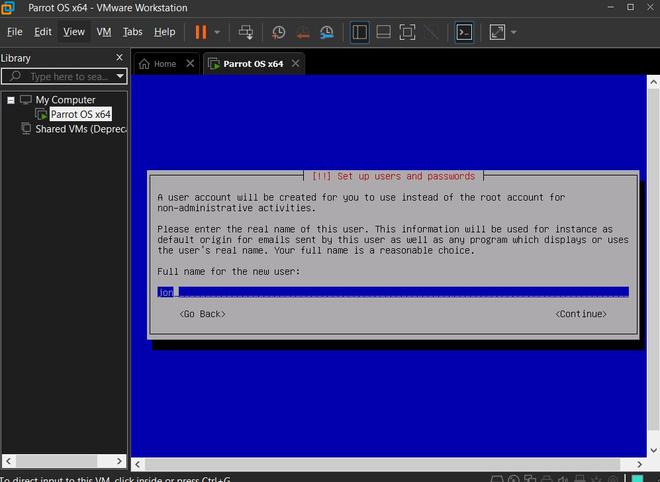
Step 15: Here is the USER. Enter your Full Name and in the next, you can enter your NICK_NAME and PASSWORD of the user account.
- It should be different from the root password.
- Make sure that you need to remember the user password.
Step 16: Partition Disks: Use the entire disk.
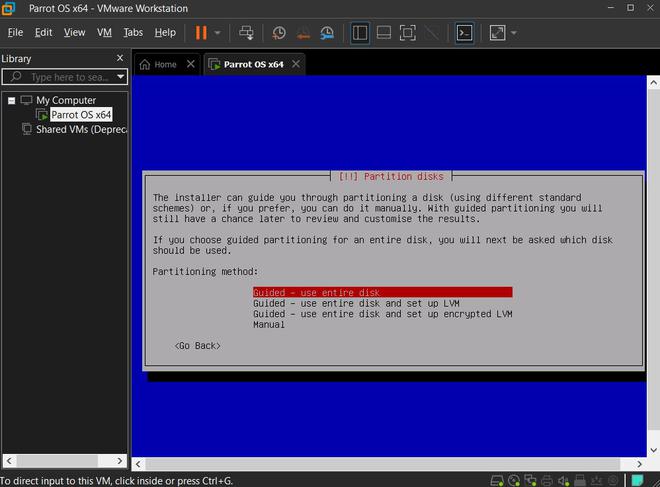
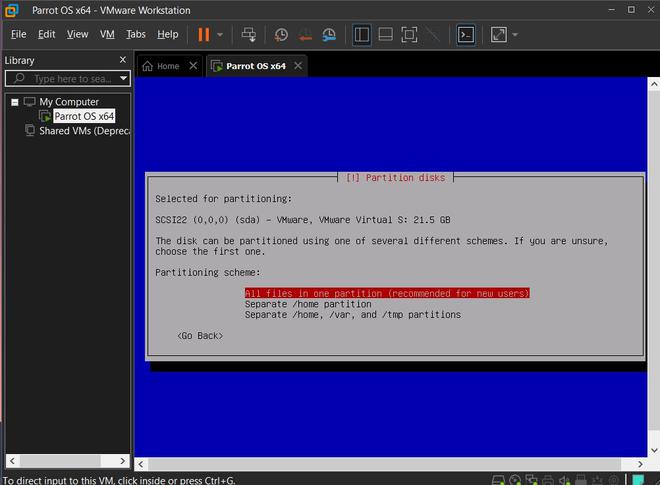
After completing the selection of disks partition, click on finish.
Step 17: Swap Space: if you have given less than 4GB of ram. you can create a swap memory. It is not required for modern computers. If you don’t wanna give swap space select option NO. write the changes to partition.
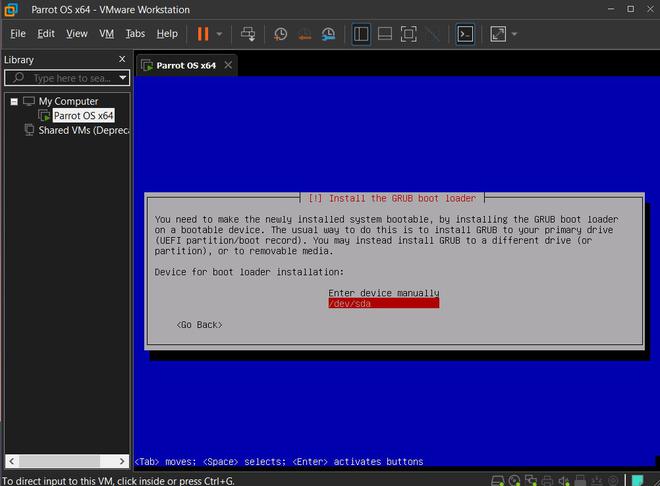
Step 18: GRUB boot loader: You can install GRUB loader in partition disks.
- If you need to install GRUB in another partition choose manually. select the required disk to install GRUB.
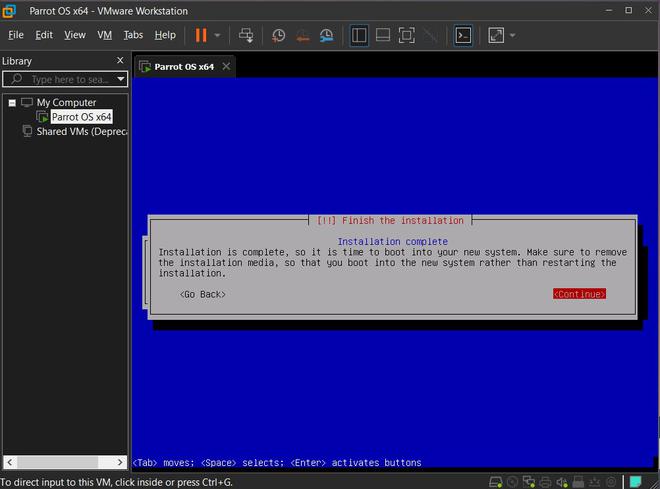
Step 19: Here is the end of the installation. I think it petty long but it is a safe installation. Now it restarts the system.
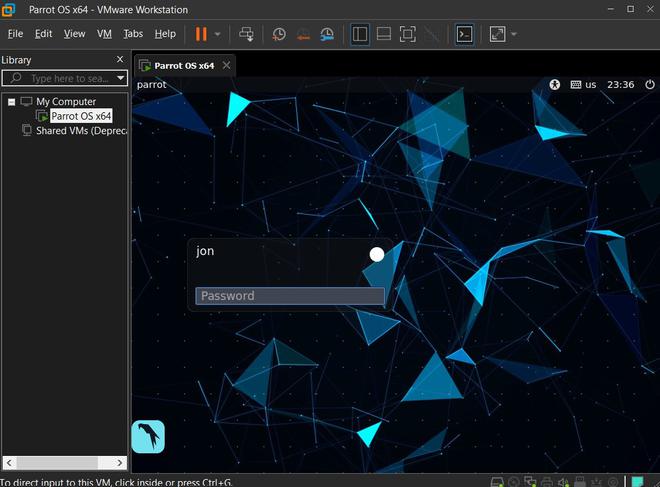
Step 20: Here is the view of the USER login. We will get the user name that we give in step no. 16. Now you need to enter the USER password.
- Remember root password and user password must be different.
Like Article
Suggest improvement
Share your thoughts in the comments
Please Login to comment...