Introduction to Postman for API Development
Last Updated :
08 Jul, 2022
Postman: Postman is an API(application programming interface) development tool which helps to build, test and modify APIs. Almost any functionality that could be needed by any developer is encapsulated in this tool. It is used by over 5 million developers every month to make their API development easy and simple. It has the ability to make various types of HTTP requests(GET, POST, PUT, PATCH), saving environments for later use, converting the API to code for various languages(like JavaScript, Python).
In this post, I will use the Postman software to send and receive requests, POST data to the server and I will try to demo some other popular maneuvers. You can treat this article as your first contact with the Postman. So, lets get started !!
You can download Postman from here.
After downloading and installing the Postman, open the software.
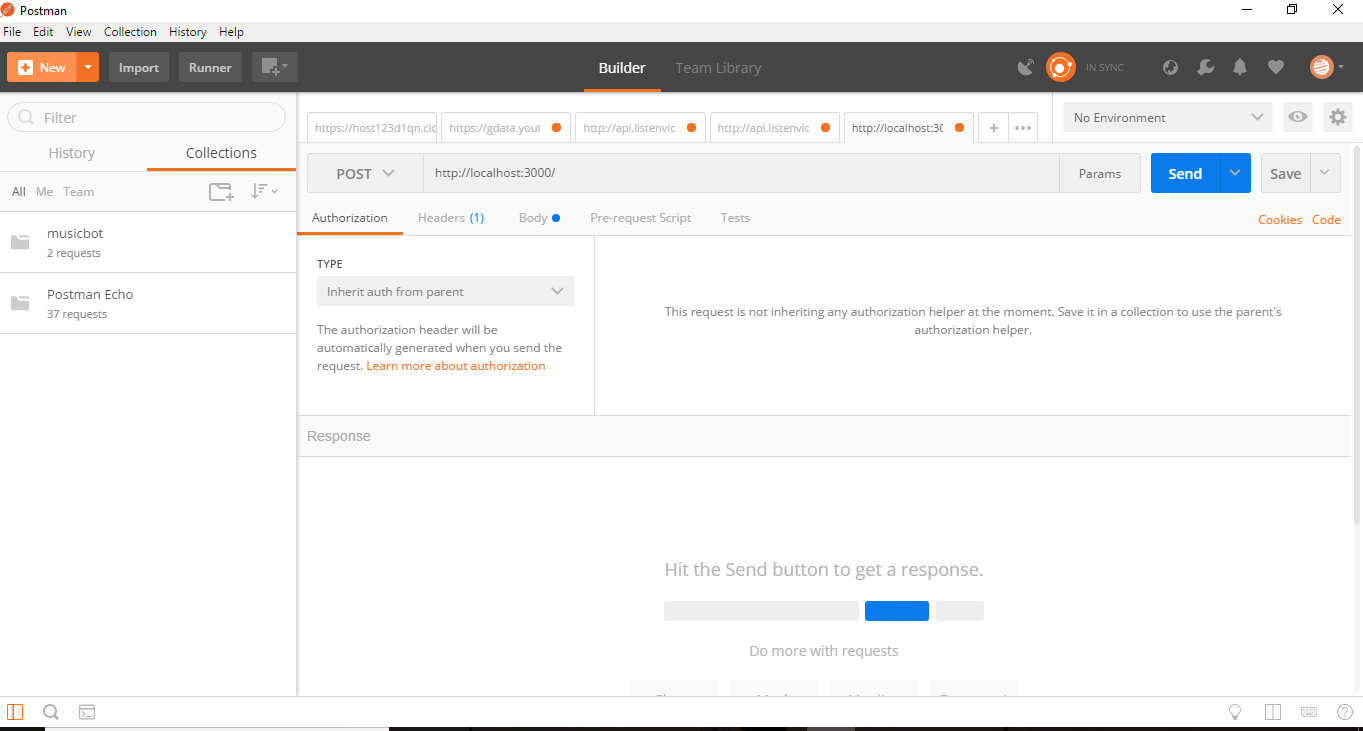
postman interface. image : https://media.geeksforgeeks.org/wp-content/uploads/postman-interface-1.png
.
Explaining the Interface
- The longest middle input field that looks something like a search bar is where the URL that we want to GET or POST or DELETE,etc. is fed.
- Just to the left of it, is a drop down button which has all the various HTTP methods as options. If you want to POST to the URL that you have specified, select POST.
- To the right of it is the params button. If you click on it, a new interface will appear. Params are basically the data that we want to send to the server with our request. We will use this params interface to POST to put app a new User.
- To the left of this button is the Send button which is used in sending the request to the server or the app in this case.
I think this much introduction to the interface is enough for us to get started. I will explain any other bit about the Postman on the fly if I have to.
So, lets get started with sending and receiving requests through Postman.
Sending and receiving requests through Postman
- Enter the url that you want to hit in the URL bar that i described above. I will put http:localhost:3000 in my case.
- Lets select our HTTP method to send the request as GET in the left button. Now click on the Send button.

get localhost https://media.geeksforgeeks.org/wp-content/uploads/get-localhost.png
- You will be returned HTML of the URL that you GET. I have selected the Preview to have a browser-like look.
- As you can see in the snap below that with the response from the server or the app, various headers are returned too with the main response.

return headers get