Microsoft Azure – Mounting Azure Storage in a Container App
Last Updated :
31 Mar, 2023
In this article we will learn how to mount Azure Storage as a local share for App Services Linux web apps. In the given article we are going to demonstrate how to mount Azure Storage as a local share for a container app deployed on Azure App Services for Linux.
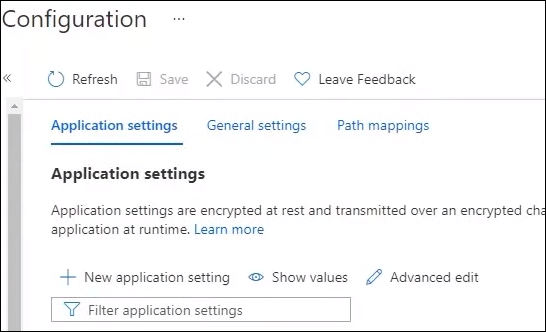
So to start the process of connecting to Azure Storage mount, you click on configuration. Once you are inside the configuration blade, you now click on path mappings.
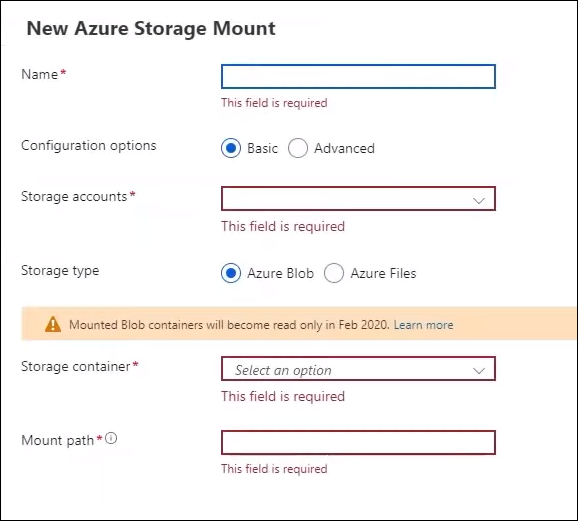
As you can see, you already have an Azure Storage mount there. Now you want to go ahead and create another storage mount. Start by giving it a name. And you can see there are two options here, basic and advanced. Now if you are connecting to a storage account that does not use service endpoints or private endpoints, you go with basic.
Now go ahead and select the storage account that you want to connect to. And you will see there are two storage types that are supported, Azure Blob and Azure Files. Remember, Azure Blob is read-only, whereas Azure File provides you both read/write options. The next step is to go ahead and select a corresponding file share that you would have created in this storage account. Now you will give the path that you want to mount. And another important point here is if you click on this small “i” option here next to the mount path, azure gives you in terms helpful hints on what’s valid and what’s an invalid mount path. You go ahead and click on OK.
Let’s look at another option, go ahead and give the name and choose this different storage account. Now what you see here is the moment you choose the storage account, you get a message, which is failed to fetch storage account details.
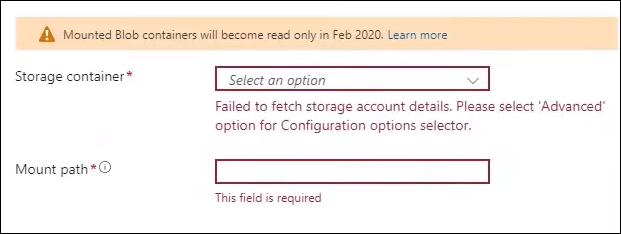
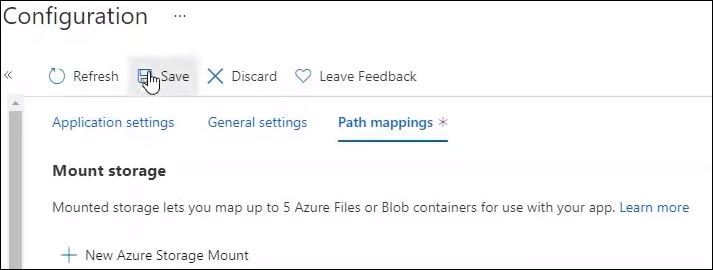
Now the reason behind this error message is that this storage account behind the scene uses a private endpoint. So now select Azure files and click on advanced. You give it a share name and again give it a shared path. Click on OK and now come back and click on save. Before you click on save, another important point to understand here is you can see that you have connected to two different storage accounts and you can have up to five mounts, which could be from different storage accounts, and again you do have the option where your App Service web app is integrated to a VNet and you can connect to storage account using service endpoints or private endpoints, but you can also connect to storage accounts which do not use service endpoints or private endpoints. Go ahead and click on save. Remember when you click on save, your app will get restarted.
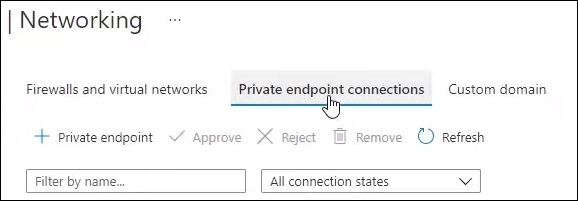
Now let us look into the storage account where you will be using a private endpoint. So, when you click on the networking option, this is where go ahead and configure the private endpoint for your storage account.
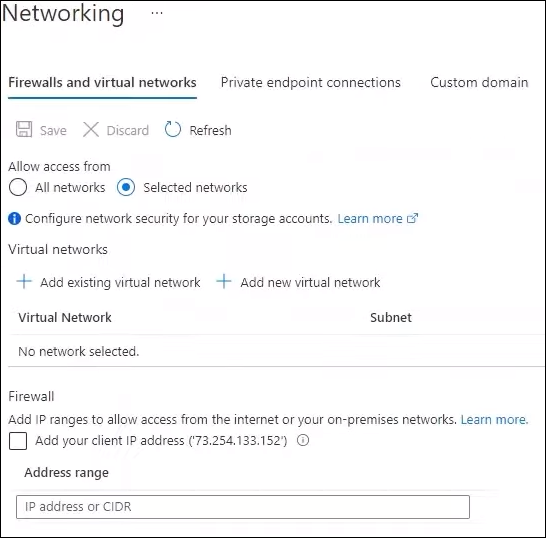
And in terms of this configuration and the firewall and virtual networks, what you need to do is click on selected networks and click on. But a very important point to understand here is that your web app and the storage account need to be in the same virtual network.
Hence, this is how you can mount Azure storage as a local share in a container app in app services.
Like Article
Suggest improvement
Share your thoughts in the comments
Please Login to comment...