Software called Adobe Photoshop is used for graphic design and digital picture modification. It is a tool that enables you to create and edit graphics, photographs, and pictures on your computer, to put it simply. With Photoshop, you may alter an image’s brightness, contrast, and color, as well as remove undesired elements, add text to a design, and create graphics from scratch using different shapes, colors, and effects. Photoshop features a variety of vector tools that enable users to generate and edit vector graphics in addition to its raster-based editing capabilities. We will discuss the idea of vector tools in Photoshop, how they operate, and how they may be applied to design tasks in this post.
What are Vector Graphics?
Before using vector tools in Photoshop, it’s essential to understand vector drawings. As opposed to raster graphics, vector graphics are made up of geometric objects like lines, curves, and points. This enables them to be resized up or down without losing quality, making them ideal for use in creative projects like logos, icons, and illustrations.
Vector graphics are created using mathematical equations that define the shape of each graphic component. This suggests that vector graphics can be altered and edited using mathematical techniques rather than merely changing individual pixels. For instance, rather than having to modify each pixel in the line manually, you may alter the color of a line in a vector image by changing the mathematical equation that defines the line.
What are vector tools in Photoshop?
Users of Photoshop may create and modify vector graphics using various vector tools. These tools consist of the eyedropper, gradient, path selection, direct selection, pen, shape, and type tools.
Pen Tool
One of Photoshop’s most useful vector tools is the pen tool. It is employed to design intricate routes and patterns, including curves and corners. The pen tool works by generating curve handles that specify the curvature of the line segment between two anchor points and anchor points, which are points that determine the beginning and end of a line segment. You can create an anchor point on the canvas by clicking with the pen tool after choosing it from the toolbar. To construct the curve between the two locations, move the curve handle after clicking once more to create another anchor point. Once you have the right shape, keep adding anchor points and modifying the curve handles.
Shape Tool
Among the shape tools offered by Photoshop are the rectangle, ellipse, polygon, and line tools. Users utilizing these tools can quickly and easily build simple forms like squares, circles, and lines. To create a shape, pick a shape tool from the toolbar, then click and drag it to the desired spot on the canvas. After the shape has been generated, you can change its size, location, and color using the properties panel.
Type Tool
Text can be included in your design by using the type tool. Users can import their typefaces into Photoshop in addition to choosing from a variety of fonts. Once the text has been placed on the canvas, it can be changed by changing the font, size, color, and other attributes using the properties panel.
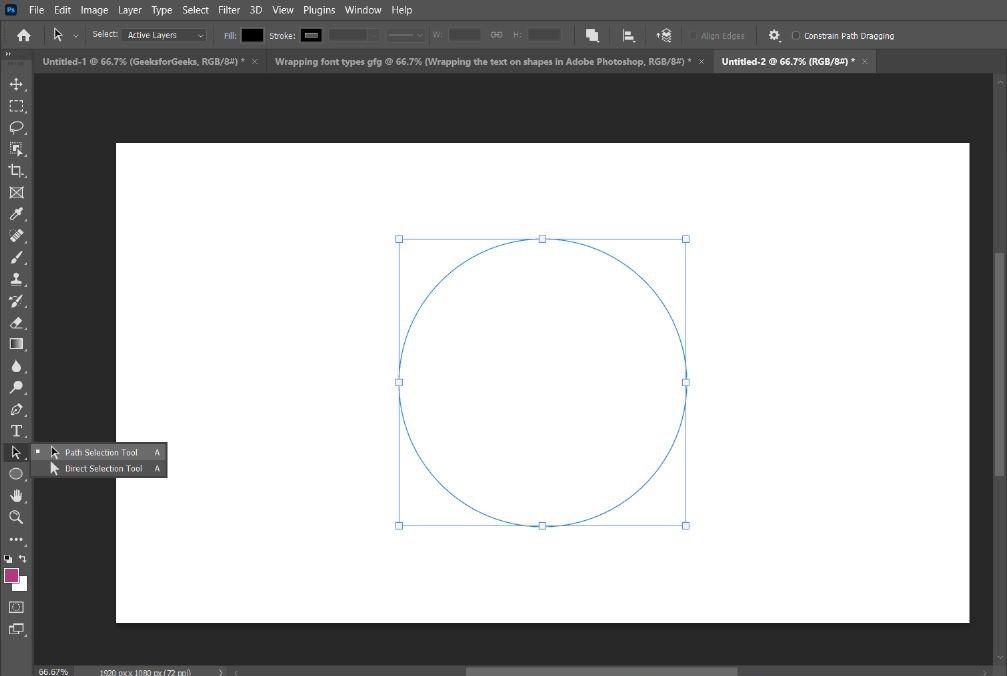
Path Selection Tool
To choose and work with paths and anchor points, utilize the path selection tool. Users of this tool can pick out specific anchor points or entire pathways, then move or change them as necessary.
Gradient Tool
With the gradient tool, you may incorporate gradients into your design. Users of this tool can create gradients using various colors, alter the opacity and blend mode of the gradient, as well as its direction.
Eyedropper Tool
With the eyedropper tool, you may pick out colors from your design and apply them to other design elements. With the use of this tool, users can sample colors from any location on the canvas, including from other layers, and then use those colors to color text, shapes, or other components. There are several ways to edit text with vectors in addition to the many vector tools offered in Photoshop. One such approach is to encircle a form with the word, which can add visual appeal and make the text fit into a design more naturally. In this post, we’ll look at utilizing Photoshop’s vector tools to wrap text around an object.
Steps for using Photoshop’s vector tools to Wrap Text around Shapes
Step 1. Open Photoshop: Open Photoshop on your computer. If you don’t have Photoshop installed, ask your teacher or parent to help you install it. Double-click the icon to launch Adobe Photoshop on your PC.
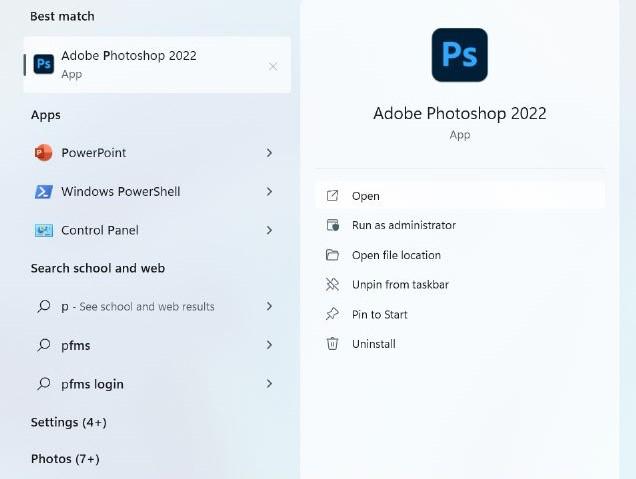
Double-click the icon to launch Adobe Photoshop
Step 2. New document creation: To start a new document, click “File” and choose “New.” Click “OK” after entering the document’s size and resolution.
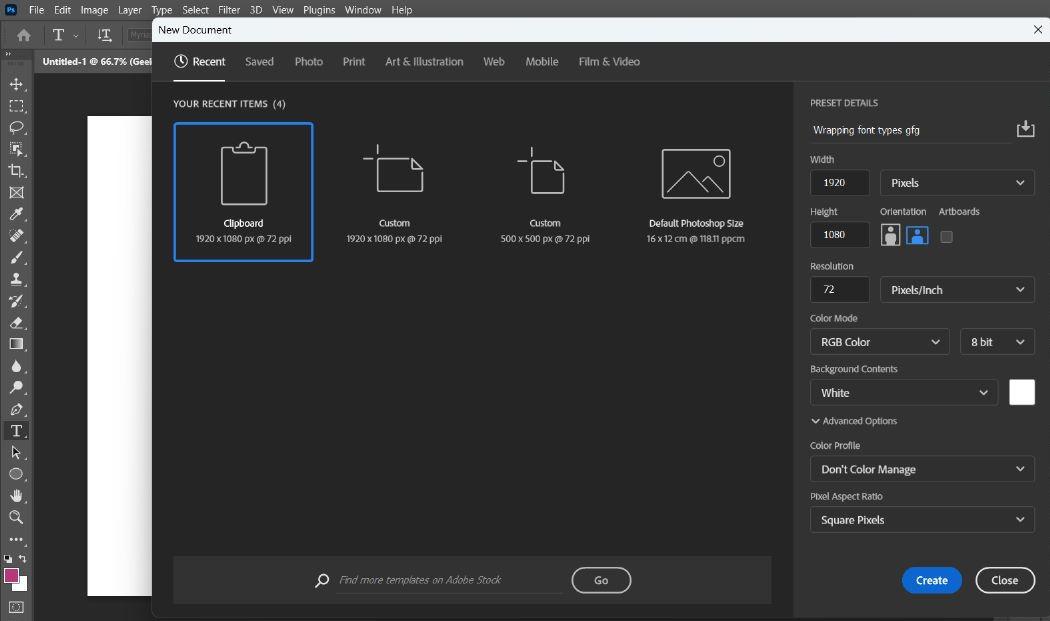
Create a new document
It creates a canvas where you can draw your design.
A New Page was created
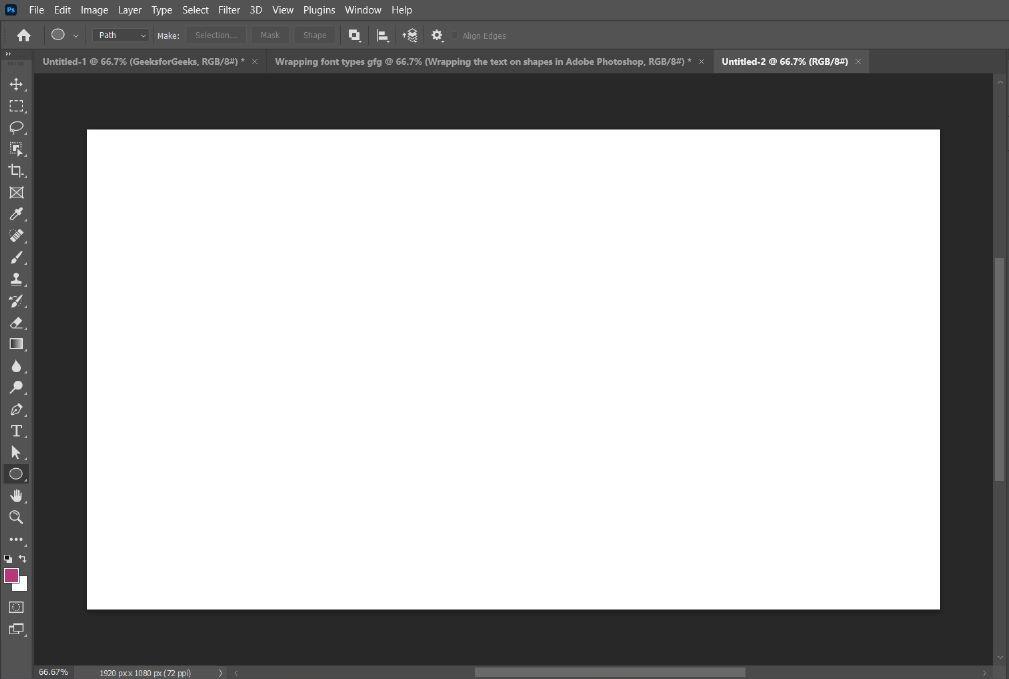
Step 3. Create a shape: Click on the “Shape tool” in the toolbar on the left side of the screen to select the “ellipse tool” or use the shortcut key “U”.
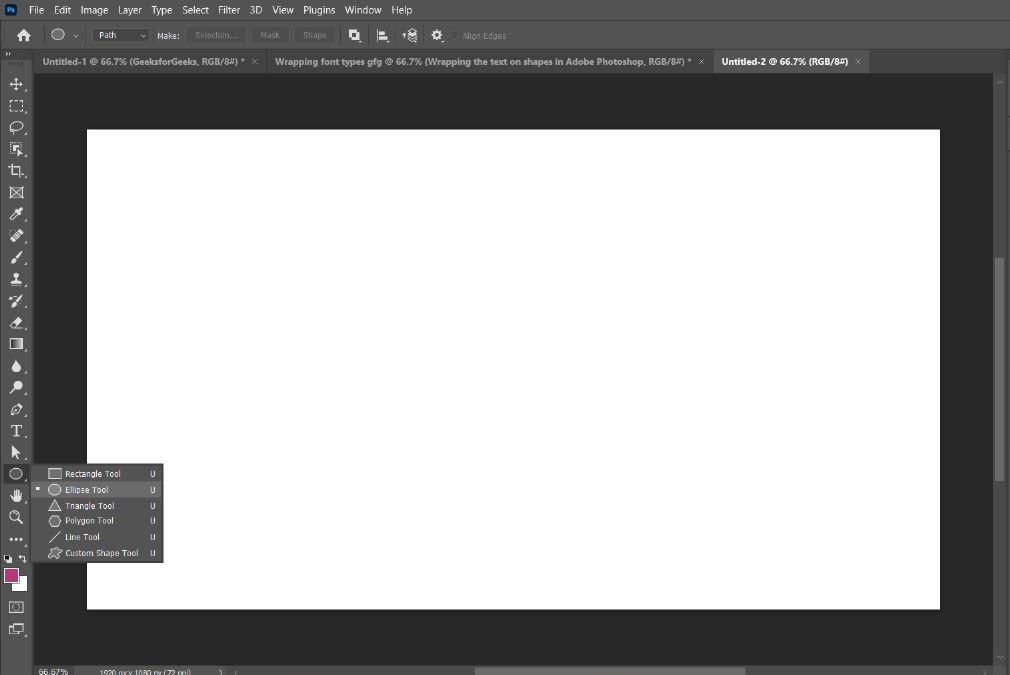 Click on “shape tool > ellipse tool” or press the “U” Key.
Step 4. Choose the shape: Build the shape you want the text to surround using the shape tools.
Choose the shape from shape tools
Step 5. Choose the text tool: To add text to the document, select the “Type” tool from the toolbar or use a shortcut key “T”.

Add text to the document
Step 6. Choose a font: Choose the font style you want to use for your text in the choices bar.
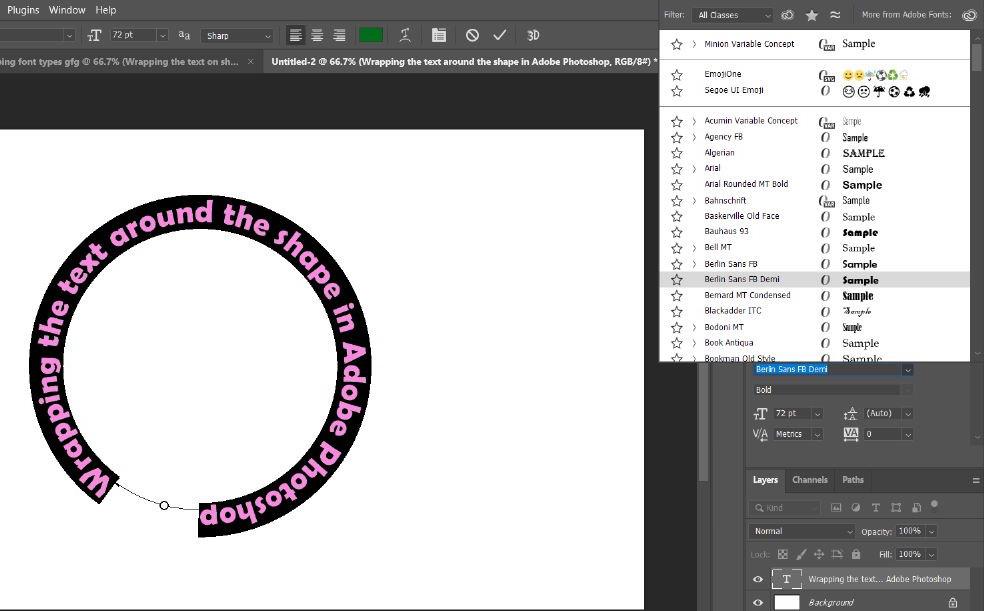
Choose the different font style
Step 7. Choose font size: The font size can also be changed in the settings bar.
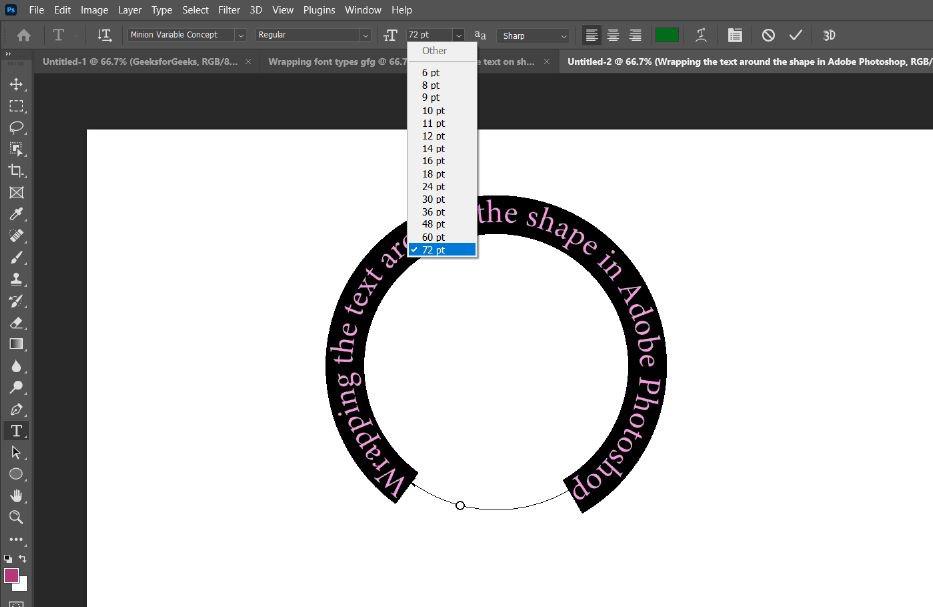
Choose the font size
Step 8. The text should be given color: Choose a color from the “Color” panel. Then, use the “Fill” tool to click on the text and fill it with the chosen color.
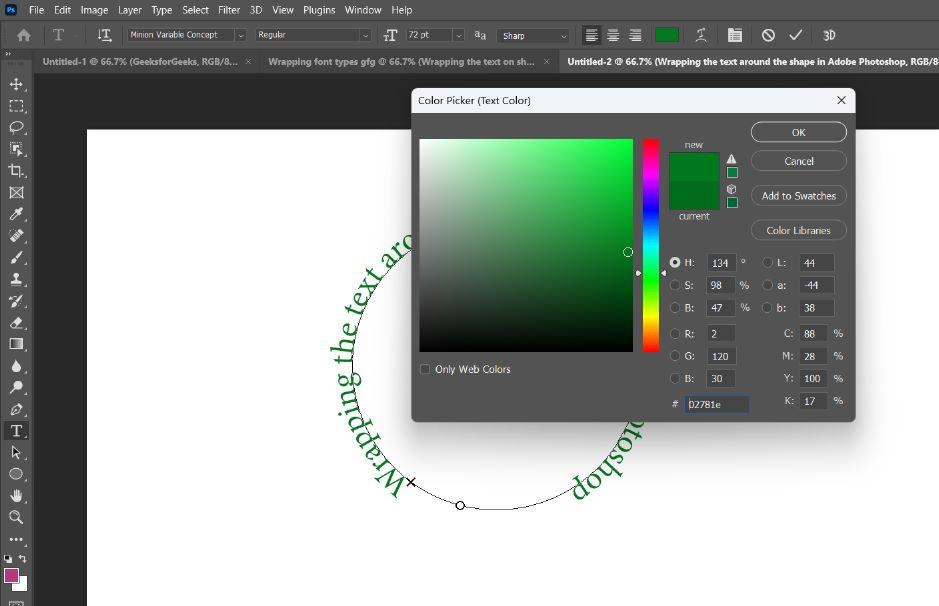
Choose a color from the “Color” panel
Step 9. Put your text here: Enter the wording you wish to use in your design here.
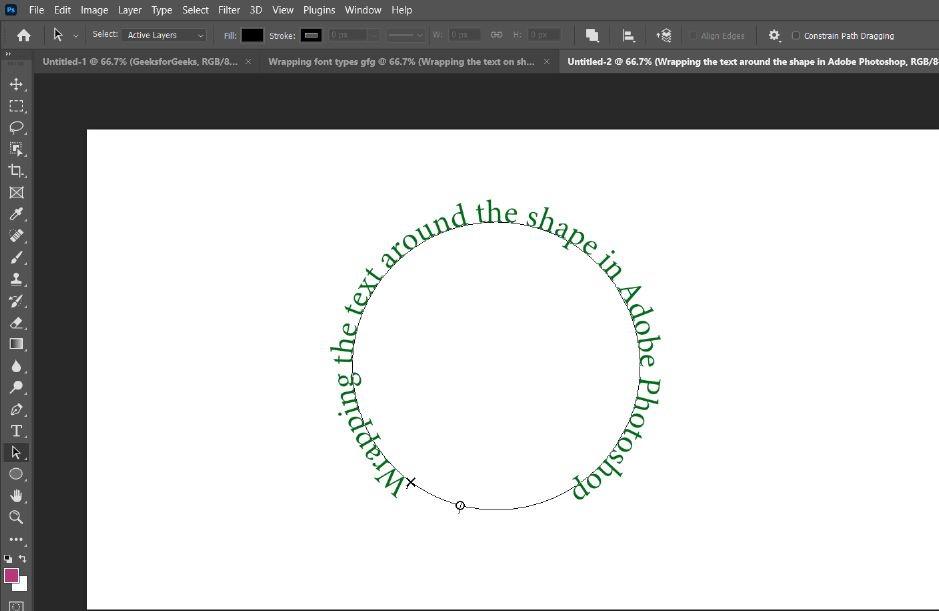
Put your text
Step 10. To position your shape in the center, add grid lines: Click on the “view” icon on the menu bar and select new guides from shapes.

Add grid lines, click on View, and select the new guide from the shape option
Step 11. Inserting effects: Finally, to give our design a more finished appearance, we may add effects. To make the text stand out, we could, for instance, add a drop shadow to it. Choose the text, then pick Layer > Layer Style > Drop Shadow to accomplish this. Then modify the Layer Style dialogue box’s options.
.jpeg) Adding effects: Select the text and go to Layer > Layer Style > Drop Shadow.
Adding effects: Select the text and go to Layer > Layer Style > Drop Shadow.
Step 12. Save the document: When you are through with your design, save the document on your computer by going to “File” and choosing “Save.”

Save the document
Steps for using Wrap Text around a path in Photoshop
Step 1. Create a shape: Click on the “Pen tool” in the toolbar on the left side of the screen to select the “pen tool” option and draw a desired shape.
eg. A Wave

Create a shape: eg. 1) A Wave
Step 2. Choose the text tool: To add text to the document, select the “Type” tool from the toolbar or use a shortcut key “T”.

Add text to the path shape.
Step 3. Put your text here: Enter the wording you wish to use in your design here.

Put your text in your design
Step 4. Inserting effects: Finally, to give our design a more finished appearance, we may add effects. To make the text stand out, we could, for instance, add a drop shadow to it. Choose the text, then pick Layer > Layer Style > Drop Shadow to accomplish this. Then modify the Layer Style dialogue box’s options.
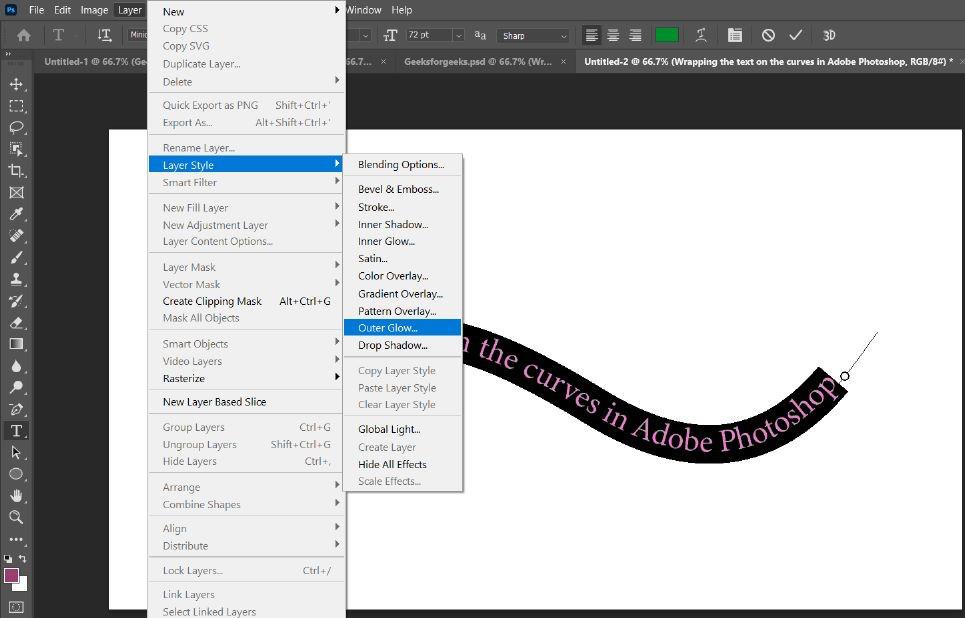
Insert the effects
Step 5. Save the document: When you are through with your design, save the document on your computer by going to “File” and choosing “Save.”

Save the document
Like Article
Suggest improvement
Share your thoughts in the comments
Please Login to comment...