Build a Dictionary App Using Next Js
Last Updated :
06 Nov, 2023
In this article, we’ll create a dictionary app using Next Js. The application allows users to effortlessly search for word definitions, parts of speech, and example. By utilizing an online dictionary API, the app fetches relevant word data and organizes it in a structured manner. Users can also listen to the pronunciation of words.
Preview of Final Output: Let us have a look at how the final output will look like:
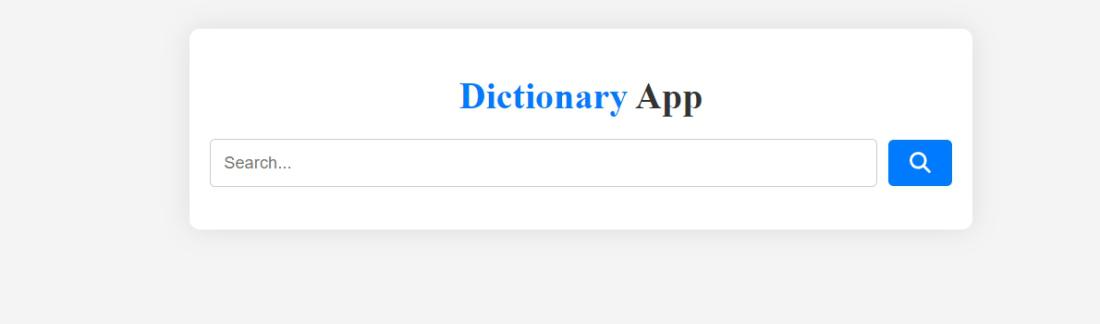
Build a Dictionary App Using Next Js
Technologies Used/Prerequisites
Approach:
- The App component in this Next.js application serves as a handy tool for word lookup. It leverages React’s useState to effectively manage the state. By utilizing the fetch API, the getMeaning function obtains word data from a dictionary API based on the user’s input.
- Additionally, users can make use of the playAudio function to listen to correct word pronunciations. The component offers an intuitive interface that enables users to effortlessly input words and receive well-structured, comprehensive information in return.
- Furthermore, it seamlessly incorporates FontAwesome icons for search functionality and audio playback. This project not only demonstrates advanced techniques like state management, asynchronous data fetching, but also emphasizes user interaction to create a practical and efficient dictionary app.
Steps to create the NextJS Application
Step 1: Create a new Next.js project using the following command
npx create-next-app dictionary-app
Step 2: Change to the project directory:
cd dictionary-app
Project Structure:

The updated dependencies in package.json file will look like:
"dependencies": {
    "next": "^13.0.6",
    "react": "^18.2.0",
    "react-dom": "^18.2.0"
}
Example: In this example, we will see the Dictionary App Using Next Js
- Index.js: This file implements all the logics and imports the icons
- global.css: This file contains the styling of the application.
Javascript
import { useState } from 'react';
import { FontAwesomeIcon } from '@fortawesome/react-fontawesome';
import { faSearch } from '@fortawesome/free-solid-svg-icons';
import { faVolumeUp } from '@fortawesome/free-solid-svg-icons';
export default function App() {
const [data, setData] = useState('');
const [searchWord, setSearchWord] = useState('');
async function getMeaning() {
try {
const response = await fetch(
`https:
);
const data = await response.json();
setData(data[0]);
} catch (error) {
console.error('Error fetching data:', error);
}
}
function playAudio() {
if (data.phonetics && data.phonetics[0] && data.phonetics[0].audio) {
let audio = new Audio(data.phonetics[0].audio);
audio.play();
}
}
return (
<div className="container">
<h1 className="heading">
Dictionary <span>App</span>{' '}
</h1>
<div className="searchBox">
<input
type="text"
placeholder="Search..."
onChange={(e) => {
setSearchWord(e.target.value);
}}
/>
<button
onClick={() => {
getMeaning();
}}
>
<FontAwesomeIcon icon={faSearch} size="lg" />
</button>
</div>
{data && (
<div className="showResults">
<h2>{data.word}</h2>
<button
onClick={() => {
playAudio();
}}
>
<FontAwesomeIcon icon={faVolumeUp} size="sm" />
</button>
<div className="table-container">
<table>
<tr>
<td>Parts of Speech:</td>
<td>{data.meanings[0].partOfSpeech}</td>
</tr>
<tr>
<td>Definition:</td>
<td>{data.meanings[0].definitions[0].definition}</td>
</tr>
<tr>
<td>Example:</td>
<td>{data.meanings[0].definitions[0].example}</td>
</tr>
</table>
</div>
</div>
)}
</div>
);
}
|
CSS
body {
background-color: #f4f4f4;
}
.container {
text-align: center;
padding: 20px;
border-radius: 10px;
box-shadow: 0 0 25px 0px rgba(0, 0, 0, 0.1);
max-width: 700px;
background: white;
margin: 2rem auto;
}
.heading {
font-size: 35px;
margin-bottom: 20px;
color: #007bff;
}
.heading span {
color: #333;
}
.searchBox {
display: flex;
justify-content: center;
align-items: center;
margin-bottom: 20px;
}
input {
padding: 12px;
border: 1px solid #ccc;
border-radius: 5px;
width: 100%;
margin-right: 10px;
font-size: 16px;
color: #444;
}
button {
background-color: #007bff;
color: white;
border: none;
border-radius: 5px;
cursor: pointer;
padding: 12px 20px;
font-size: 16px;
}
button:hover {
background-color: #0056b3;
}
.showResults {
text-align: left;
border: 3px solid #ccc;
padding: 20px;
border-radius: 10px;
box-shadow: 0 0 10px rgba(0, 0, 0, 0.2);
background-color: #fff;
text-transform: capitalize;
}
h2 {
font-size: 24px;
margin-bottom: 10px;
color: #333;
}
table {
width: 100%;
}
tr {
line-height: 1.6;
border-bottom: 1px solid #ccc;
padding: 10px 0;
}
td:first-child {
font-weight: bold;
width: 30%;
color: #007bff;
}
.table-container {
margin-top: 20px;
}
|
Steps to run the application:
Step 1: Run this command to start the application:
npm run dev
Step 2: To run the next.js application use the following command and then go to this URL:
http://localhost:3000
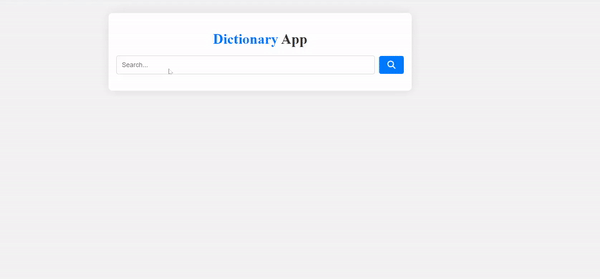
Output:
Share your thoughts in the comments
Please Login to comment...