How to Create Skeleton Loading in React Native ?
Last Updated :
12 Sep, 2023
React Native is a popular framework for cross-platform mobile app development. In this article we are going to create a skeleton loading effect in React Native, visually indicating content loading to inform users while data is fetched.
In mobile app development, it’s crucial to ensure a smooth user experience. However, network delays or fetching large data can cause content rendering delays, leaving users uncertain if the app is frozen. To tackle this, we can implement skeleton loading, showing a placeholder UI while content is fetched or processed, improving the user experience.
Prerequisites:
Step 1: Set Up the Development Environment
Install Expo CLI globally by running this command:
npm install -g expo-cli
Step 2: Create React Native Application With Expo CLI
Create a new native project with Expo CLI by using this command:
expo init skeleton-loading
Step 3: Navigate to the project directory by using this command:
cd skeleton-loading
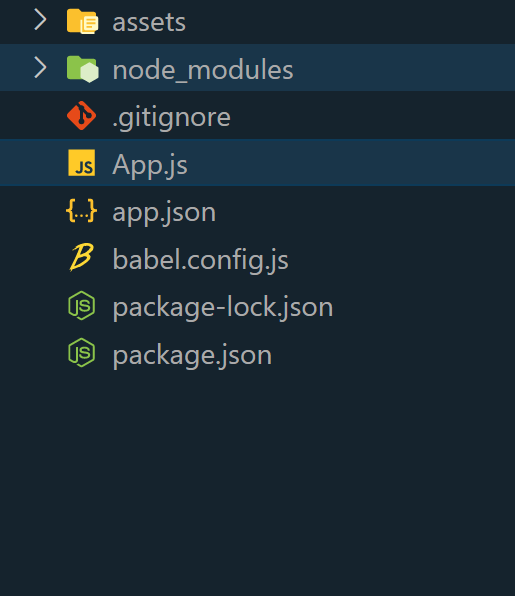
Project Structure:
Approach:
- Identify components for skeleton loading.
- Create a skeleton component resembling the actual layout with placeholders.
- Track loading progress using
isLoading state variable.
- Conditionally render skeleton components based on
isLoading.
- Fetch data asynchronously and update
isLoading accordingly.
- Customize skeleton component styles to match the app’s design.
- Add animations or transitions for an enhanced loading experience.
- Test and optimize skeleton loading for performance and responsiveness.
Example: In this example, we will create a Shimmer UI which helps the user or we can say that it enhances the user experience.
- CardSkeleton component: Renders a placeholder card resembling the actual card structure.
- Card component: Represents the actual card with predefined content.
- App component: Manages the loading state using useState and useEffect hooks.
- useEffect hook: Simulates an asynchronous data fetch with a 2 second delay, setting isLoading to false.
- Conditional rendering: Renders either CardSkeleton or Card based on the isLoading state.
- Styles contain component styling properties like colors, borders, padding, margin, and text styles.
Javascript
import React, { useState, useEffect } from 'react';
import { View, StyleSheet, Text } from 'react-native';
const CardSkeleton = () => {
return (
<View style={styles.container}>
{}
<View style={styles.placeholder} />
<View style={styles.placeholder} />
<View style={styles.placeholder} />
</View>
);
};
const Card = () => {
return (
<View style={styles.card}>
<Text style={styles.heading}>
Welcome To Geeksforgeeks!!
</Text>
<Text style={styles.paragraph}>
A Computer Science portal for geeks.
It contains well written, well thought
and well explained computer science
and programming articles.
</Text>
</View>
);
};
const App = () => {
const [isLoading, setIsLoading] = useState(true);
useEffect(() => {
setTimeout(() => {
setIsLoading(false);
}, 2000);
}, []);
return (
<View>
{isLoading ? (
<CardSkeleton />
) : (
<Card />
)}
</View>
);
};
const styles = StyleSheet.create({
container: {
backgroundColor: '#F6F6F6',
borderRadius: 13,
padding: 16,
marginBottom: 16,
marginTop: 50,
},
placeholder: {
backgroundColor: '#ccc',
height: 16,
borderRadius: 4,
marginBottom: 8,
},
card: {
backgroundColor: '#FFFFFF',
borderRadius: 8,
padding: 16,
marginHorizontal: 16,
marginBottom: 16,
marginTop: 50,
shadowColor: '#000',
shadowOpacity: 0.1,
shadowOffset: { width: 0, height: 2 },
shadowRadius: 4,
elevation: 2,
},
heading: {
fontSize: 25,
fontWeight: 'bold',
marginBottom: 8,
color: "green",
},
paragraph: {
fontSize: 15,
color: '#555555',
},
});
export default App;
|
Steps to run:
To run the react native application, open the Terminal and enter the following command.
npx expo start
To run on Android:
npx react-native run-android
To run on Ios:
npx react-native run-ios
Output:
How To Create Skeleton Loading In React Native
Share your thoughts in the comments
Please Login to comment...