How to Get Child Element in Selenium?
Last Updated :
01 Mar, 2024
The tool that reduces human effort and makes the work relatively easier by automating the browser is known as Selenium. The elements which are located within some other elements, such elements are called child elements. Sometimes, we have to handle such elements, such as values of radio buttons, lists, etc. In this article, we will discuss the same, i.e., how to get a child element in Selenium.
Steps to get a child element in Selenium
The user needs to follow the respective steps to get the child element in Selenium.
Step 1: Setting up the Selenium in Java
Install the editor of your choice and Selenium JARs from the official website of Selenium. Further, open that editor and create a project. Now, add the JARs you installed to the project’s build path.
Note: It is very crucial to download the ChromeDriver version matching the version of your browser as an incorrect version of
ChromeDriver will not be able to initiate the browser and throw the error of version mismatch.
Step 2: Installing the Necessary Modules
In this step, we have imported the crucial modules, By, WebDriver, WebElement, ChromeDriver, and List.
- By: The module that is used to locate web elements on a web page on different attributes such as ID, name, CSS selector, XPath, class, etc is known as By module.
- WebDriver: A bridge between a programming interface and web browsers is known as webDriver. It helps in the interaction of elements on the web page.
- WebElement: An interface that provides methods to interact with elements such as clicking buttons, entering text into input fields, reading attributes, etc. is known as WebElement.
- ChromeDriver: A WebDriver that helps in controlling the Google Chrome and Chromium-based browsers is known as ChromeDriver.
- List: A way of storing multiple WebElement objects while dealing with elements on a web page is known as List.
import org.openqa.selenium.By;
import org.openqa.selenium.WebDriver;
import org.openqa.selenium.WebElement;
import org.openqa.selenium.chrome.ChromeDriver;
import java.util.List;
Step 3: Initiating the Web Driver and Navigate to the Webpage
After importing the modules, a crucial step is to initiate the w. For this, we need to define the path where our Chromedriver is located in the setProperty function and initiate the ChromeDriver. Later, we will open the Geeks For Geeks website (link) using the get() function.
- get(): The function that is used to navigate to a webpage autonomously is known as the get function.
Java
import org.openqa.selenium.By;
import org.openqa.selenium.WebDriver;
import org.openqa.selenium.WebElement;
import org.openqa.selenium.chrome.ChromeDriver;
import java.util.List;
public class gfg1{
public static void main(String[] args) {
System.setProperty("webdriver.chrome.driver",
"C:\\Users\\Vinayak Rai\\Downloads\\chromedriver-win64\\chromedriver-win64\\chromedriver.exe");
WebDriver driver = new ChromeDriver();
}
}
|
Step 4: Finding an element
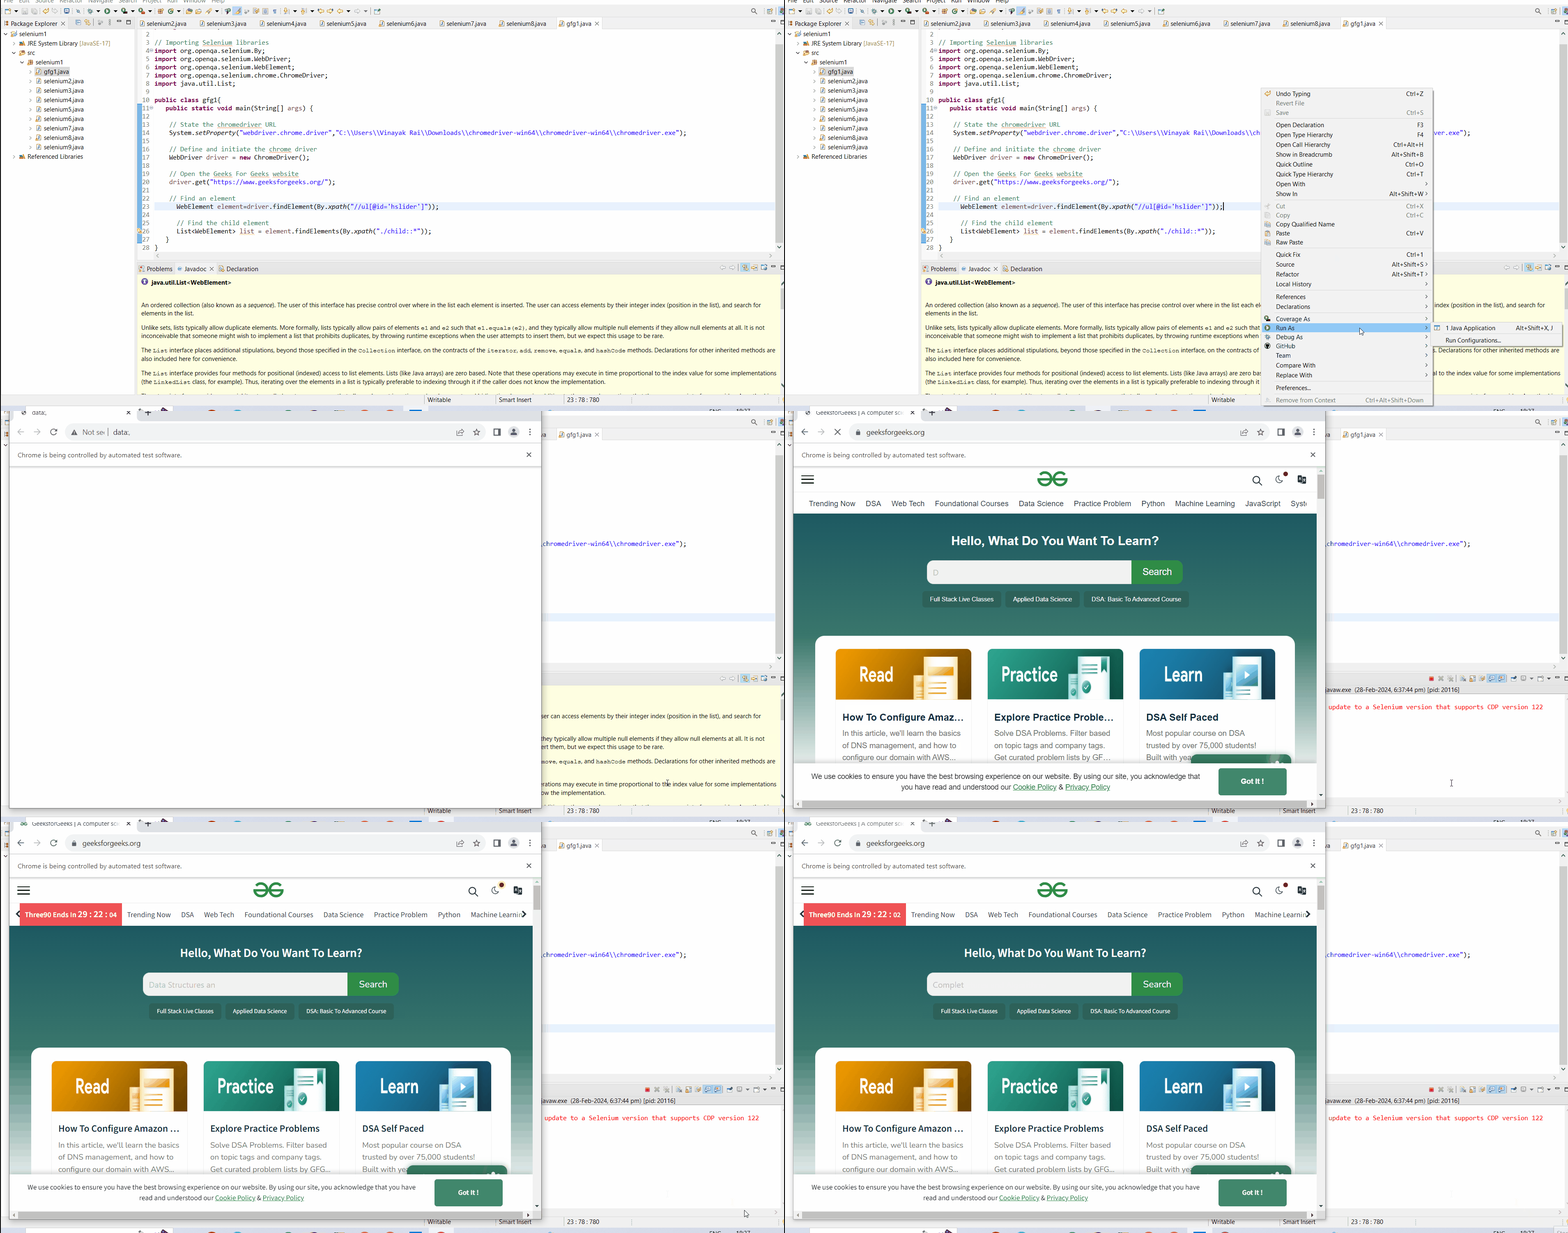
Once the web page is opened, we need to find the element we need to get the children. This can be done using the findElement and By.xpath modules.
- findElement: A function that is used to find an element on a web page based on a certain locator strategy is known as the findElement function.
- By.xpath: A module used for web scrapping to locate elements on a web page using XPath expressions is known as By.xpath.
Java
import org.openqa.selenium.By;
import org.openqa.selenium.WebDriver;
import org.openqa.selenium.WebElement;
import org.openqa.selenium.chrome.ChromeDriver;
import java.util.List;
public class gfg1{
public static void main(String[] args) {
System.setProperty("webdriver.chrome.driver",
"C:\\Users\\Vinayak Rai\\Downloads\\chromedriver-win64\\chromedriver-win64\\chromedriver.exe");
WebDriver driver = new ChromeDriver();
WebElement element=driver.findElement(By.xpath("//ul[@id='hslider']"));
}
}
|
Output:

Step 5: Finding child elements
Further, we will find the child elements in the element using findElements and By.xpath functions. The child elements are usually of the elements, like radio buttons, checkboxes, etc.
- findElements: A function that is used to find multiple elements on a web page based on a specified locator strategy is known as the findElements function.
Java
import org.openqa.selenium.By;
import org.openqa.selenium.WebDriver;
import org.openqa.selenium.WebElement;
import org.openqa.selenium.chrome.ChromeDriver;
import java.util.List;
public class gfg1{
public static void main(String[] args) {
System.setProperty("webdriver.chrome.driver",
"C:\\Users\\Vinayak Rai\\Downloads\\chromedriver-win64\\chromedriver-win64\\chromedriver.exe");
WebDriver driver = new ChromeDriver();
WebElement element=driver.findElement(By.xpath("//ul[@id='hslider']"));
List<WebElement> list = element.findElements(By.xpath("./child::*"));
}
}
|
Output:

Step 6: Iterating and printing child elements
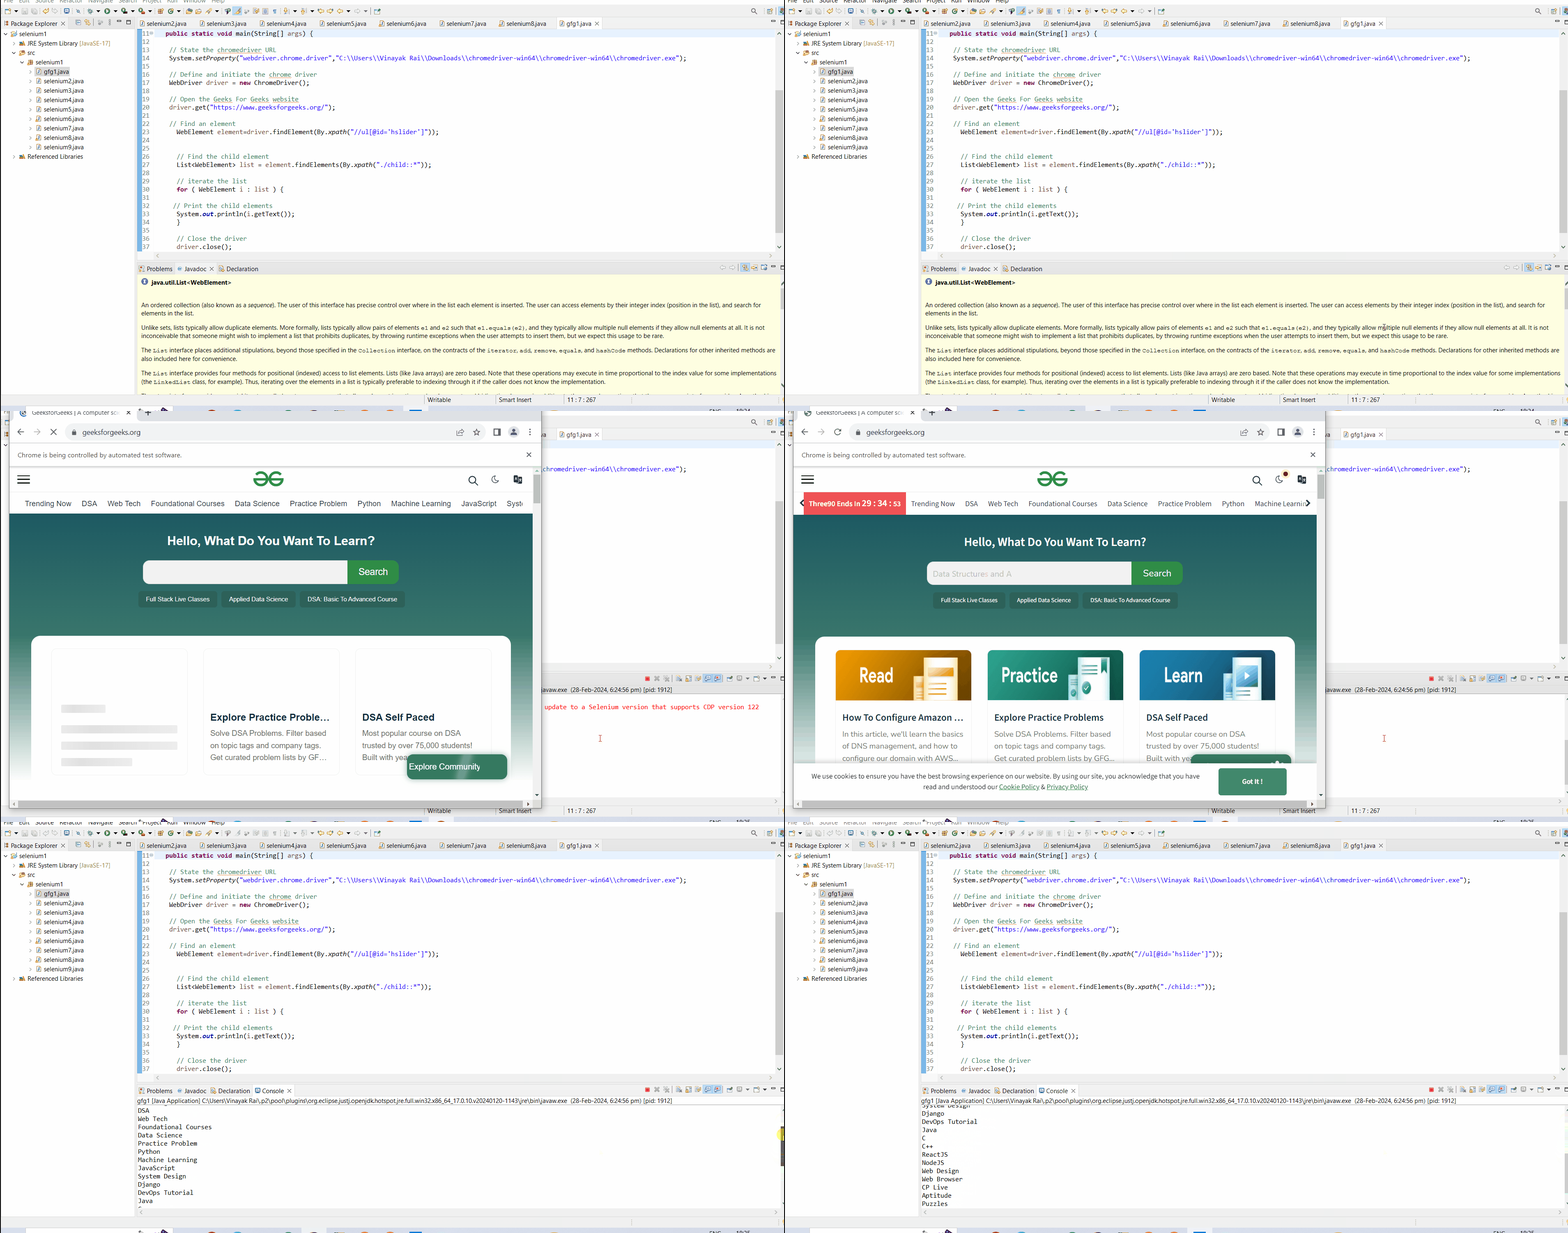
Finally, we will print all the child elements by iterating the list in which the child elements are stored using the for loop.
- For loop: A control flow statement that allows the user to repeatedly execute a specified piece of code a certain number of times is known as for loop.
Java
import org.openqa.selenium.By;
import org.openqa.selenium.WebDriver;
import org.openqa.selenium.WebElement;
import org.openqa.selenium.chrome.ChromeDriver;
import java.util.List;
public class gfg1{
public static void main(String[] args) {
System.setProperty("webdriver.chrome.driver","C:\\Users\\Vinayak Rai\\Downloads\\chromedriver-win64\\chromedriver-win64\\chromedriver.exe");
WebDriver driver = new ChromeDriver();
WebElement element=driver.findElement(By.xpath("//ul[@id='hslider']"));
List<WebElement> list = element.findElements(By.xpath("./child::*"));
for ( WebElement i : list ) {
System.out.println(i.getText());
}
driver.close();
}
}
|
Output:

Conclusion
In conclusion, getting and handling child elements is common in huge web pages. The getting of child elements concept is mostly applied to elements, like lists, checkboxes, radio buttons, etc. I hope, after reading the numerous steps mentioned above, you will be able to get child elements in Selenium efficiently.
Share your thoughts in the comments
Please Login to comment...