How to render an array of objects in ReactJS ?
Last Updated :
10 Oct, 2023
To render an array of Objects in ReactJS we will iterate the array and display objects data on the Web Application UI. It is useful in providing dynamic and interactive content on the webpages.
Array of objects: It is a list or collection of items containing key-value pairs as properties and their respective values. We can display an array of objects in the following manner.
Steps to create the application:
Step 1: Create a React application using the following command.
npx create-react-app foldername
Step 2: Once it is done, change your directory to the newly created application using the following command.
cd foldername
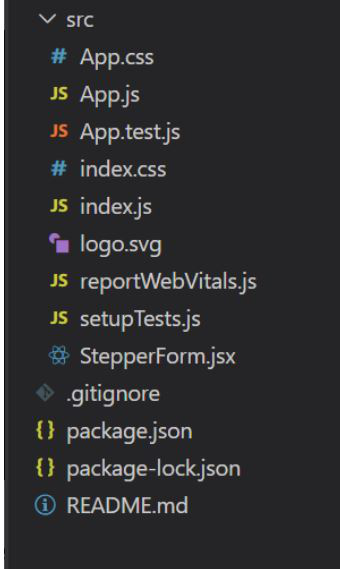
Application Structure:
This approach uses Array.map method to iterate through the given array and create an unordered list with custom stylings.
Example 1: In this example, we will simply create an array of objects that contains states and their capitals. We will render them on an unordered list. States are in red and bold.
Javascript
import React from "react";
import "./App.css";
function RenderingArrayOfObjects() {
const data = [
{
State: "Uttar Pradesh",
Capital: "Lucknow",
},
{
State: "Gujarat",
Capital: "Gandhinagar",
},
{
State: "Karnataka",
Capital: "Bengaluru",
},
{
State: "Punjab",
Capital: "Chandigarh",
},
{
State: "Maharashtra",
Capital: "Mumbai",
},
];
const listItems = data.map((element) => {
return (
<ul type="disc" className="item">
<li
style={{
fontWeight: "bold",
color: "blue",
}}
>
{element.State}
</li>
<li>{element.Capital}</li>
</ul>
);
});
return <div className="container">{listItems}</div>;
}
function App() {
return (
<div className="App">
<div>
<h1 className="geeks">GeeksforGeeks</h1>
<h3>Rendering Array of Objects</h3>
<br></br>
<RenderingArrayOfObjects />
</div>
</div>
);
}
export default App;
|
CSS
.App {
text-align: center;
overflow-y: scroll;
}
.geeks {
color: green;
}
.container {
display: flex;
flex-direction: row;
flex-wrap: wrap;
justify-content: center;
}
.item {
min-width: 33rem;
text-align: left;
}
|
Step to run the application: Open the terminal and type the following command.
npm start
Output: Open the browser and our project is shown in the URL http://localhost:3000/

This approach involves using React-Bootstrap UI components and bootstrap styling library for creating Table entries for the respective array of objects.
Note: To run the below example, you need to install react-bootstrap and bootstrap.
npm install react-bootstrap bootstrap@5.1.3
Example: In this example, we will map an Array of objects containing student Marks into a Table.
Javascript
import React from "react";
import Table from "react-bootstrap/Table";
import "bootstrap/dist/css/bootstrap.min.css";
import "./App.css";
function RenderingArrayOfObjects() {
const data = [
{
Name: "Nikita",
Marks: "98",
Phone: "123",
},
{
Name: "Pratiksha",
Marks: "96",
Phone: "127",
},
{
Name: "Muskan",
Marks: "97",
Phone: "163",
},
{
Name: "Nishi",
Marks: "95",
Phone: "193",
},
{
Name: "Himanshu",
Marks: "78",
Phone: "120",
},
];
const tableRows = data.map((element) => {
return (
<tr className="items">
<td>{element.Name}</td>
<td>{element.Marks}</td>
<td>{element.Phone}</td>
</tr>
);
});
return (
<div className="container">
<Table hover>
<thead>
<tr>
<th> Name</th>
<th>Marks</th>
<th>Phone</th>
</tr>
</thead>
<tbody>{tableRows}</tbody>
</Table>
</div>
);
}
function App() {
return (
<div className="App">
<div>
<h1 className="geeks">GeeksforGeeks</h1>
<h3>Rendering Array of Objects</h3>
<br></br>
<RenderingArrayOfObjects />
</div>
</div>
);
}
export default App;
|
CSS
.App {
text-align: center;
overflow-y: scroll;
}
.geeks {
color: green;
}
.container {
display: flex;
flex-direction: row;
flex-wrap: wrap;
justify-content: center;
}
.item {
min-width: 33rem;
text-align: left;
}
|
Step to run the application: Open the terminal and type the following command.
npm start
Output: Open the browser and our project is shown in the URL http://localhost:3000/

Share your thoughts in the comments
Please Login to comment...