How to View Kernel Messages in Linux | dmesg Command
Last Updated :
17 Jan, 2024
The Linux kernel, the core of the Linux operating system, communicates with the hardware and manages system resources. To monitor and troubleshoot the kernel’s interactions with the hardware and software components, the dmesg command comes in handy. In this article, we will delve into the details of the dmesg command, exploring its functionalities and understanding how it can be used to view kernel messages on a Linux system.
What is dmesg Command
The name “dmesg” is derived from “display message” and provides a convenient way to examine the kernel ring buffer, which stores messages generated by the kernel during the boot process and while the system is running. These messages contain crucial information about hardware detection, device initialization, and any potential issues encountered by the kernel.
Usage of dmesg command:
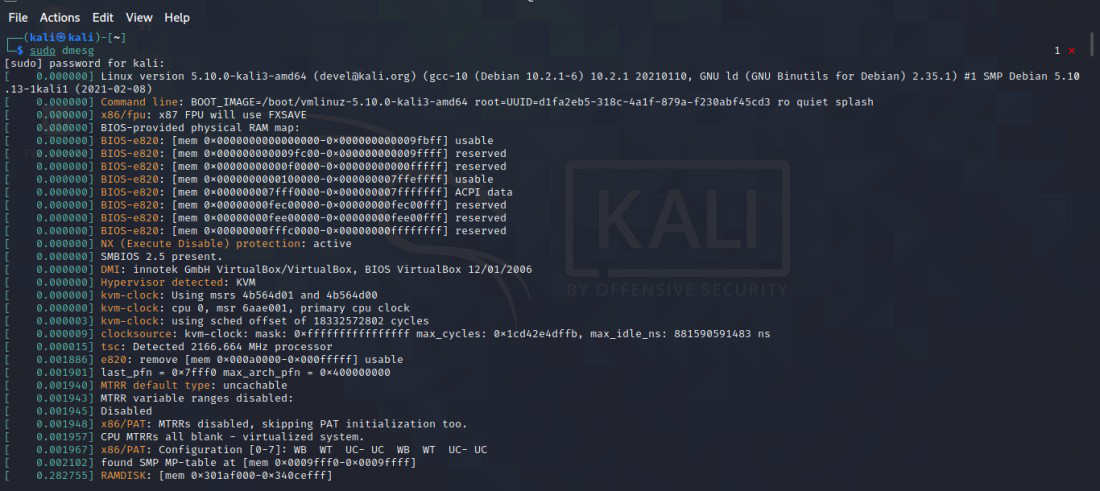
All the messages received from the kernel ring buffer is displayed when we execute the command “dmesg”, here only the latest messages will be shown. This is used to check messages stored in the kernel ring buffer. In the case of non-root user use “sudo” to run root-level commands without being root.
The basic syntax of the dmesg command is straightforward:
sudo dmesg
1. Viewing Logs Page-Wise with Less
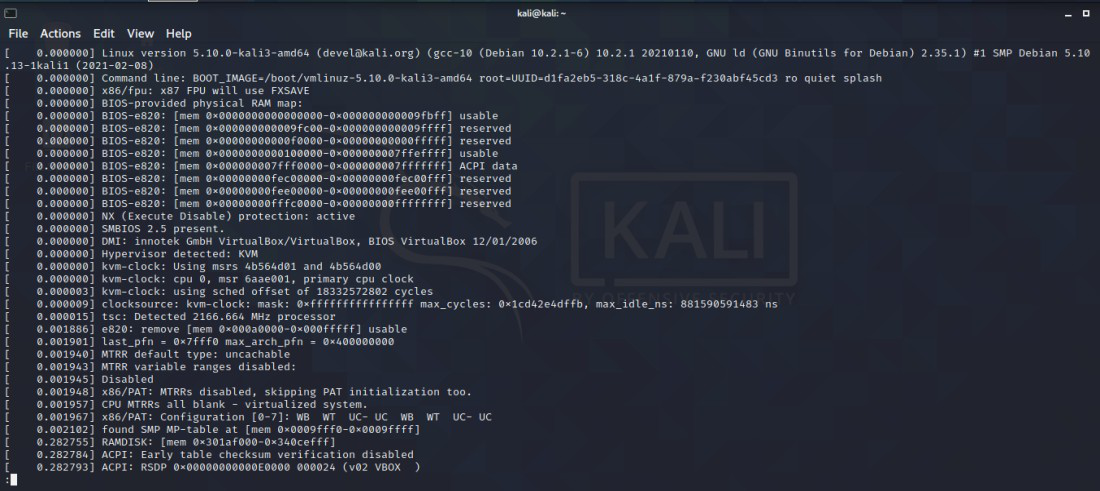
While the dmesg command provides a wealth of information, the output can be overwhelming. To navigate through logs page by page, you can use commands like tail, head, or less. Here’s an example using less:
sudo dmesg | less
2. Colorizing dmesg Output
dmesg gives coloured output by default as shown above but if you want to colourize it for proper understanding of the messages then you can colourize them using the “L” command.
sudo dmesg -L
3. Human-Friendly Timestamps
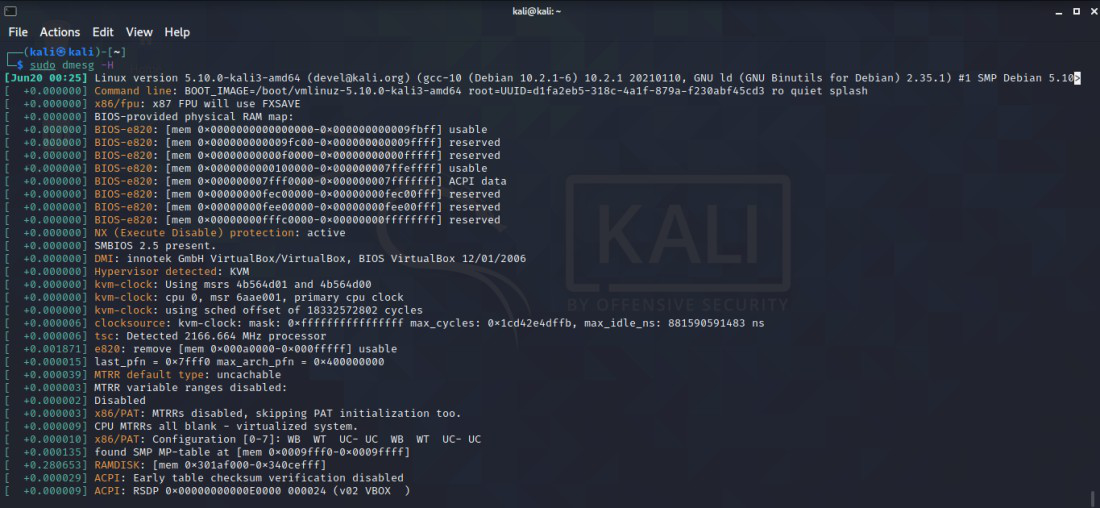
dmesg uses timestamps in seconds and nanoseconds, for human-friendly format use the “H” option for timestamps. The same is displayed in less. In the timestamp, it shows the date and time. Messages taking place every minute are marked as seconds and nanoseconds.
sudo dmesg -H
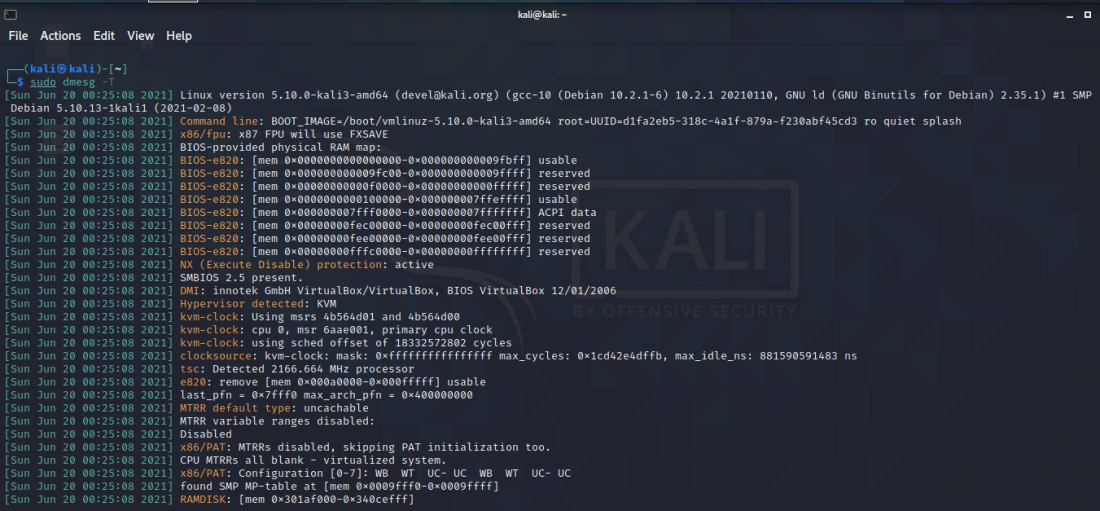
We use -T (human-readable) option as they display with standard date and time. In this option, the resolution is lowered by a minute
sudo dmesg -T
5. Monitoring Real-Time Logs
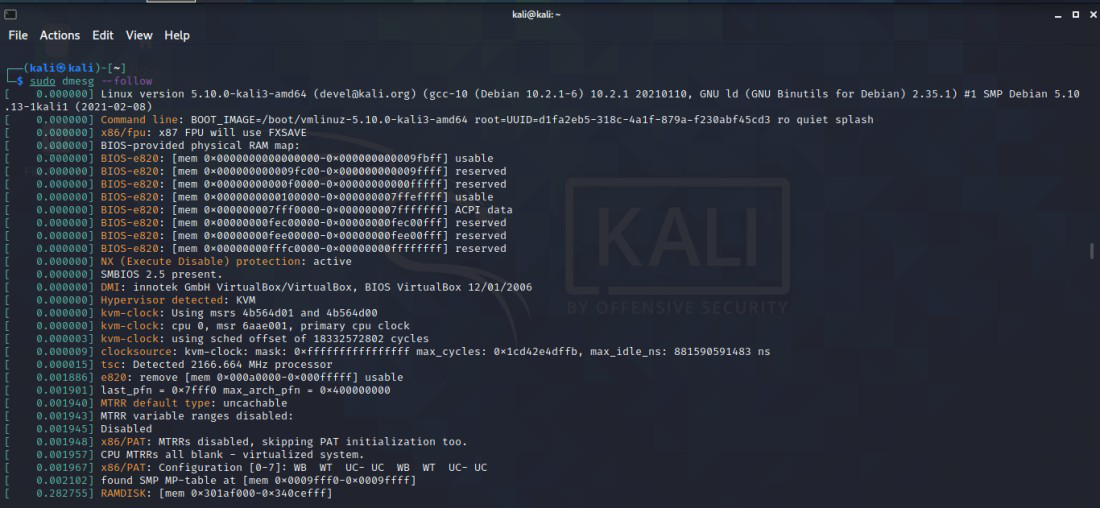
To monitor real-time logs –follow option is used with dmesg, and it displays the recent messages at the bottom of the terminal
sudo dmesg --follow
6. Viewing Specific Number of Messages with Head
As we see that dmesg gives out large output, we can use the tail or head option to list out a specific number of messages and view them. Here we check for the first 10 messages using the head option
sudo dmesg | head -10

7. Viewing Last 10 Messages with Tail
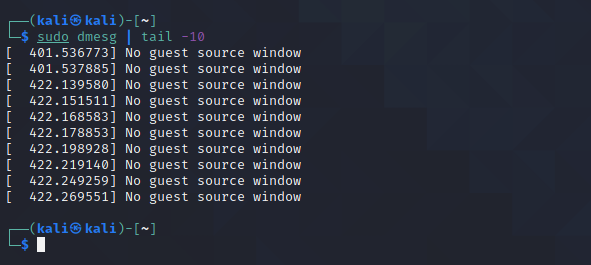
The last 10 messages are displayed using the tail option
sudo dmesg | tail -10
8. Case-Insensitive Searching
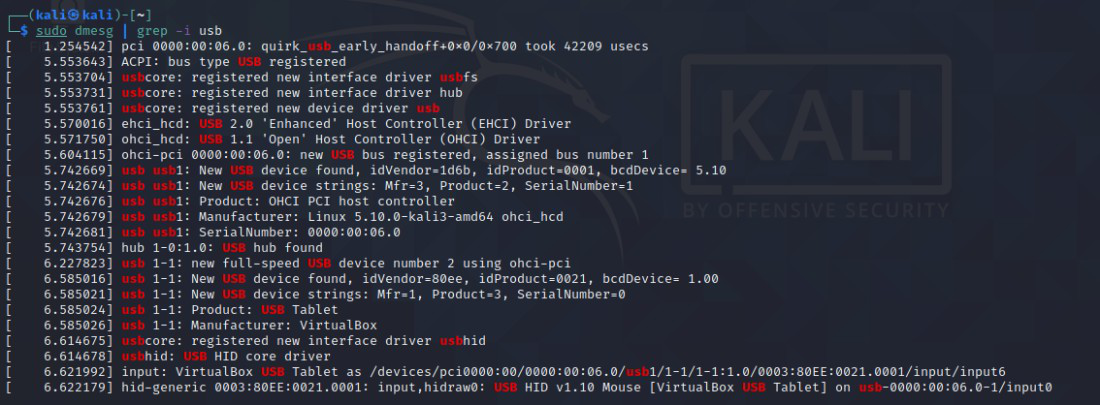
Here we’ll use the -i (ignore) option to search for a specific string or patterns or message by scanning through the dmesg output but this option will ignore the case of the strings and will focus only on the string we search for. In the results, it will display messages for both “USB” and “usb” combinations
sudo dmesg | grep -i usb
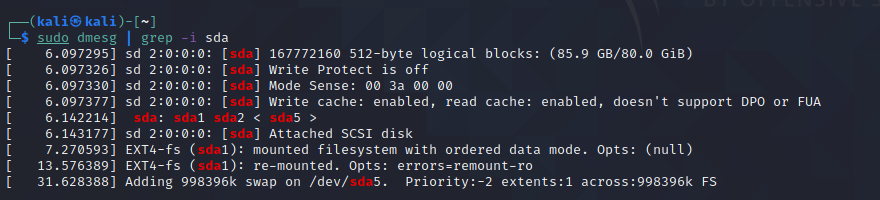
Searching messaged related to Memory, RAM, Hard Disk or USB Drive using grep command with dmesg. Here grep is used with “sda” to check which hard disks have been detected by the kernel. sda command is used to check for hard disk and will display the messages wherever sda is listed
sudo dmesg | grep -i sda
10. Filtering Messages by Log Level (Info)
A level is assigned to each message logged to the kernel ring buffer. The level represents the significance of the information in the communication. The levels are as follows:
- emerg: The system is unusable.
- alert: Action must be taken immediately.
- crit: Critical conditions.
- err: Error conditions.
- warn: Warning conditions.
- notice: Normal but significant condition.
- info: Informational.
- debug: Debug-level messages.
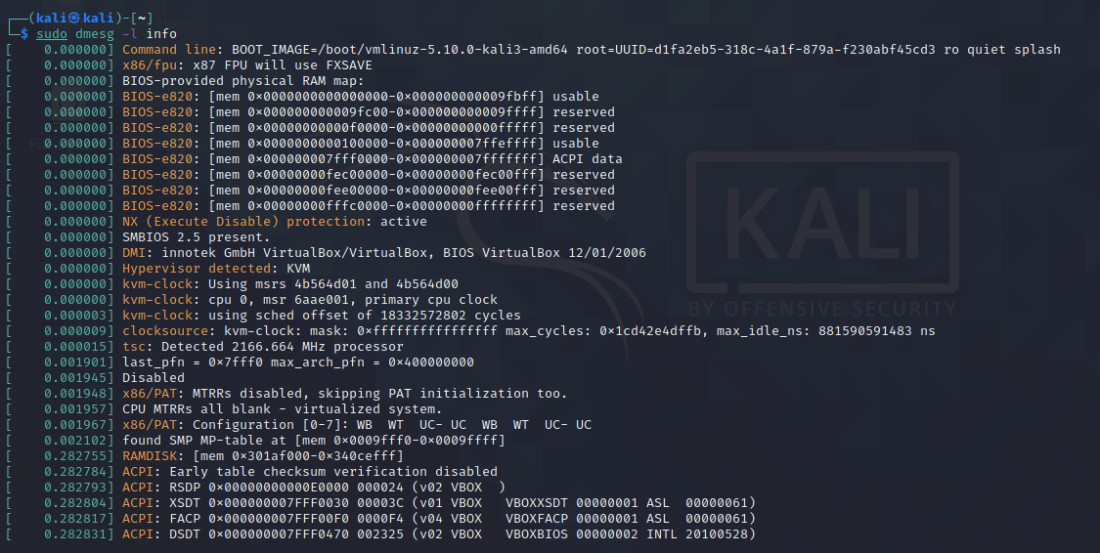
Extracting messages using the -l (level) option with dmesg followed by the name of the level. Here we list all the informational messages using level “info” with the dmesg command they will display the notifications which are needed and important.
sudo dmesg -l info
11. Combining Multiple Log Levels
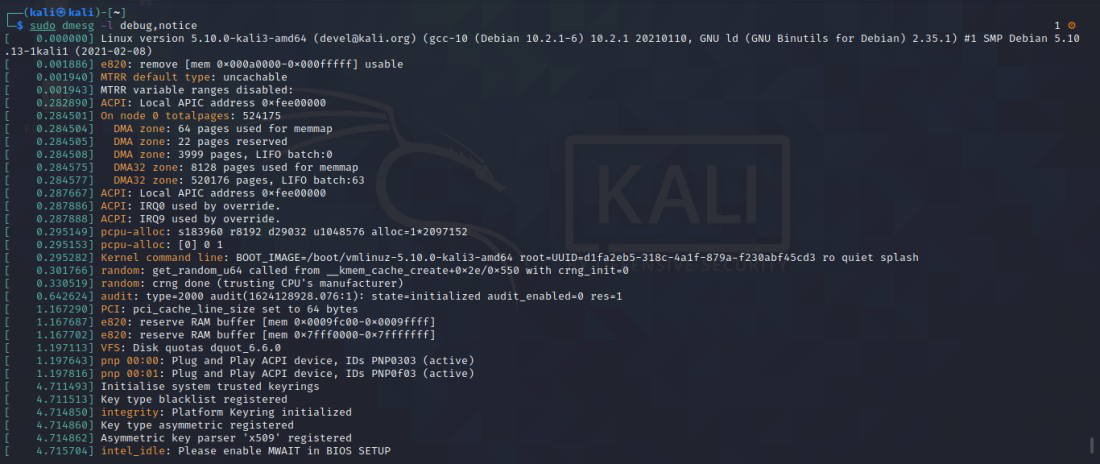
To extract messages with multiple log levels we have to combine two or more log levels. Here we are using “debug and notice” log levels to extract messages.
sudo dmesg -l debug,notice
12. Combining Log Levels (err and warn)
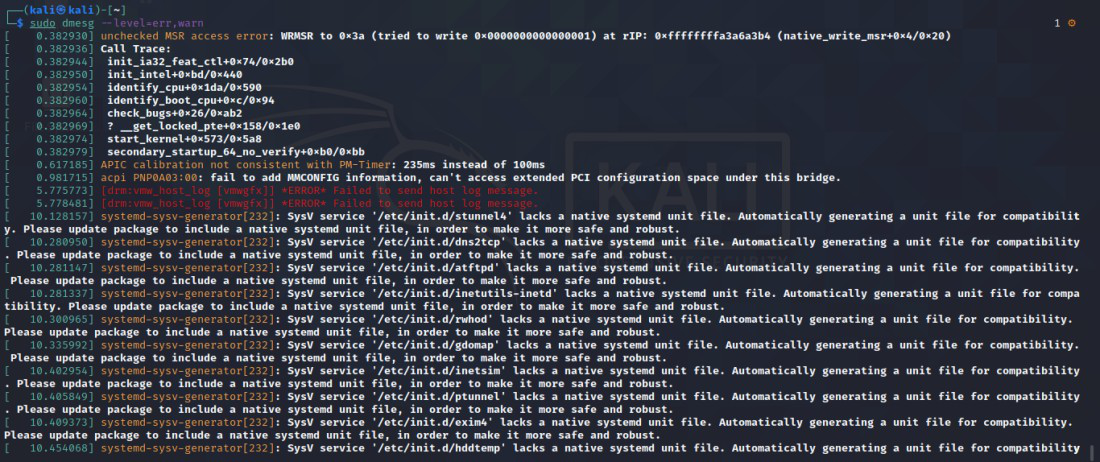
Another example of combining more than one log level is “err and warn” where it will display error logs and warning logs
sudo dmesg --level=err,warn
13. Filtering Messages for Specific Network Interface (eth0)
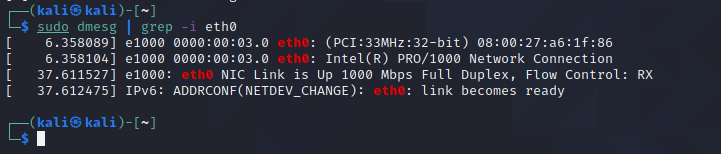
Displaying dmesg messages for eth0 user interface use grep option followed by eth0
sudo dmesg | grep -i eth0
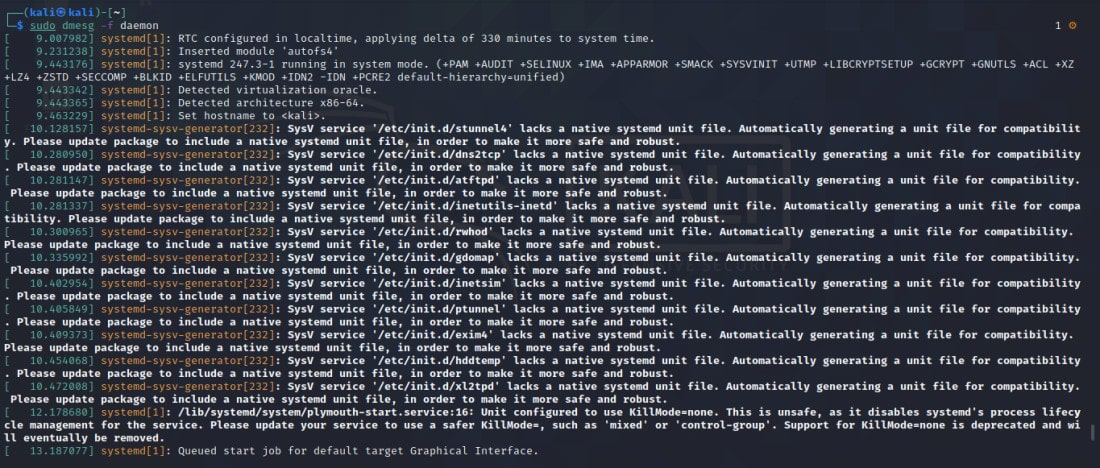
14. Filtering Messages by Facility (daemon)
Filtering dmesg messages using facility option -f where it will display messages of a particular facility “daemon”.
sudo dmesg -f daemon
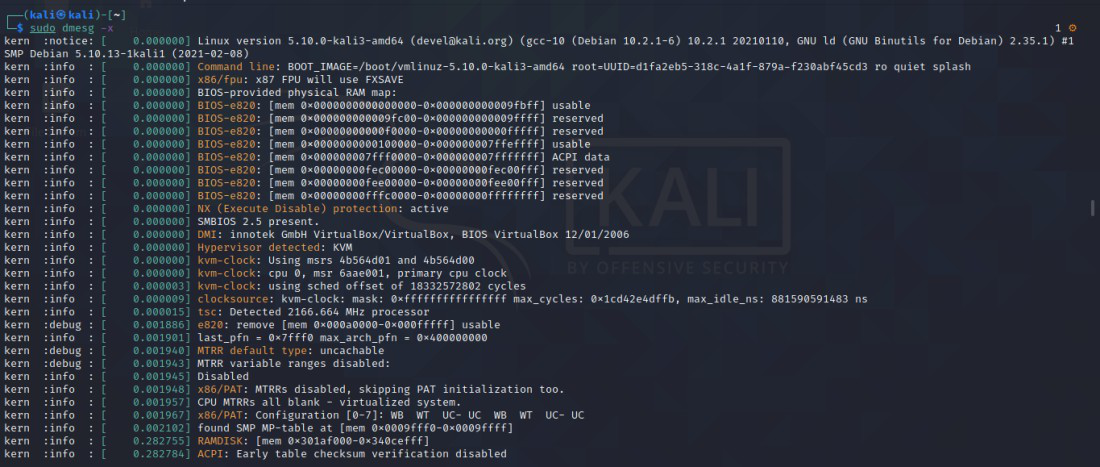
15. Decoding Facility and Level
-x (decode) option is used to display the facility and level as prefixes of every line in a human-readable format.
sudo dmesg -x
How to view kernel messages in Linux – FAQs
What is the purpose of the dmesg command in Linux?
The dmesg command in Linux is used to view kernel messages, providing insights into the system’s hardware and software interactions. It displays information about device detection, initialization, and any potential issues encountered by the kernel during the boot process and runtime.
How can I filter dmesg output to view only error messages?
To filter dmesg output and view only error messages, you can use the -l (level) option with the “err” level. For example: sudo dmesg -l err.
Is it possible to monitor real-time kernel logs using the dmesg command?
Yes, the dmesg command allows you to monitor real-time kernel logs by using the –follow option. This option continuously displays recent messages at the bottom of the terminal as they occur.
Can I search for specific terms or messages within the dmesg output?
Yes, you can search for specific terms or messages within the dmesg output using tools like grep. For example, to search for USB-related messages: sudo dmesg | grep -i usb.
How do I save dmesg output to a file for future reference?
You can save dmesg output to a file by redirecting the command output to a text file. For example: sudo dmesg > dmesg_log.txt. This allows you to review and analyze the kernel messages at a later time.
Conclusion
In this article we discussed how to kernel message in Linux using the dmesg command in Linux serves as a vital tool for monitoring and troubleshooting kernel messages, providing insights into system hardware and software interactions. This article covers the basics of using dmesg and explores advanced functionalities, including viewing logs page-wise, colorizing output, and monitoring real-time logs. Practical applications such as saving logs, searching for specific terms, and filtering messages by log level are also discussed. With this comprehensive guide, users can effectively leverage the dmesg command to gain a deeper understanding of their Linux system and diagnose issues efficiently.
Share your thoughts in the comments
Please Login to comment...