Next.js Environment Variables
Last Updated :
08 Oct, 2021
In this article, we will learn how we can use environment variables in Next.js. Next.js comes with built-in support for environment variables that you can declare and use anywhere in your project.
Follow the below steps to set up the environment variable in Next.js application.
Step 1: To create a new Next.js App, run the below command in your terminal:
npx create-next-app GFG
Step 2: After creating your project folder (i.e. GFG ), move to it by using the following command:
cd GFG
Project Structure: It will look like this.

Step 3: Creating .env.local file – We will create a .env.local file to create environment variables that are specific to our local machine. There are also other environment variables file type that you can use like:
- .env
- .env.[environment]
- .env.[environment].local
- .env.development
- .env.development.local
After creating the file, we can store our environment variables on them.
Example: We can have .env.local file with the following data.
KEY="GEEKSFORGEEKS"
ID=85674
Step 4: Accessing Environment Variables – Now you can access your environment variable using ‘process.env.VARIABLE_NAME’. To try this, let’s access our environment variable from the Homepage of a NextJs app.
Filename: pages/index.js
Javascript
export const getServerSideProps = async () => {
return {
props: {
value: process.env.KEY,
id: process.env.ID,
},
};
};
export default function Home({ value, id }) {
return (
<div>
{}
<h1>This is Homepage</h1>
{}
<h2>Value of KEY variable:- {value}</h2>
<h2>Value of ID variable:- {id}</h2>
</div>
);
}
|
Step 5: Run the application – Run the following command to start the server.
npm start
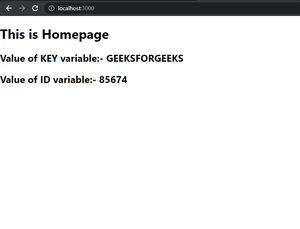
Output: We will see the following output on your browser screen.
Share your thoughts in the comments
Please Login to comment...